
Ten years since the last post. New faces have arrived, but burials outnumber them. Such is this stage of life. Change has been unrelenting, as always, but also unfathomable (need I explain?). If you’re still reading…hello. How are you?
Ten years since the last post. New faces have arrived, but burials outnumber them. Such is this stage of life. Change has been unrelenting, as always, but also unfathomable (need I explain?). If you’re still reading…hello. How are you?
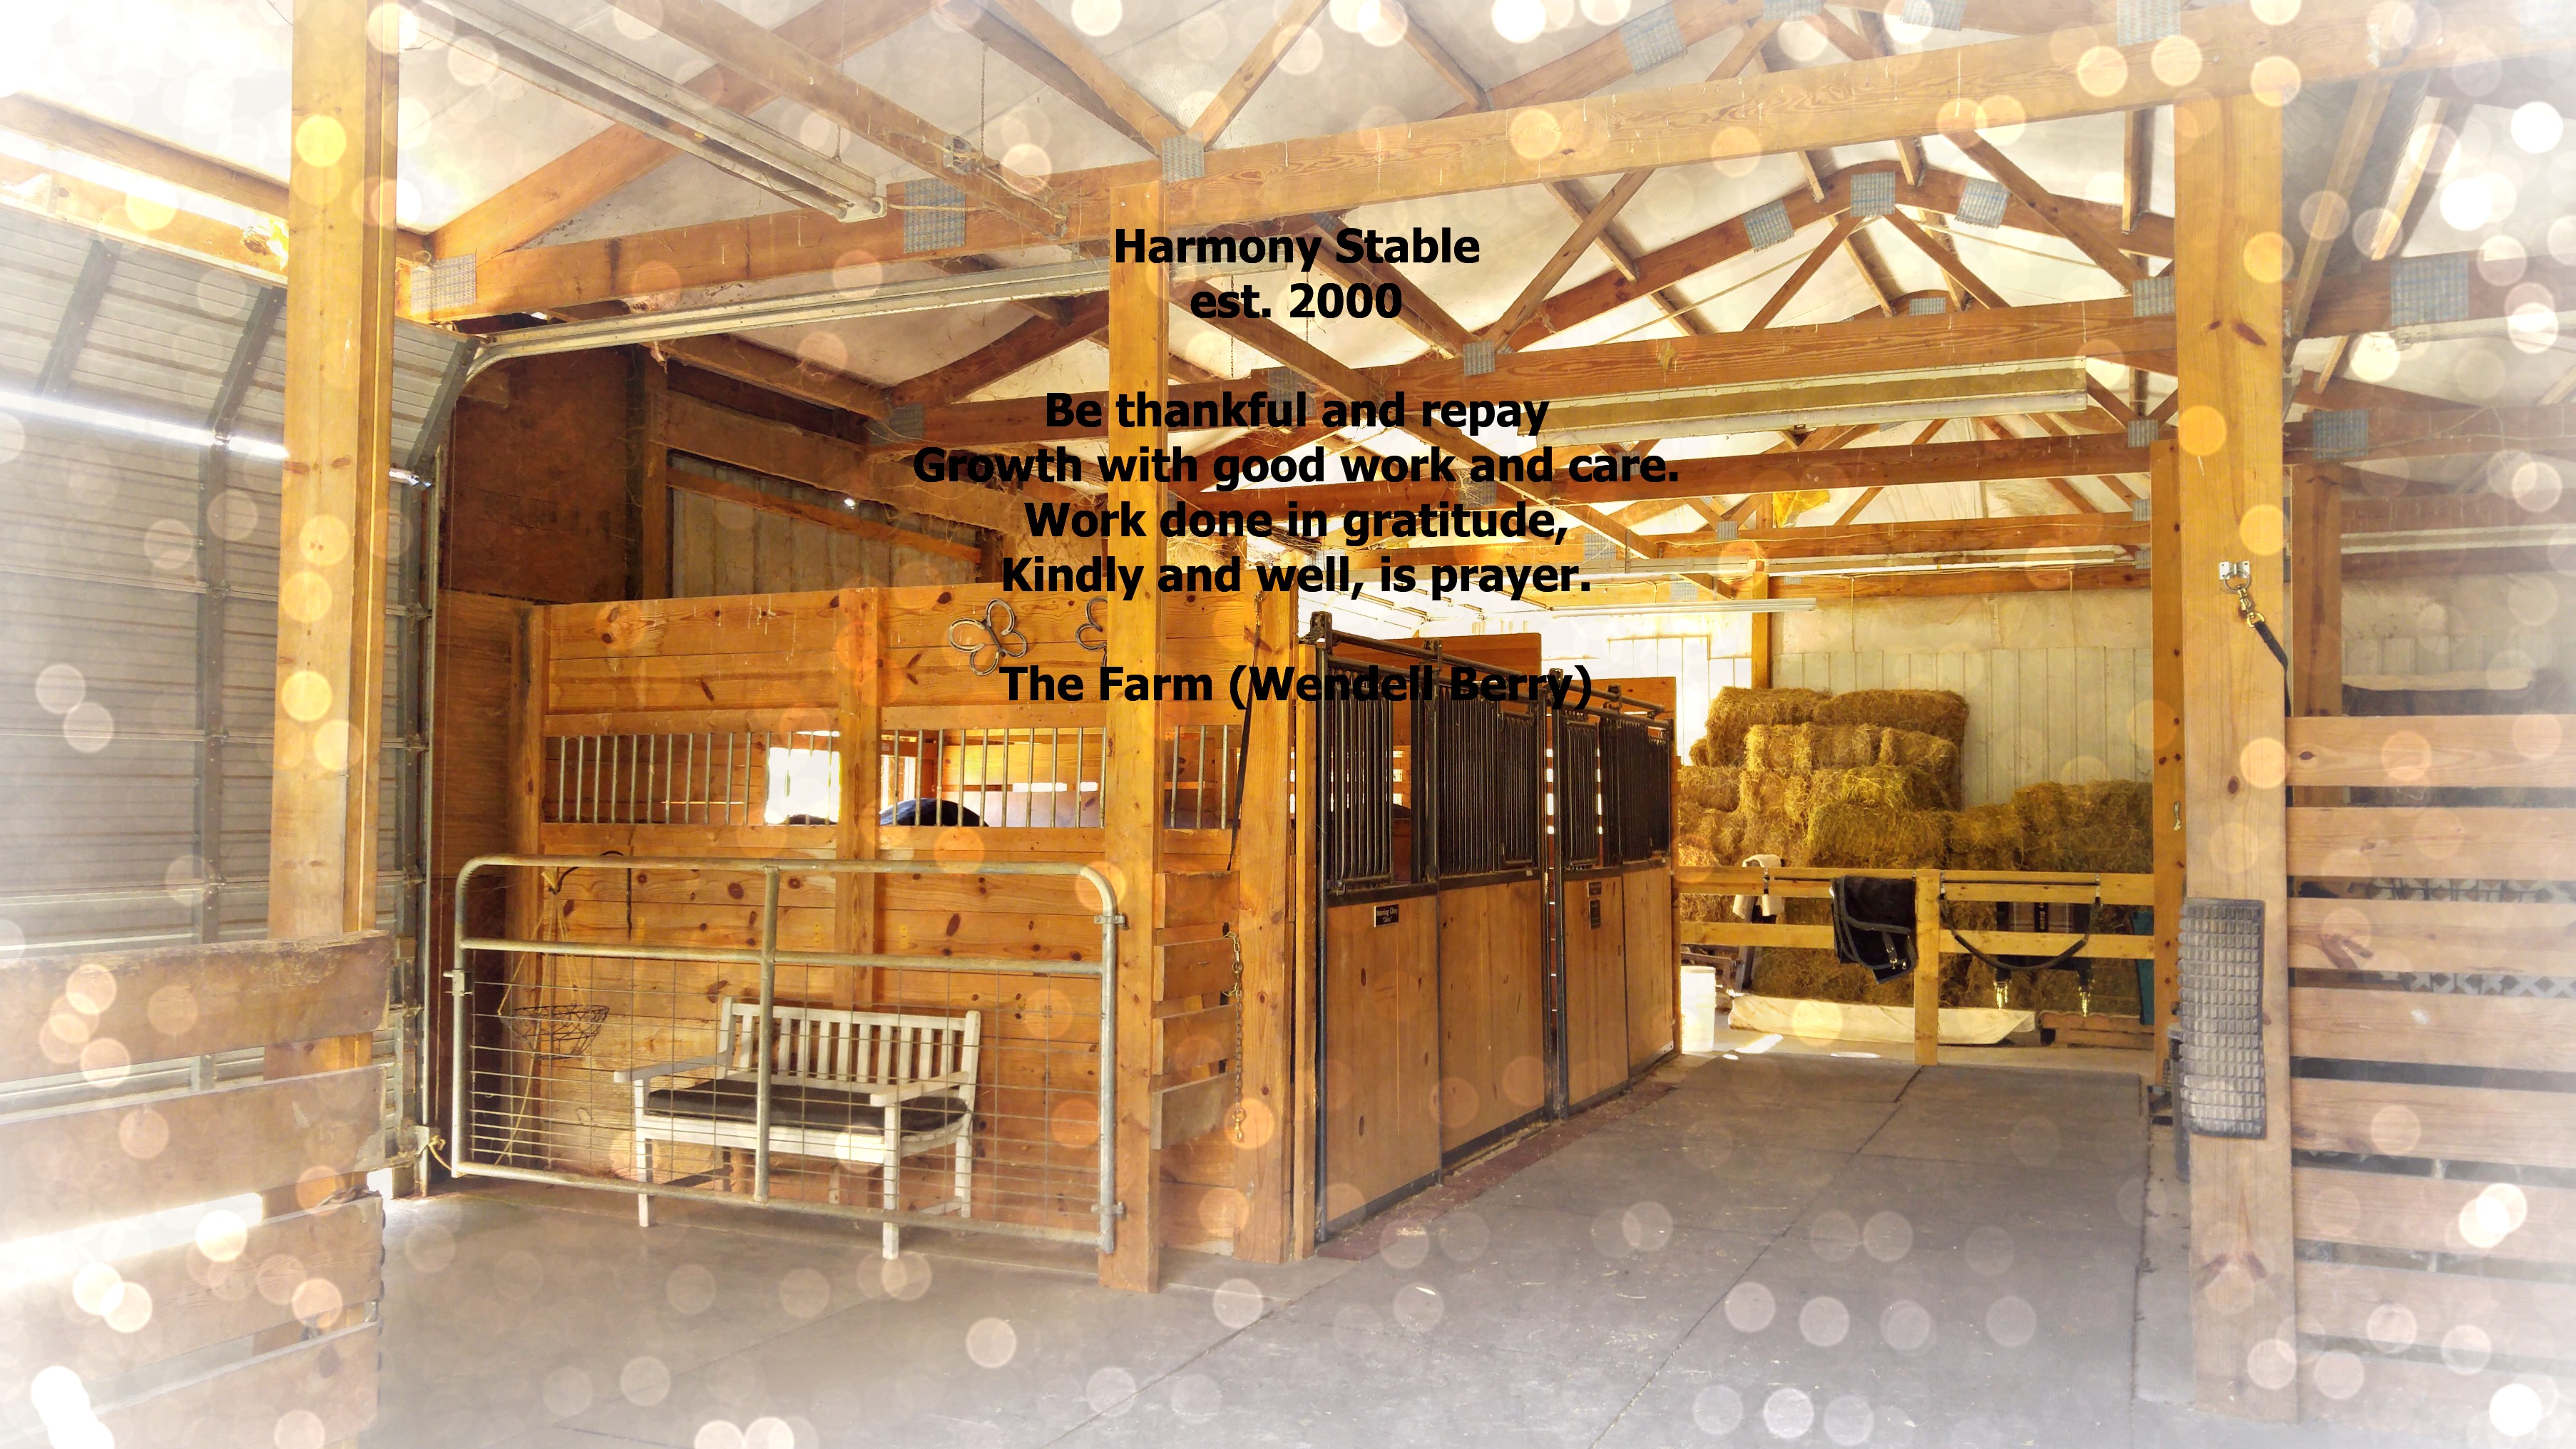
With a grateful heart I celebrate 15 years at this place.
This autumn will sparkle forever like a jewel in my memory. (These photos are better than my words.)
Fencerows Popping With Color

sugar maples
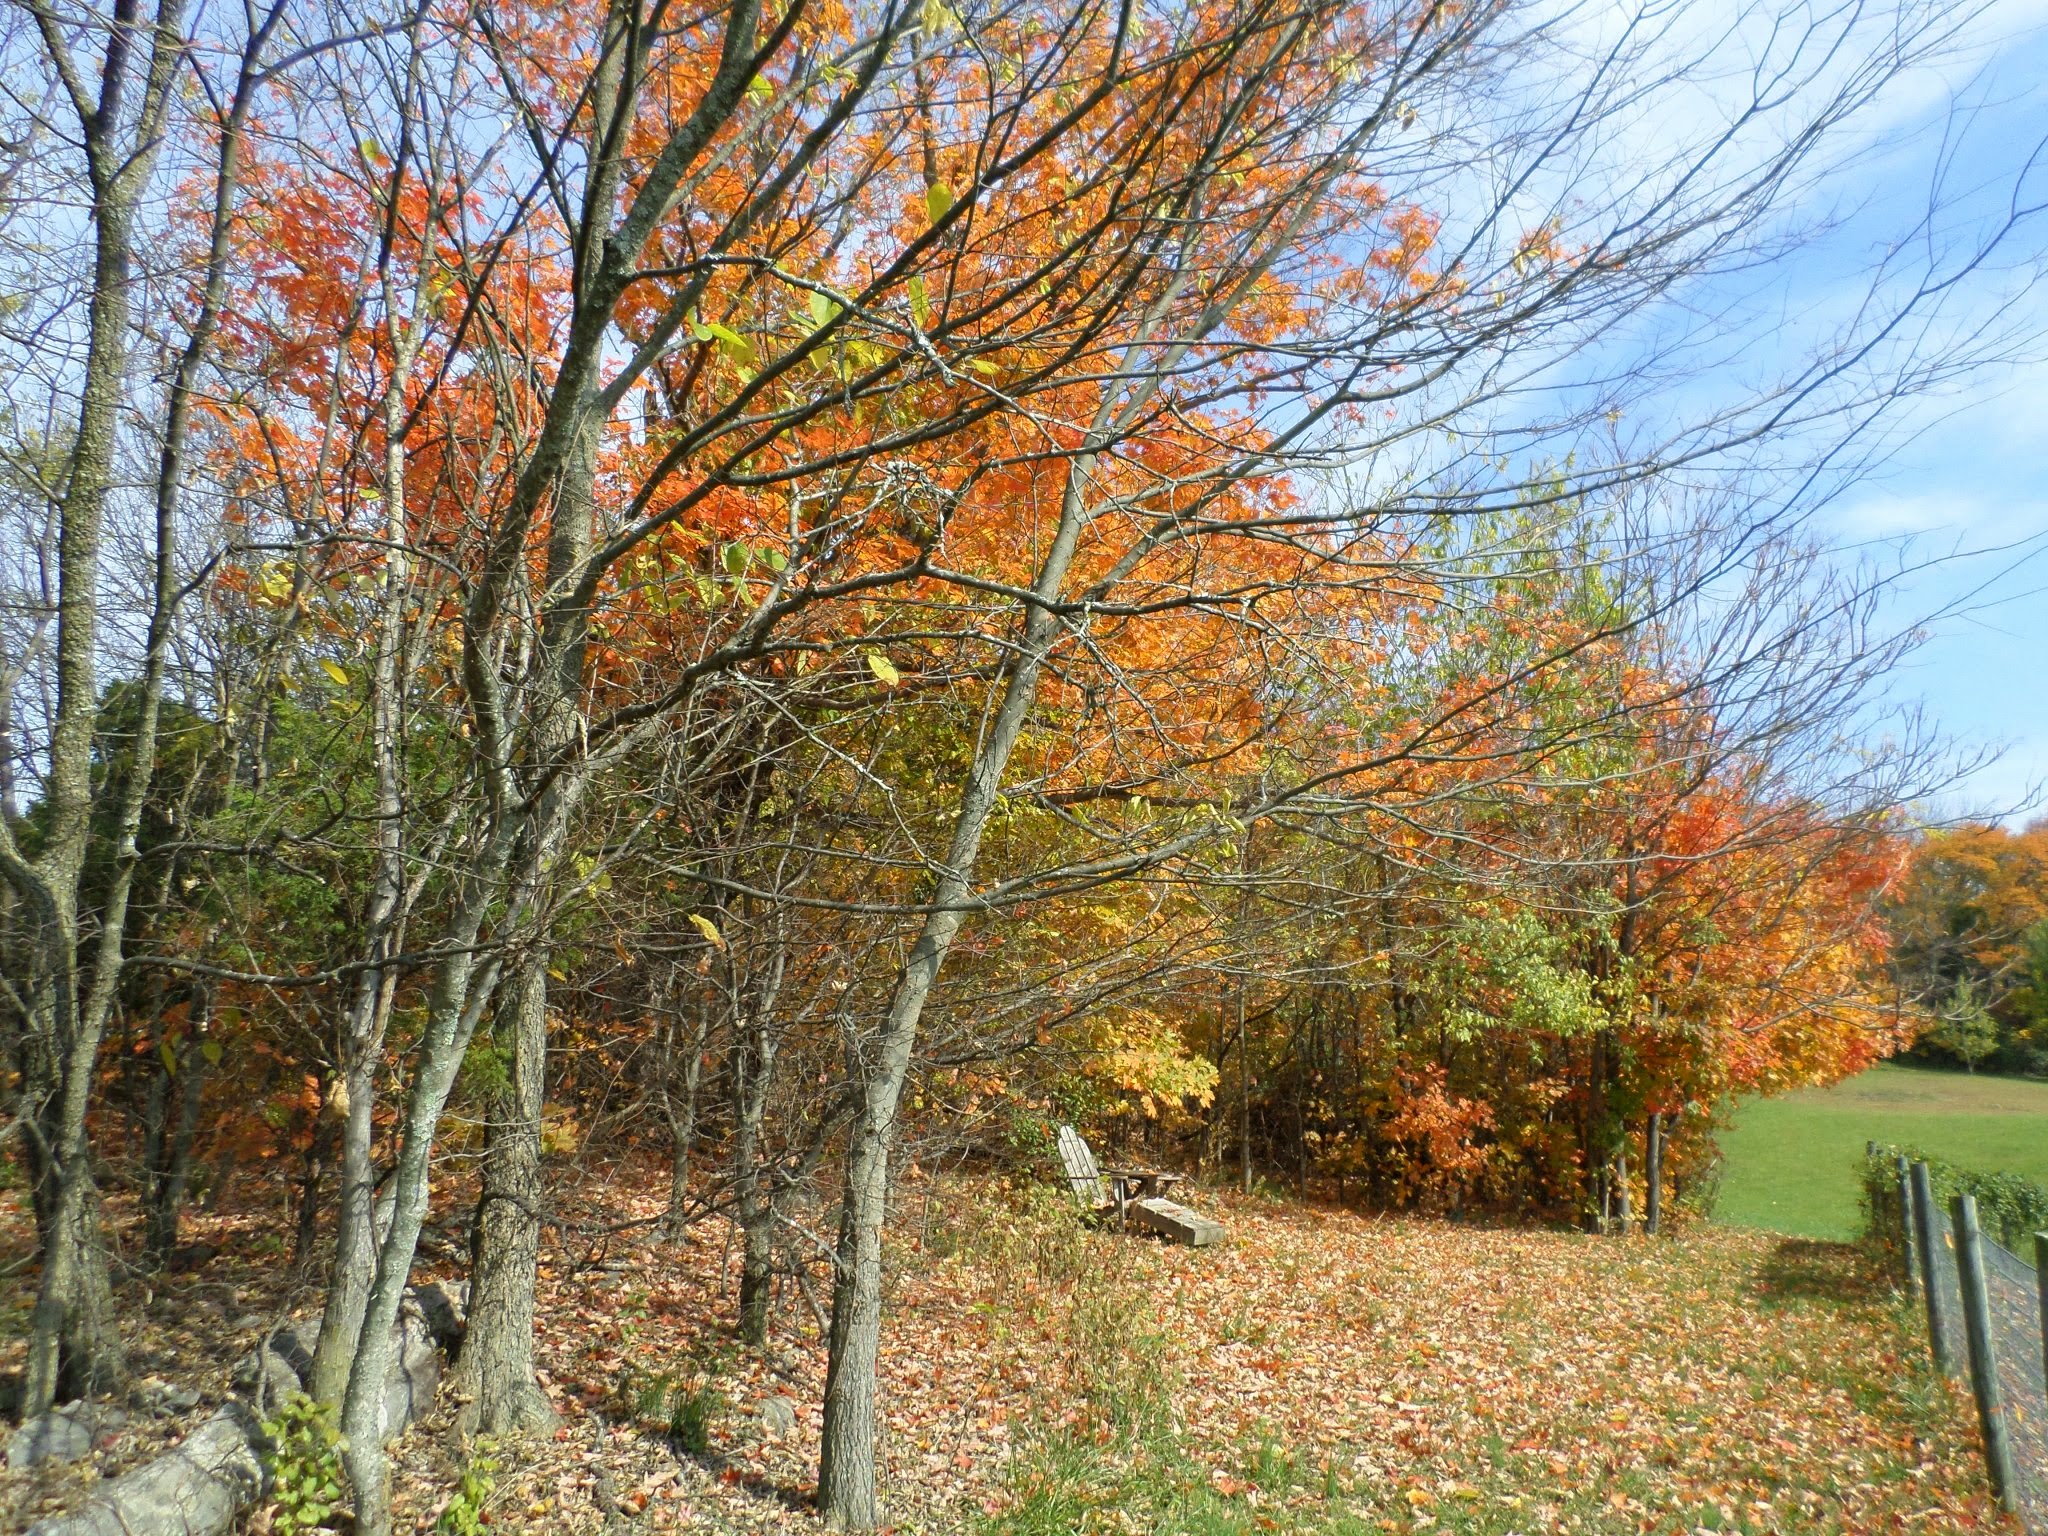
day after day, ridiculously beautiful weather
Foggy Mornings
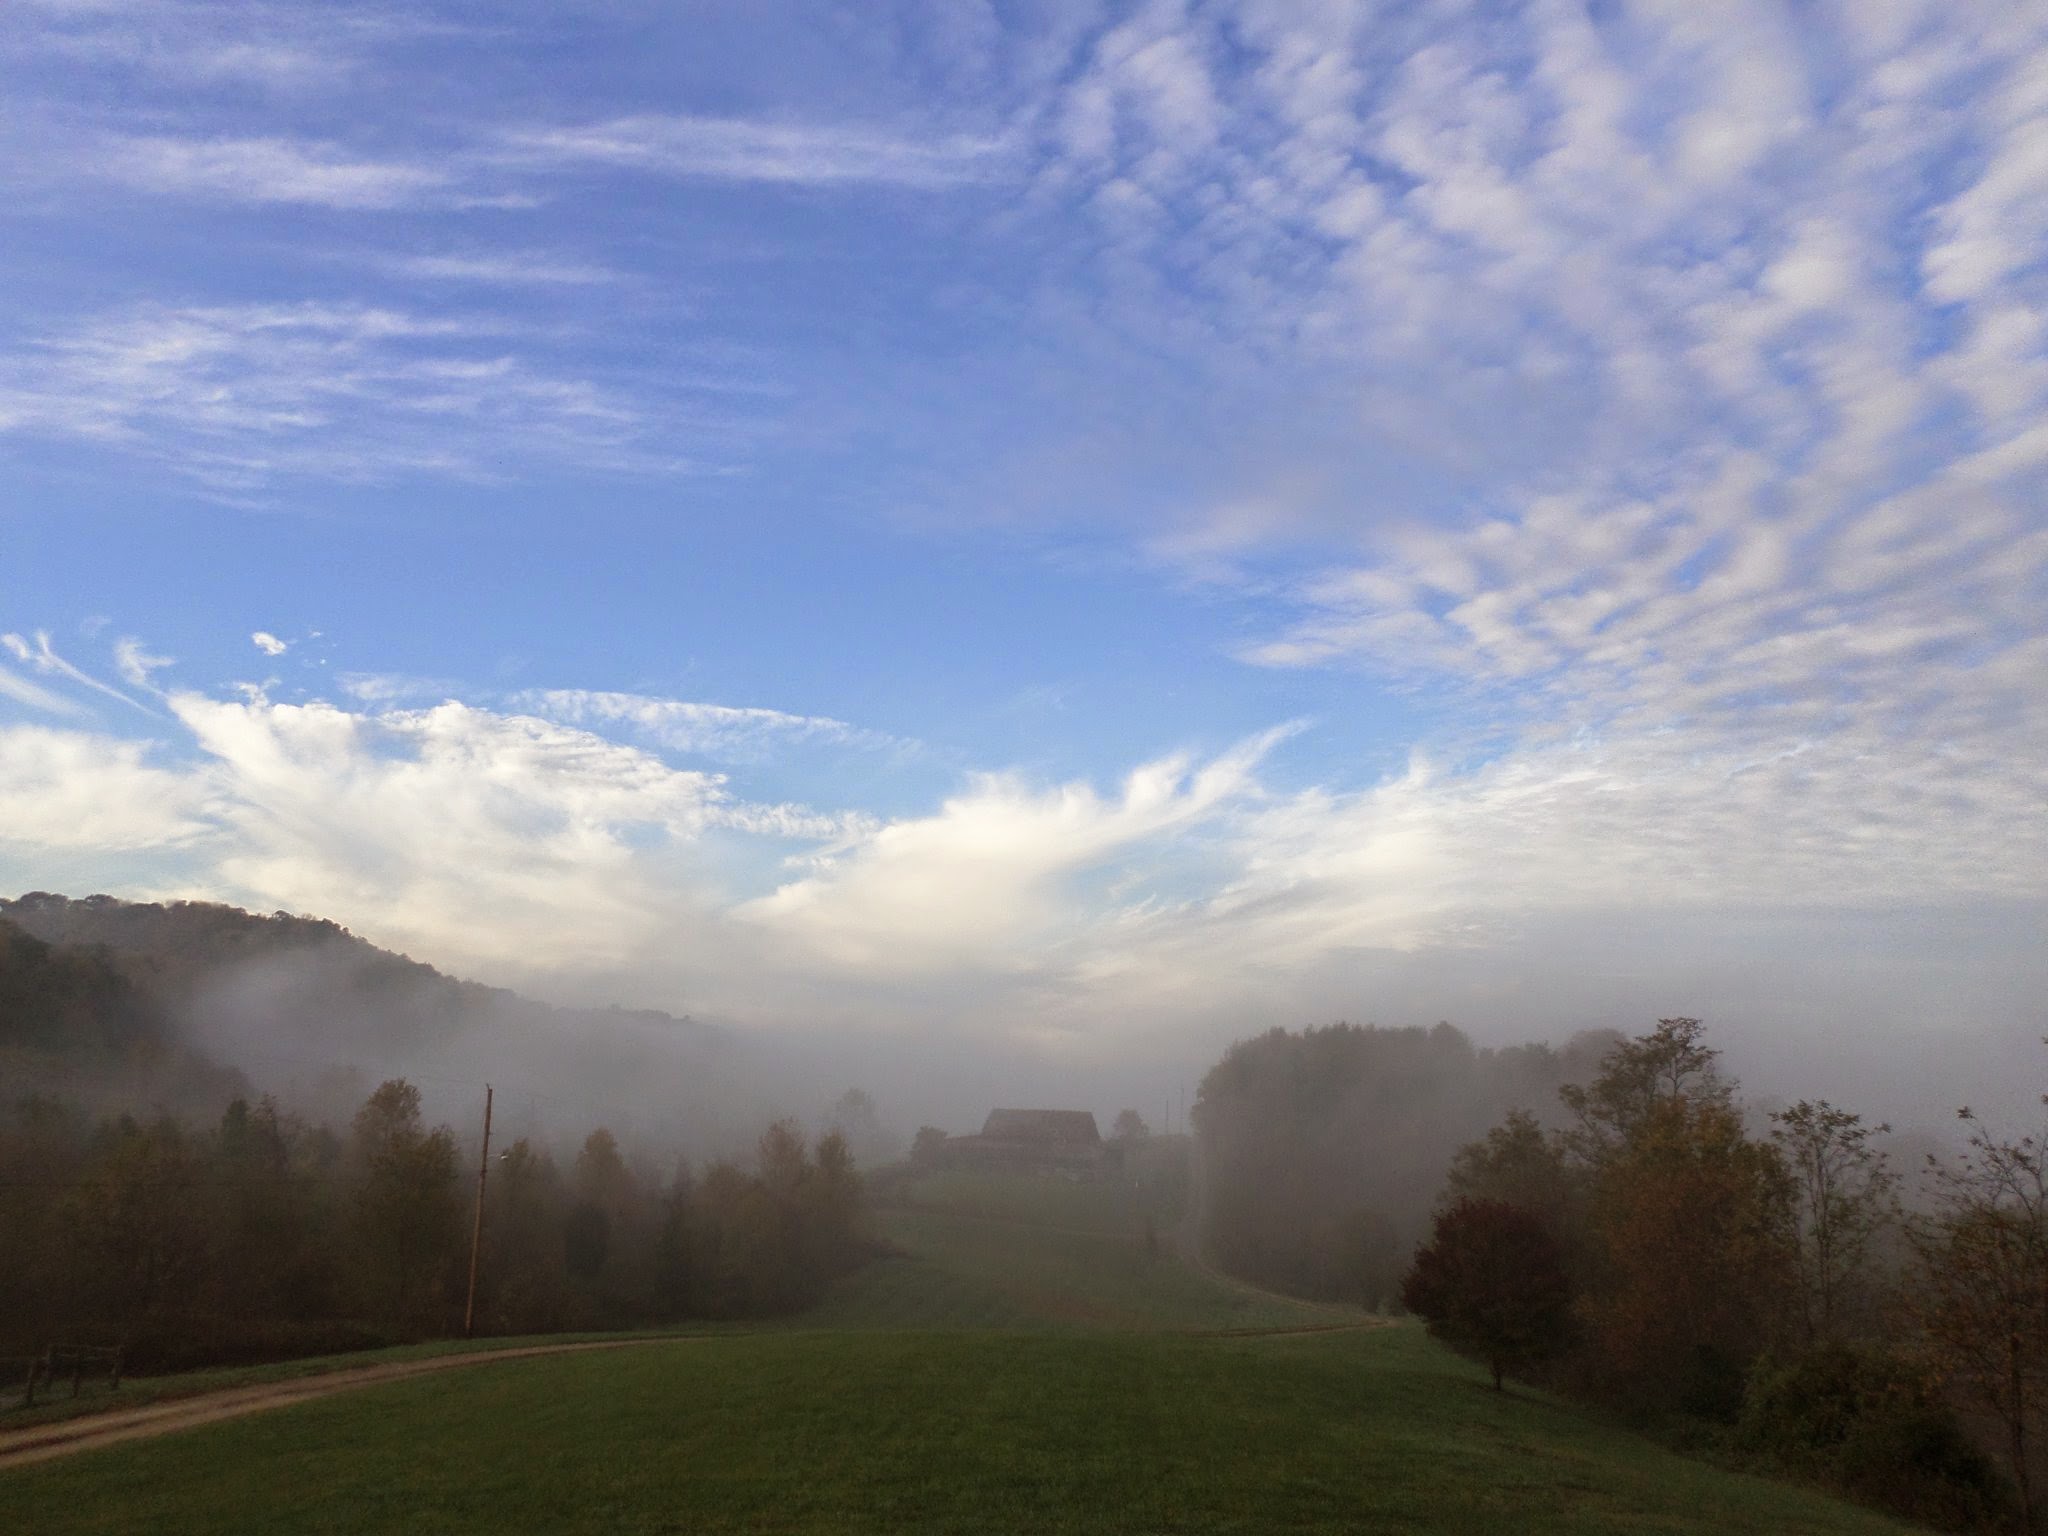
this view…

…or this
Happy Dogs, Happy Horses
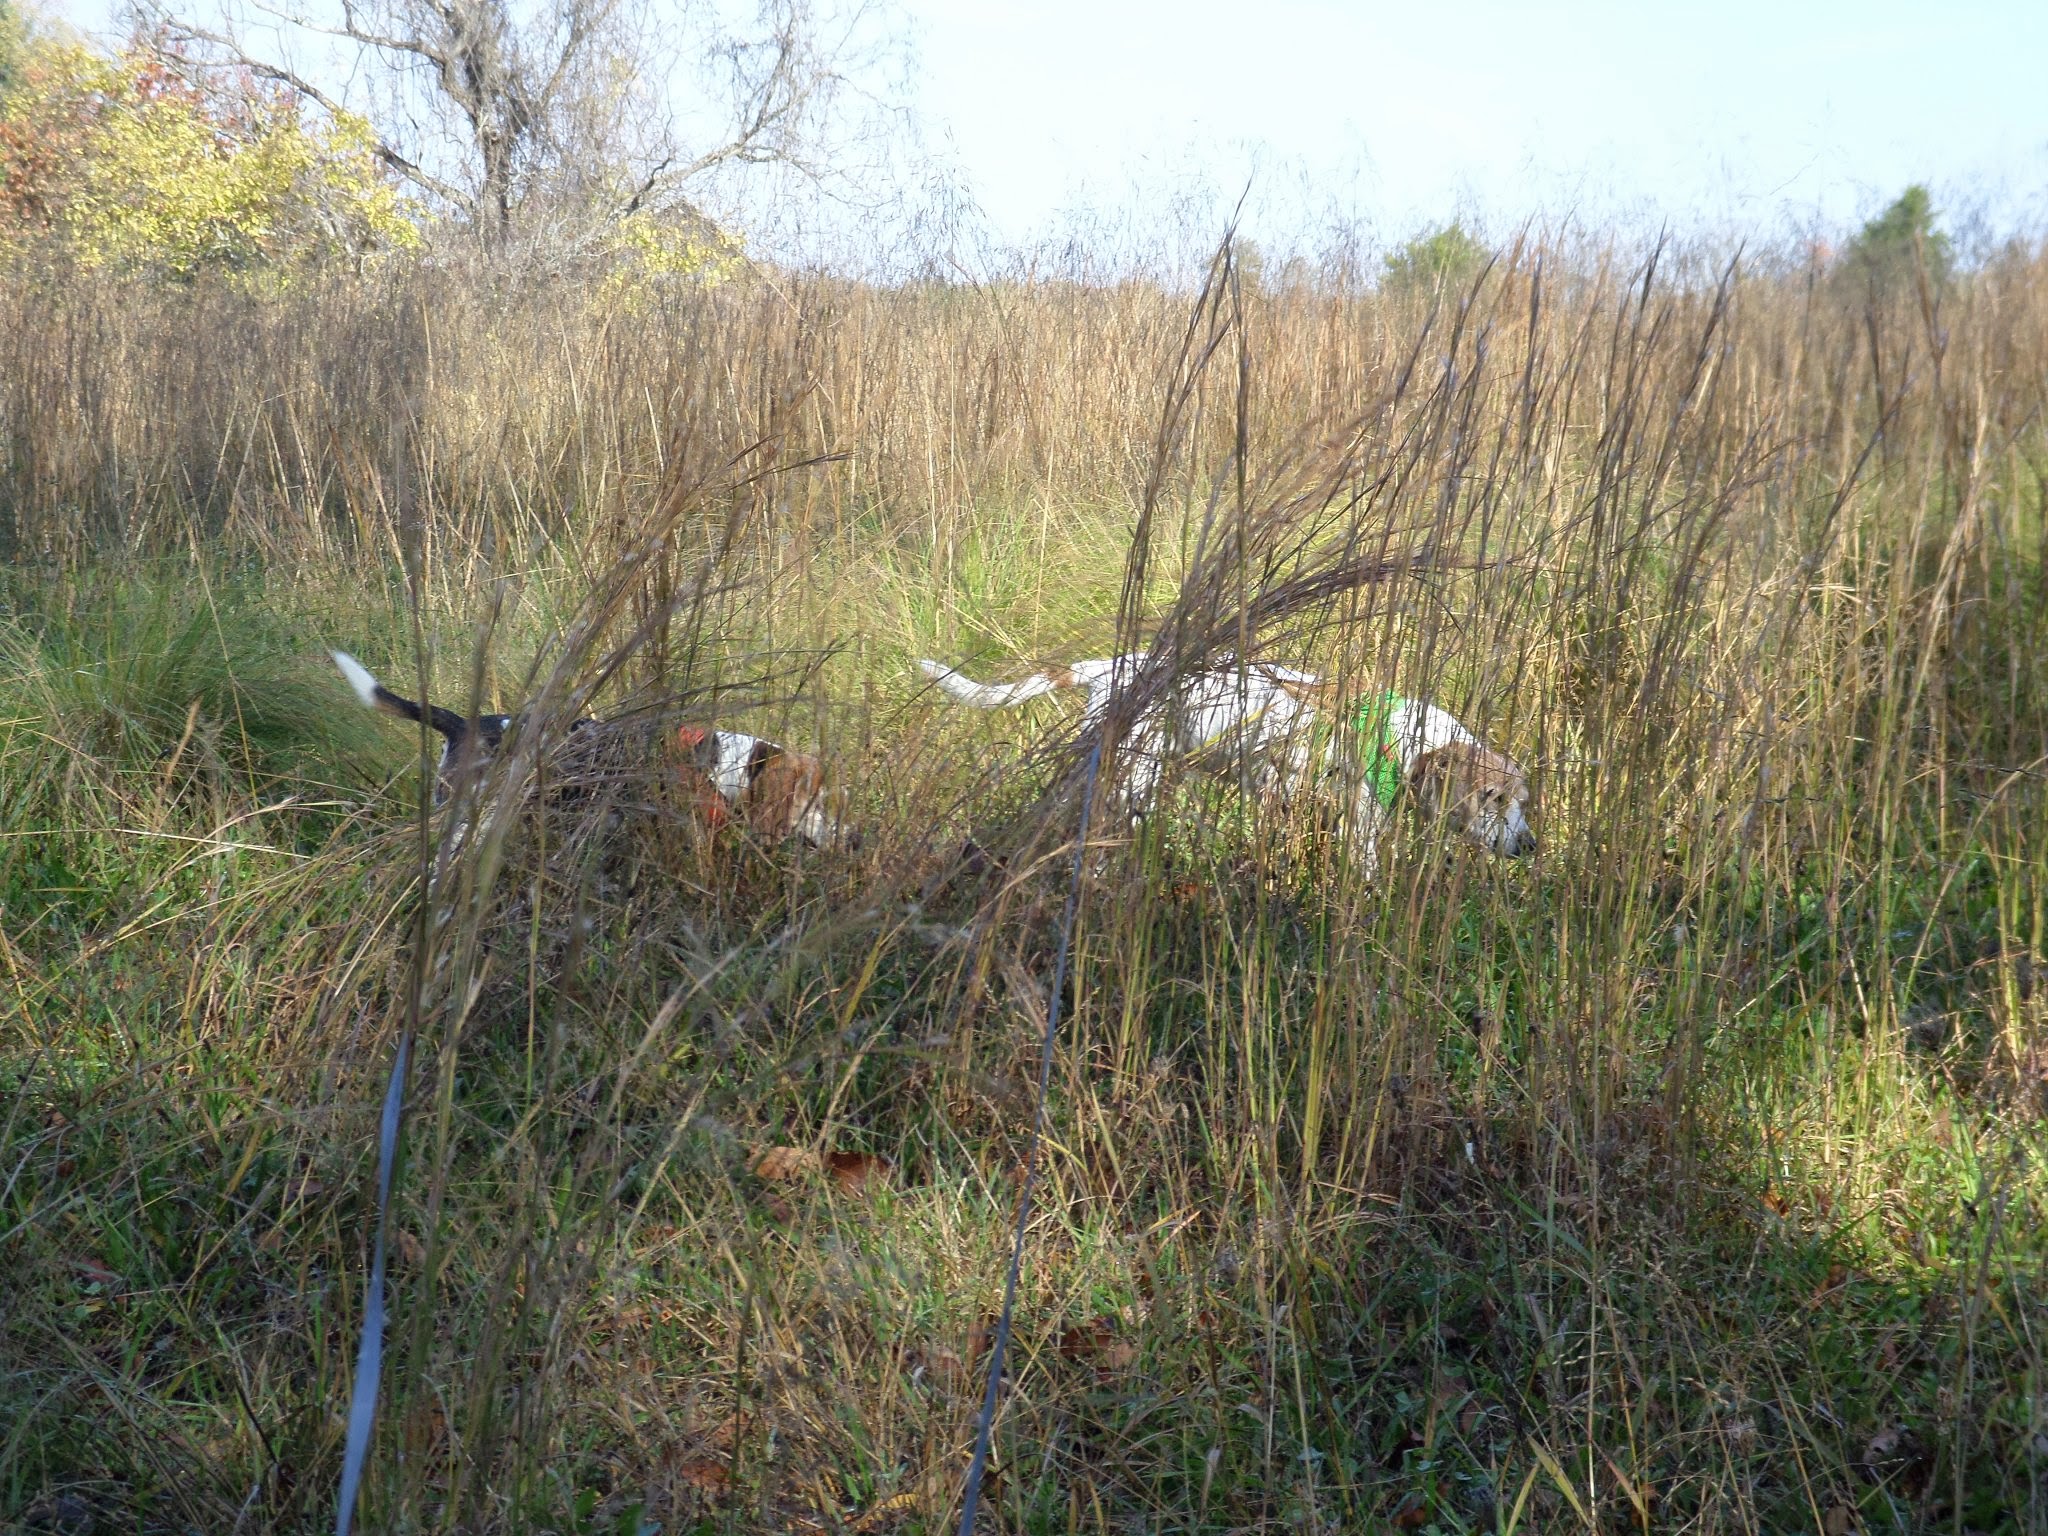
hounds afield
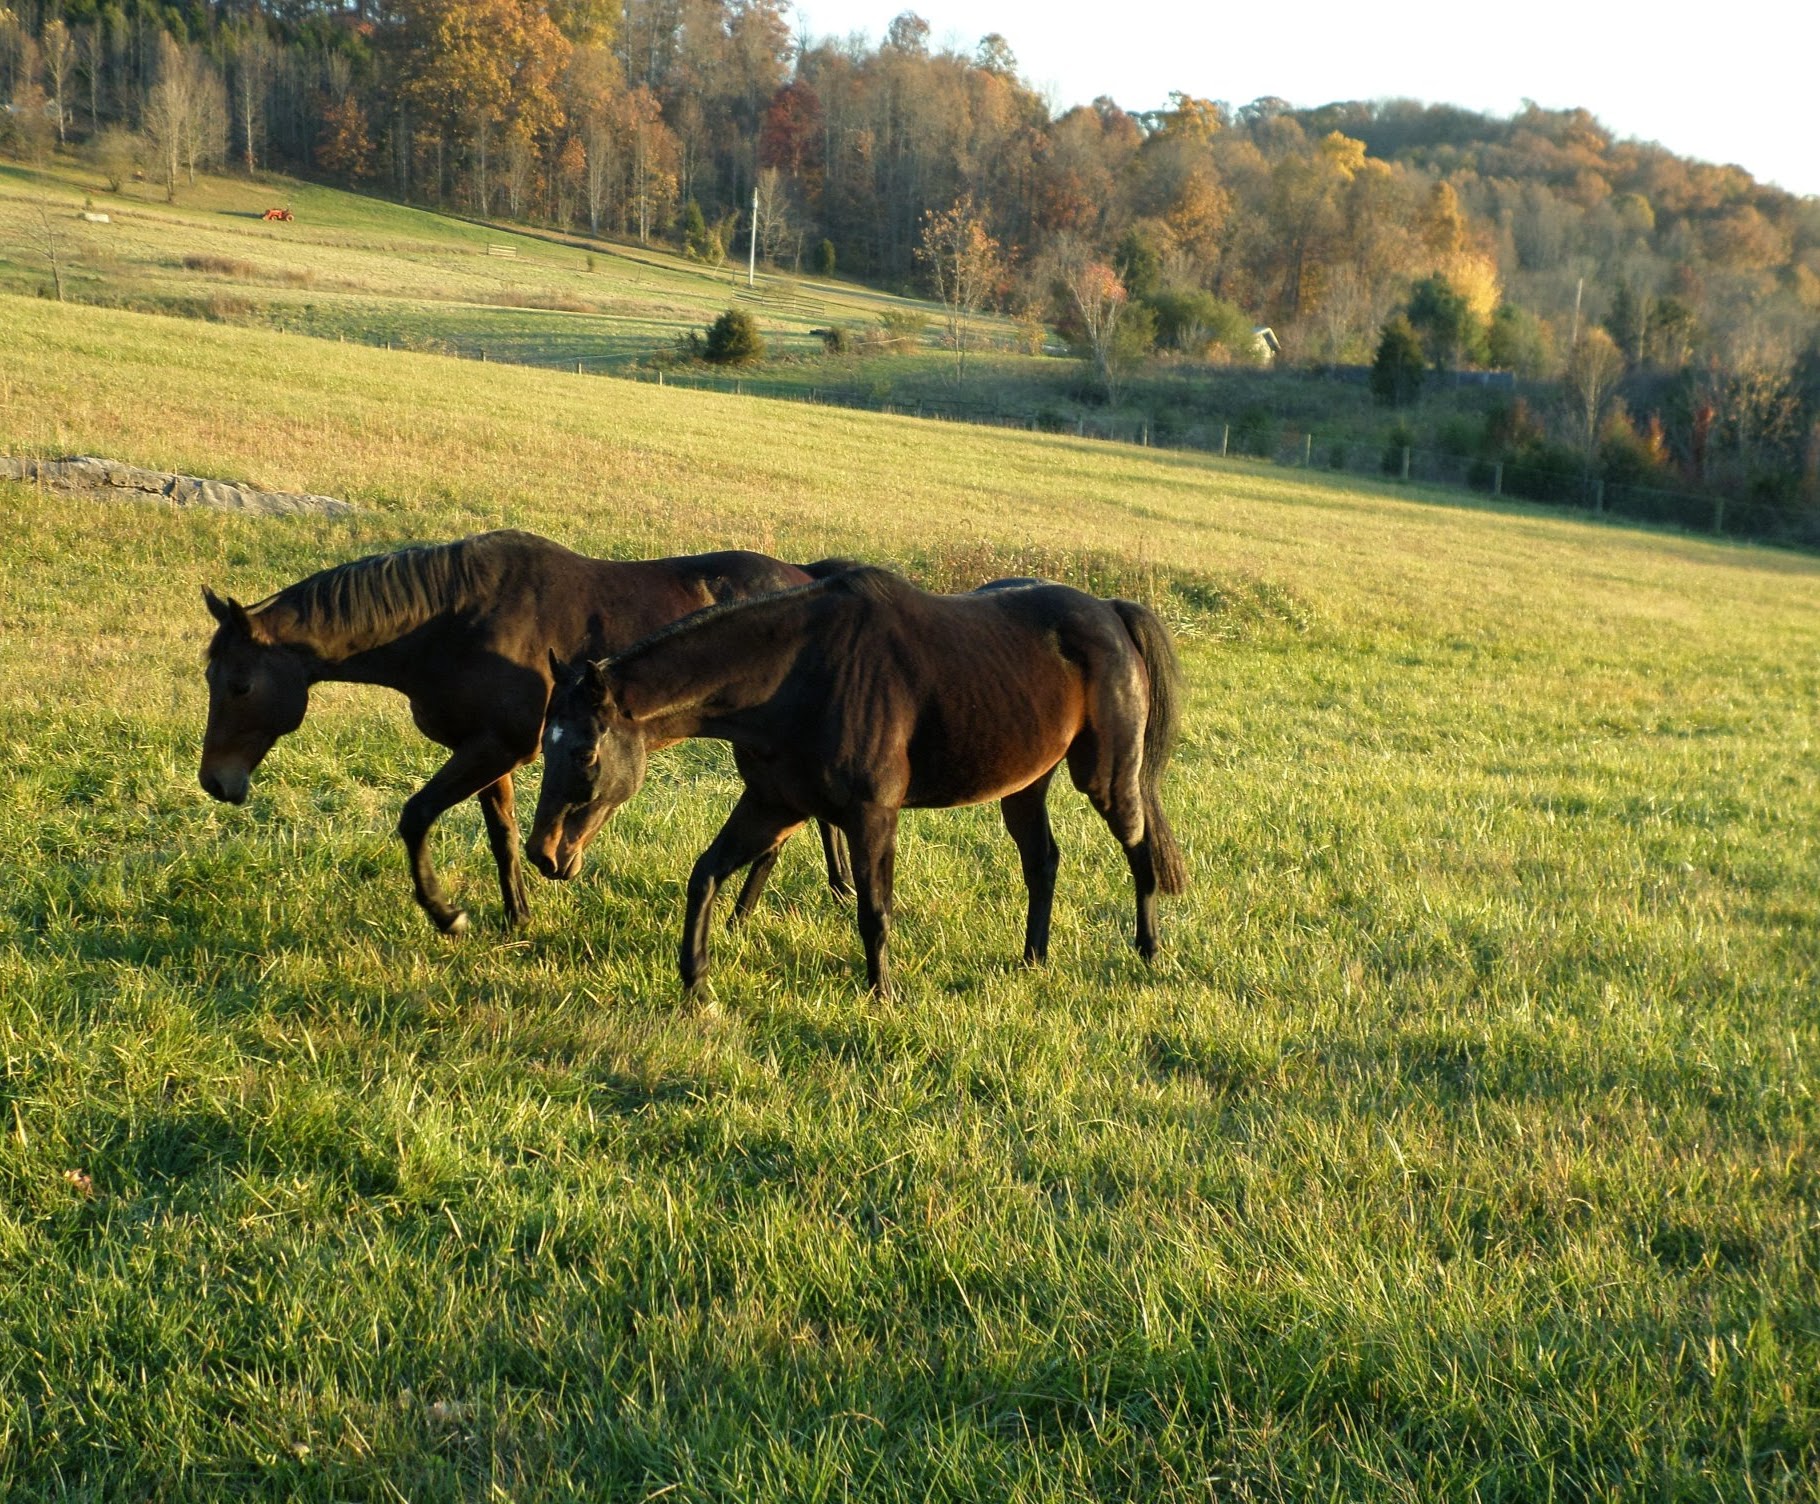
Glory and Hero heading in for supper

Hero ambles down the field for breakfast

the goddess himself
November Snow
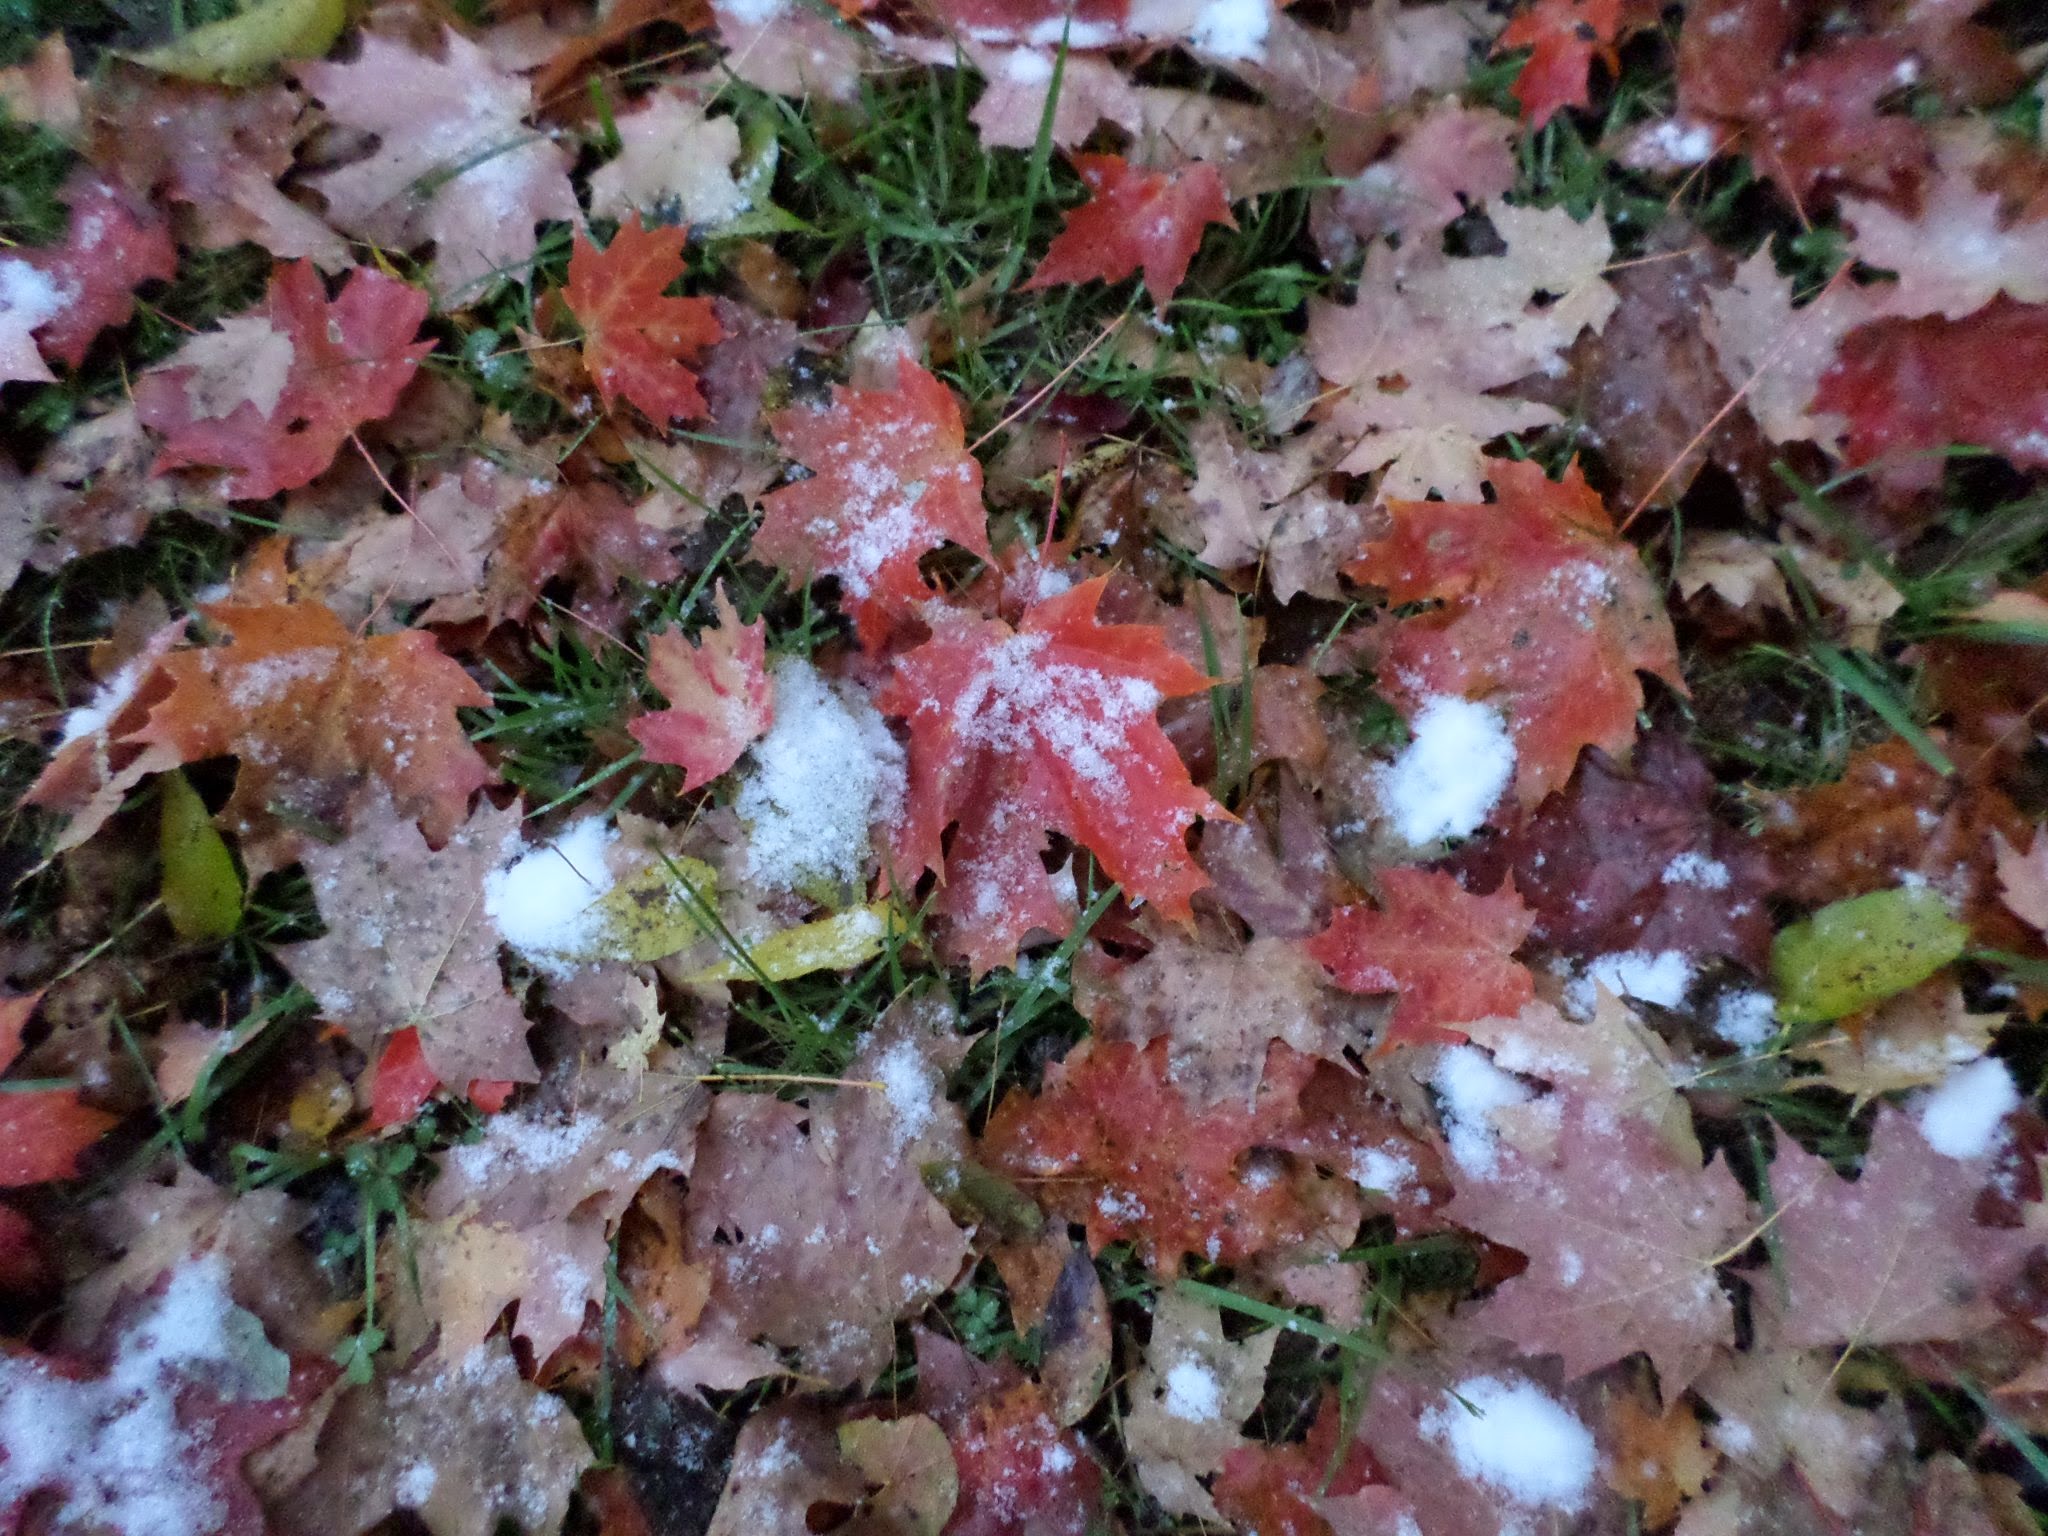
a carpet of green grass, autumn leaves, and snow

a pop of red
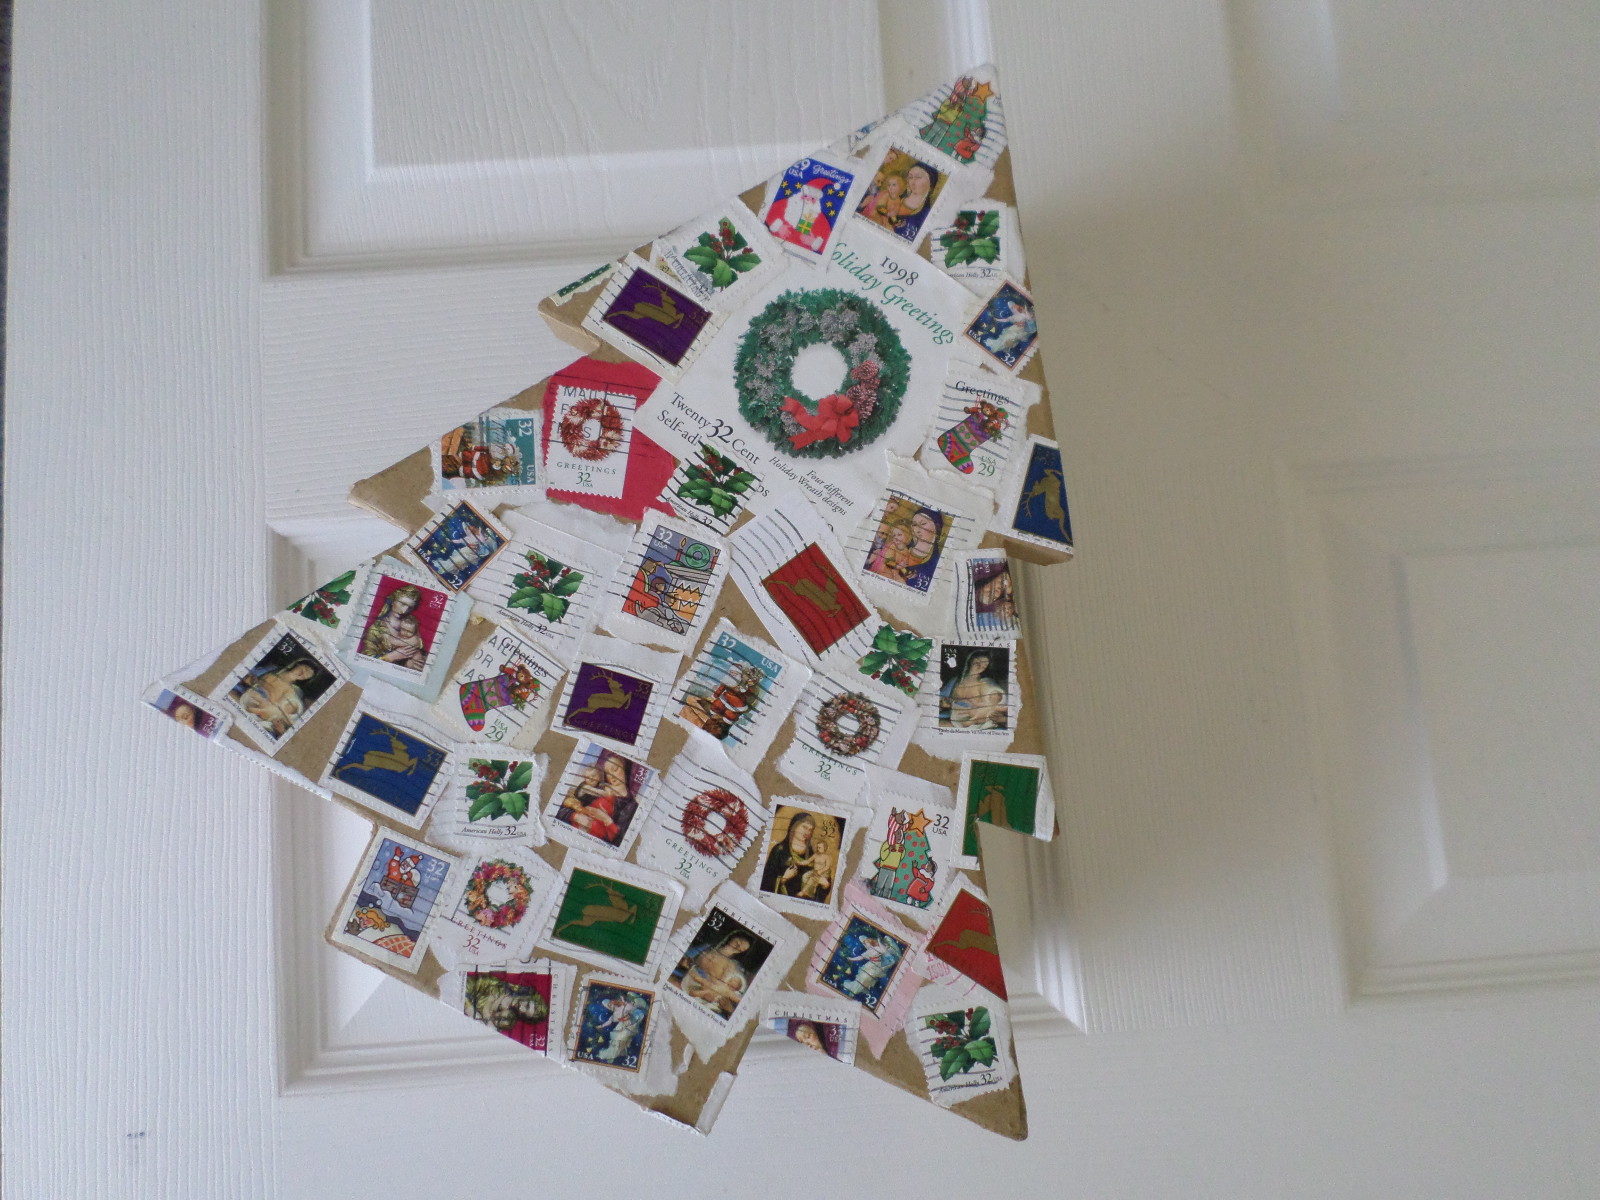
Stamp Box: I started this project in 1995 and have been adding Christmas stamps every year since.
Warning: This project may turn you into a compulsive stamp-saver.
Stamp Box Materials
Simply cut or tear the stamps from the envelopes (leave a little envelope if it’s a pretty one) and then glue them on your selected item. When finished, you can apply a few coats of Mod Podge as a sealant.
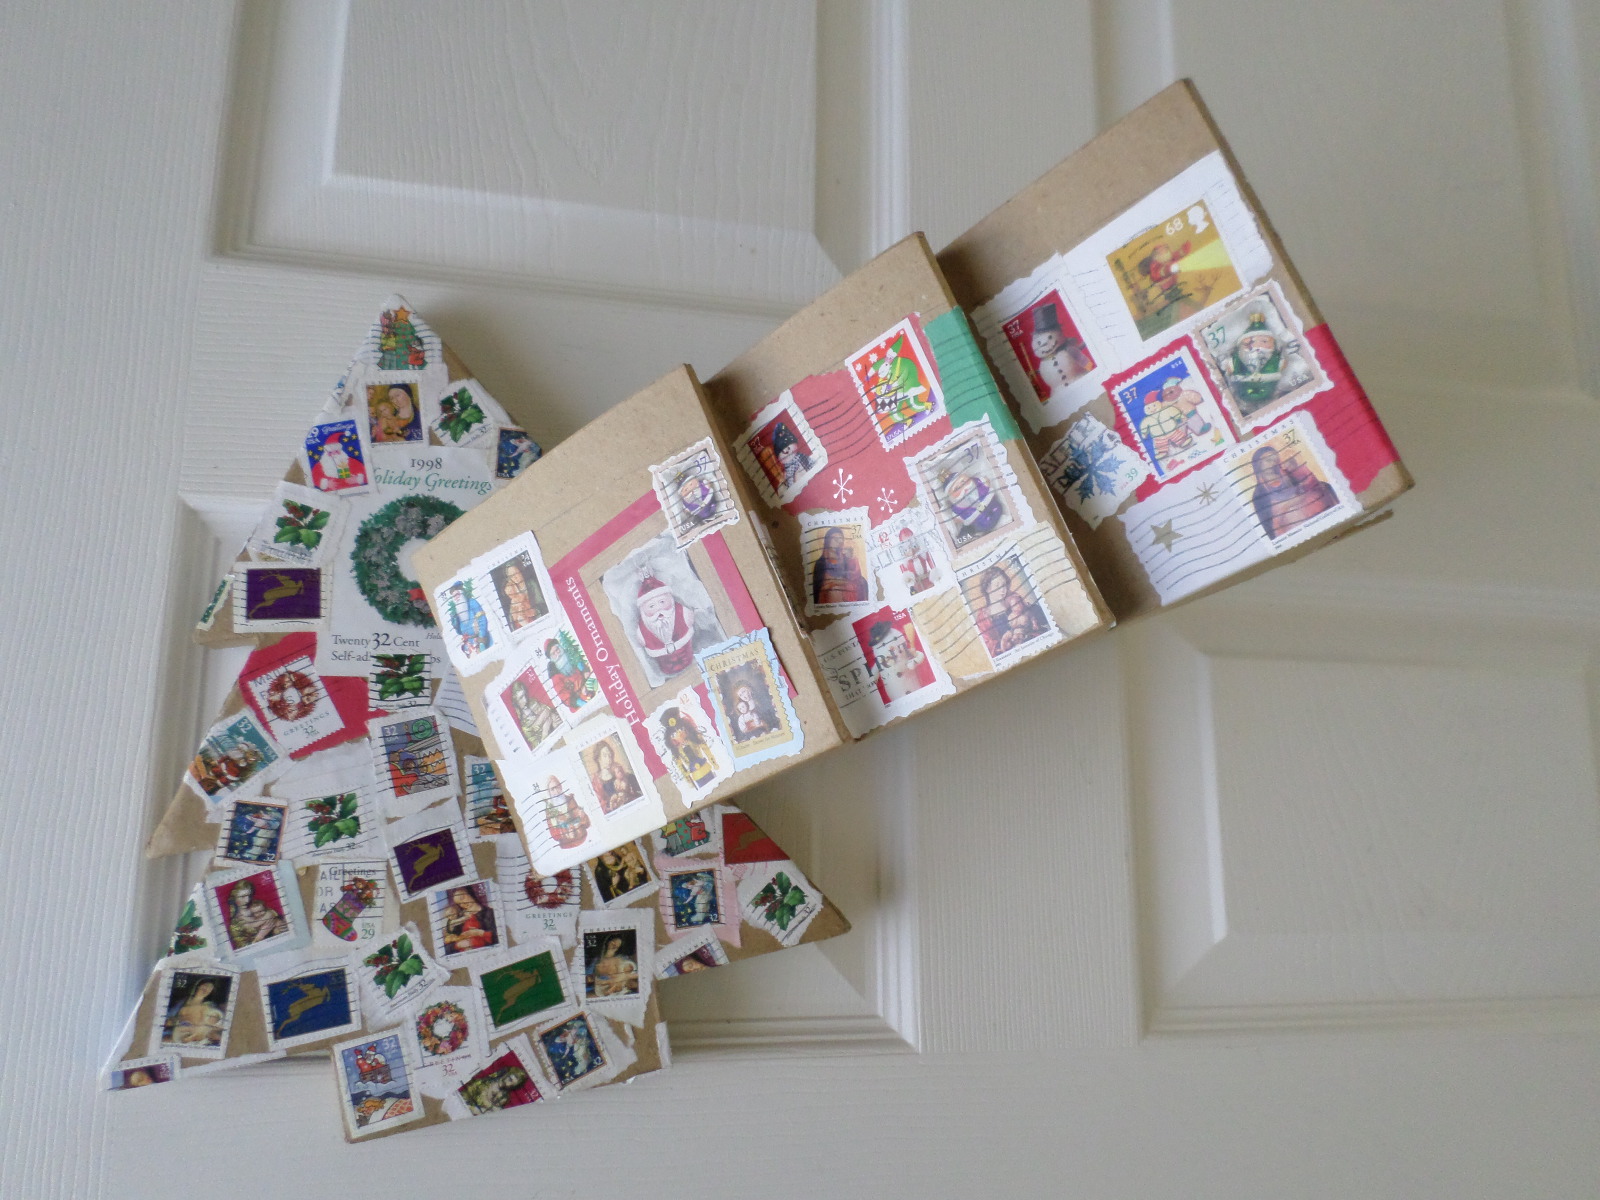
Once I filled the box lid I started on the sides…
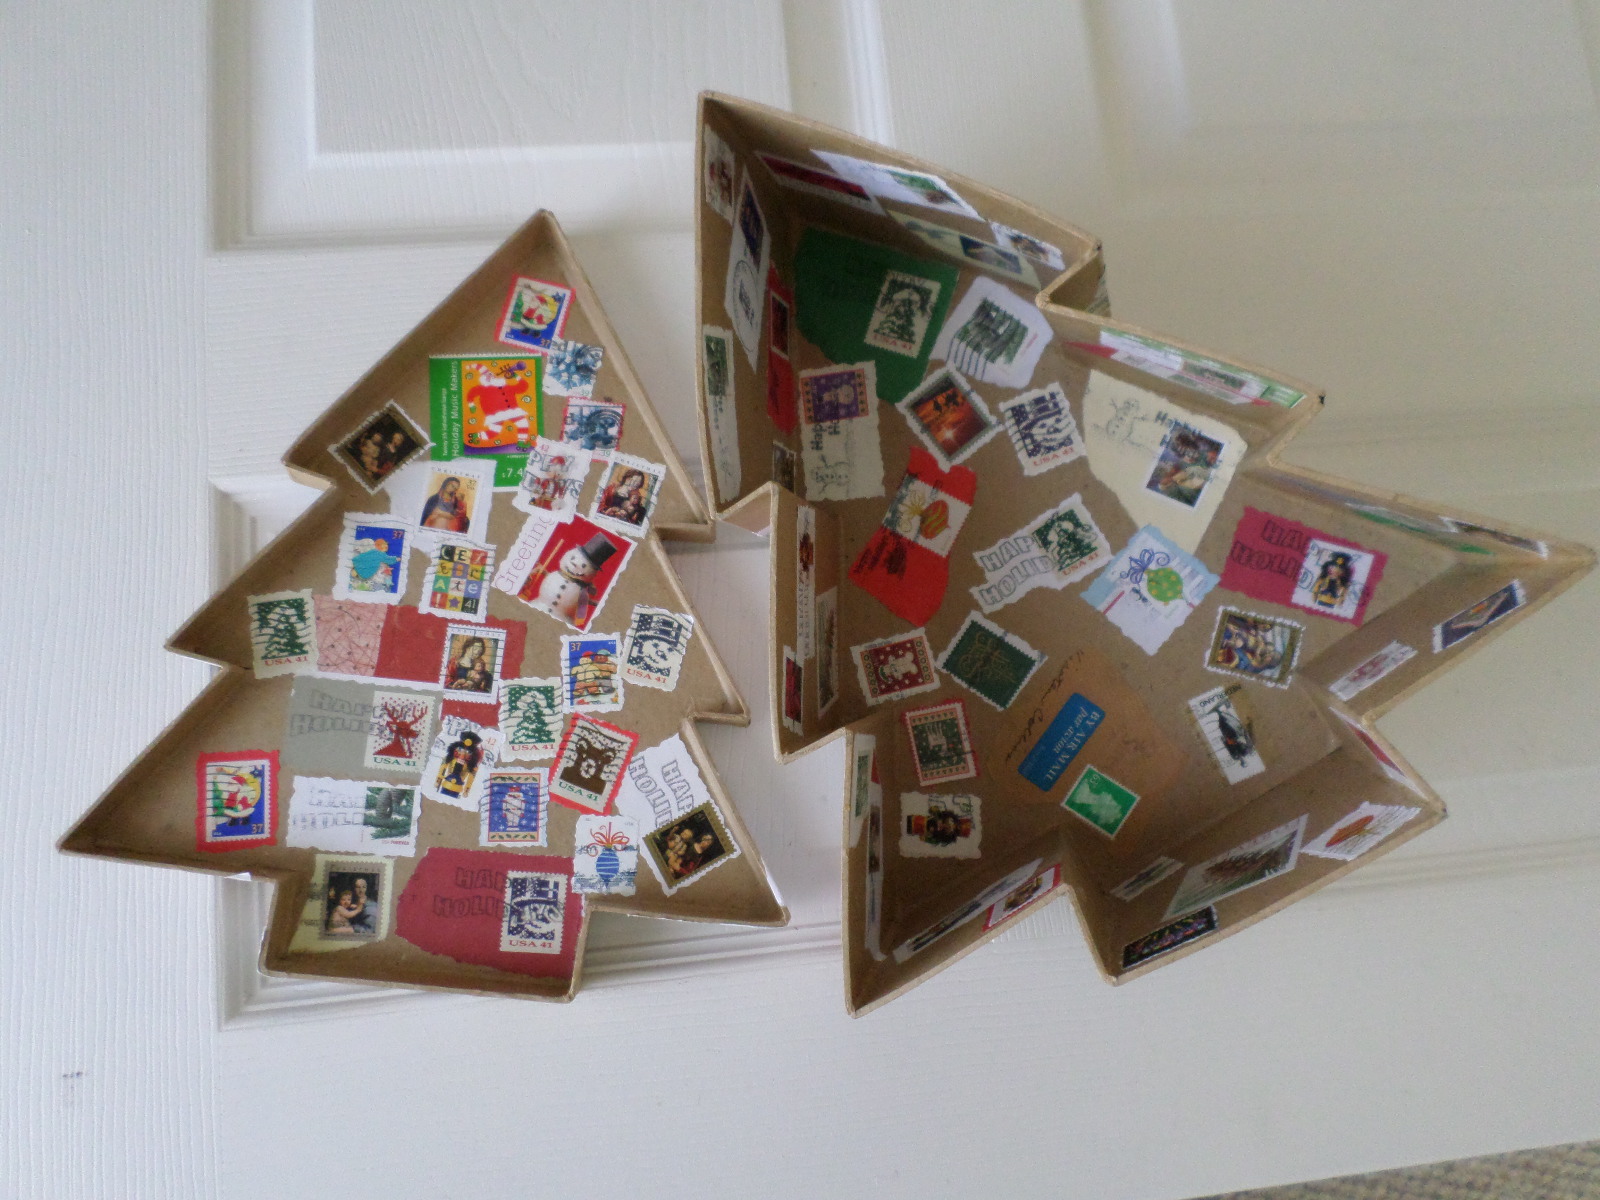
…and then started filling up the insides of the box and the lid.

love that pinkish-red envelope

how cool is this Royal Mail stamp?

one friend added a silver snowflake embellishment
I leave this box open in the foyer at Christmastime and add all the cards that arrive each day. Before I store the holiday decorations I spend an afternoon updating my stamp box. I figure I have one or two more years before this box is full and then I’ll do a wooden bowl or box and maybe even incorporate a few pages from some old hymnals onto the new receptacle.
Be sure to send me photos if you do this project!
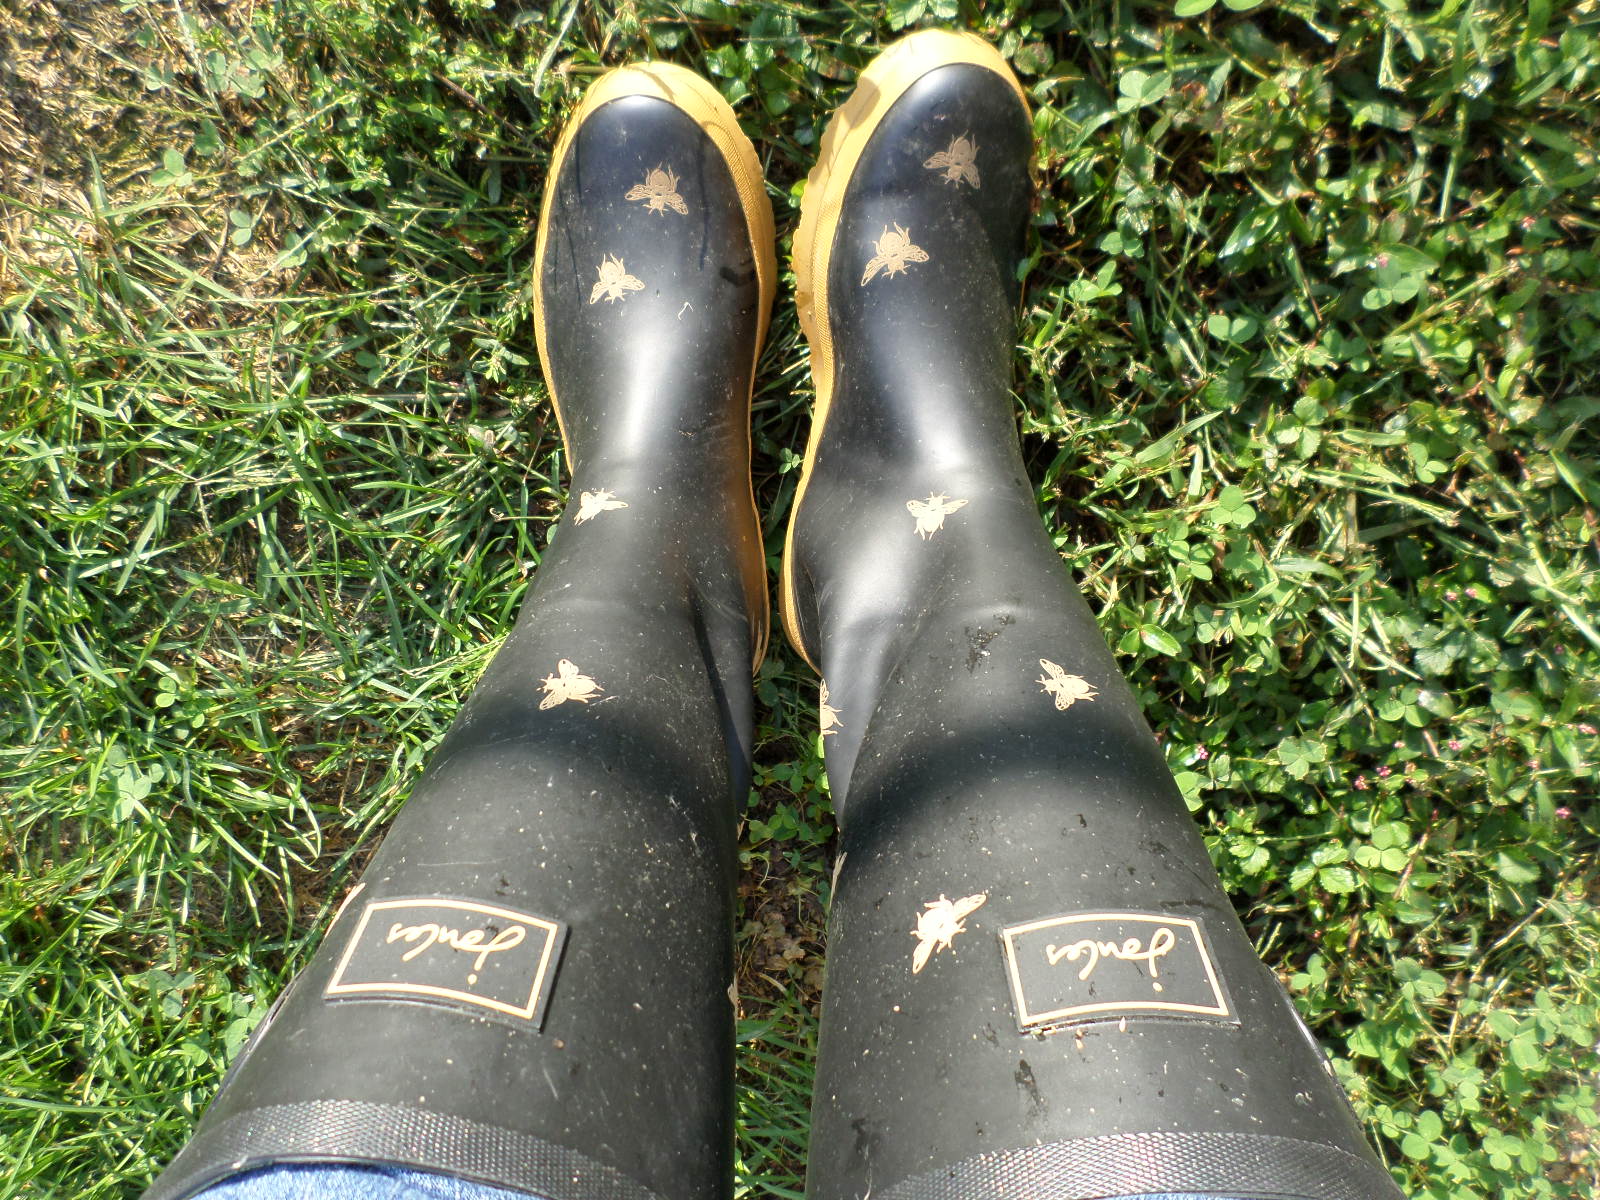
Two words, my friends: bee boots.
Lacking any true artistic talent I am forced to borrow heavily from others.
I find myself forever snipping little bits of images here and there and then squirreling them away. Like everyone I can’t resist a beautiful photo but I also find myself drawn to the artwork on packaging. Who knew seed catalogs and hard cider bottles could be such a goldmine? I once framed the cover of an old Garden Botanika catalog. Don’t get me started on cancelled postage stamps. Haven’t you ever saved a card simply because you loved the art?
This snippet hoarding began when I first read Julia Cameron’s The Artist’s Way back in the late 90’s. Again, I’m not an artist but the book is chock full of exercises to awaken one’s slumbering creativity. Week Seven is my favorite because it is Collage Week. Julia makes you rip images from a stack of magazines and then make a collage from them. It is imperative that you not over-think this exercise. These collages are a blast to make and I find I have never been able to break the habit of saving an image that appeals to me.
I find I rarely buy magazines any more in this digital age but that makes me wonder if package art has stepped up its game and filled that void in grabbing one’s attention. (As much as I hate to admit it the St. Pauli Girl people figured out years ago that a little cleavage sells a lot of crappy lager.) I started buying hard cider a few years ago and I am not kidding about the label art sucking you in; go find a bottle of Oliver Winery’s Bean Blossom hard cider. These labels don’t necessarily have beautifully rendered apple paintings but all can easily differentiate from each other on the shelf. My point? I don’t really have one except to illustrate how an inspiring image can come from anywhere. You just need to go with that feeling.
How does one deal with all of this mini-art laying about the house? With this month’s DIY project: collages, of course.
Let’s start with a big one:

Hung next to my work table for inspiration this oversize cork board groups a bunch of items — a sort of collage of collages. The framed art (a couple of paintings, a couple of photos, a postcard) are hung with long nails driven through the cork and into the wall. The magazine rack on the lower left, also mounted through cork into drywall, holds a collection of small collages I’ve made over the years. The tray on the lower right is a mandala I made about 15 years ago based on some now-forgotten book. There are some other odd pieces here but the cork board keeps them all corralled in one spot.
How about something a little smaller in scale:

This is a nifty little magnet frame I got at Pier One. It has a dreamy metal back that showcases little pieces: a couple of gift cards, a sweet yin and yang drawing, some buttons, a few things snipped from a magazine. I make my own magnets by taking the paper art and applying it to adhesive magnet stock and then trimming to size.
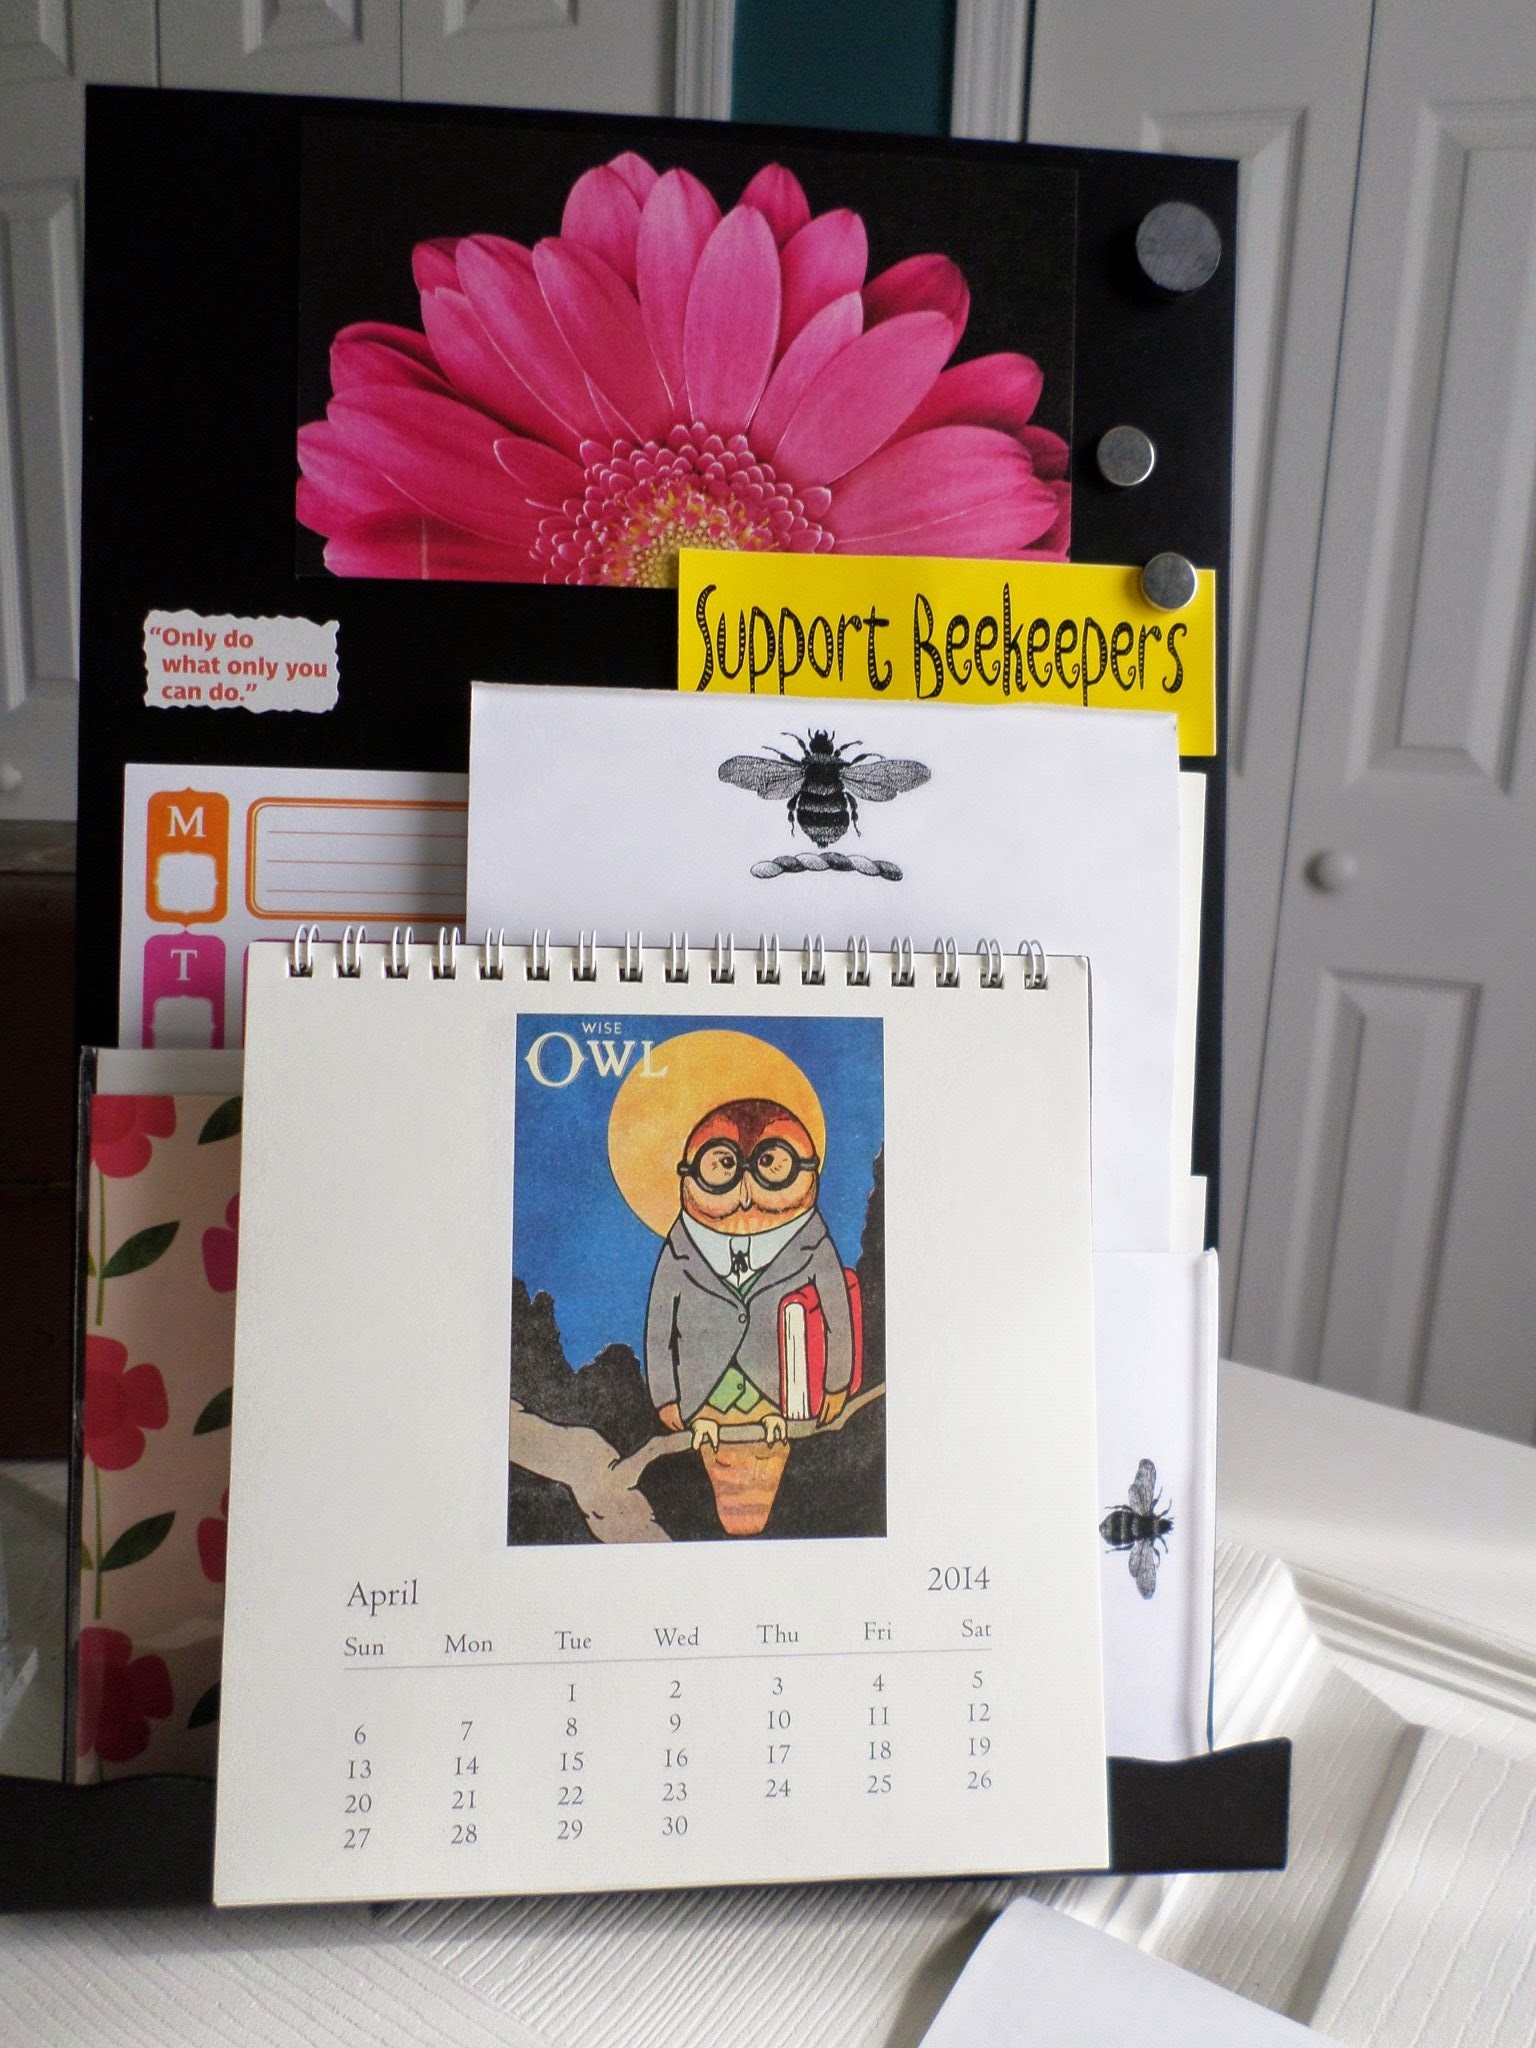
Another Pier One find, this is a metal desk easel. It has a tray along the bottom that is great for stuffing all manner of paperwork. A few more homemade magnets adorn this collage.
Or perhaps something to adorn your refrigerator door:

This old baking sheet belonged to a friend who was horrified that I wanted it for a display. I love its patina. It clings to my freezer door with super duper magnets on the back and on the front I used a few acrylic magnet frames for magazine photos and a postcard. During the holidays I put my favorite Christmas cookie recipes in the frames. It features a few more homemade magnets made out of tins and buttons. Also, I have a coffee consumption problem.
There are other magnet collages around here, but I think you get the idea. I love how interchangeable they are since you use magnets instead of glue. It is easy to do a collage for the seasons or hobbies or dinner menus or, yes, even your fave photos.

My thanks to Garden Botanika.
It’s been a slow season in the apiary as I have only one active hive this year. But you, gentle reader, will be happy to learn that I have used my bee-down-time productively by making enhancements to my entire beekeeping process.
Beenoculars
My husband is completely embarrassed by my bee-geekery and never more so than when I hung this bracket up in the kitchen. I used one of those little brackets that security cameras are mounted on and instead put my beloved Bushnell PermaFocus bird binoculars on it. It is mounted next to the window that has a direct view of the apiary.
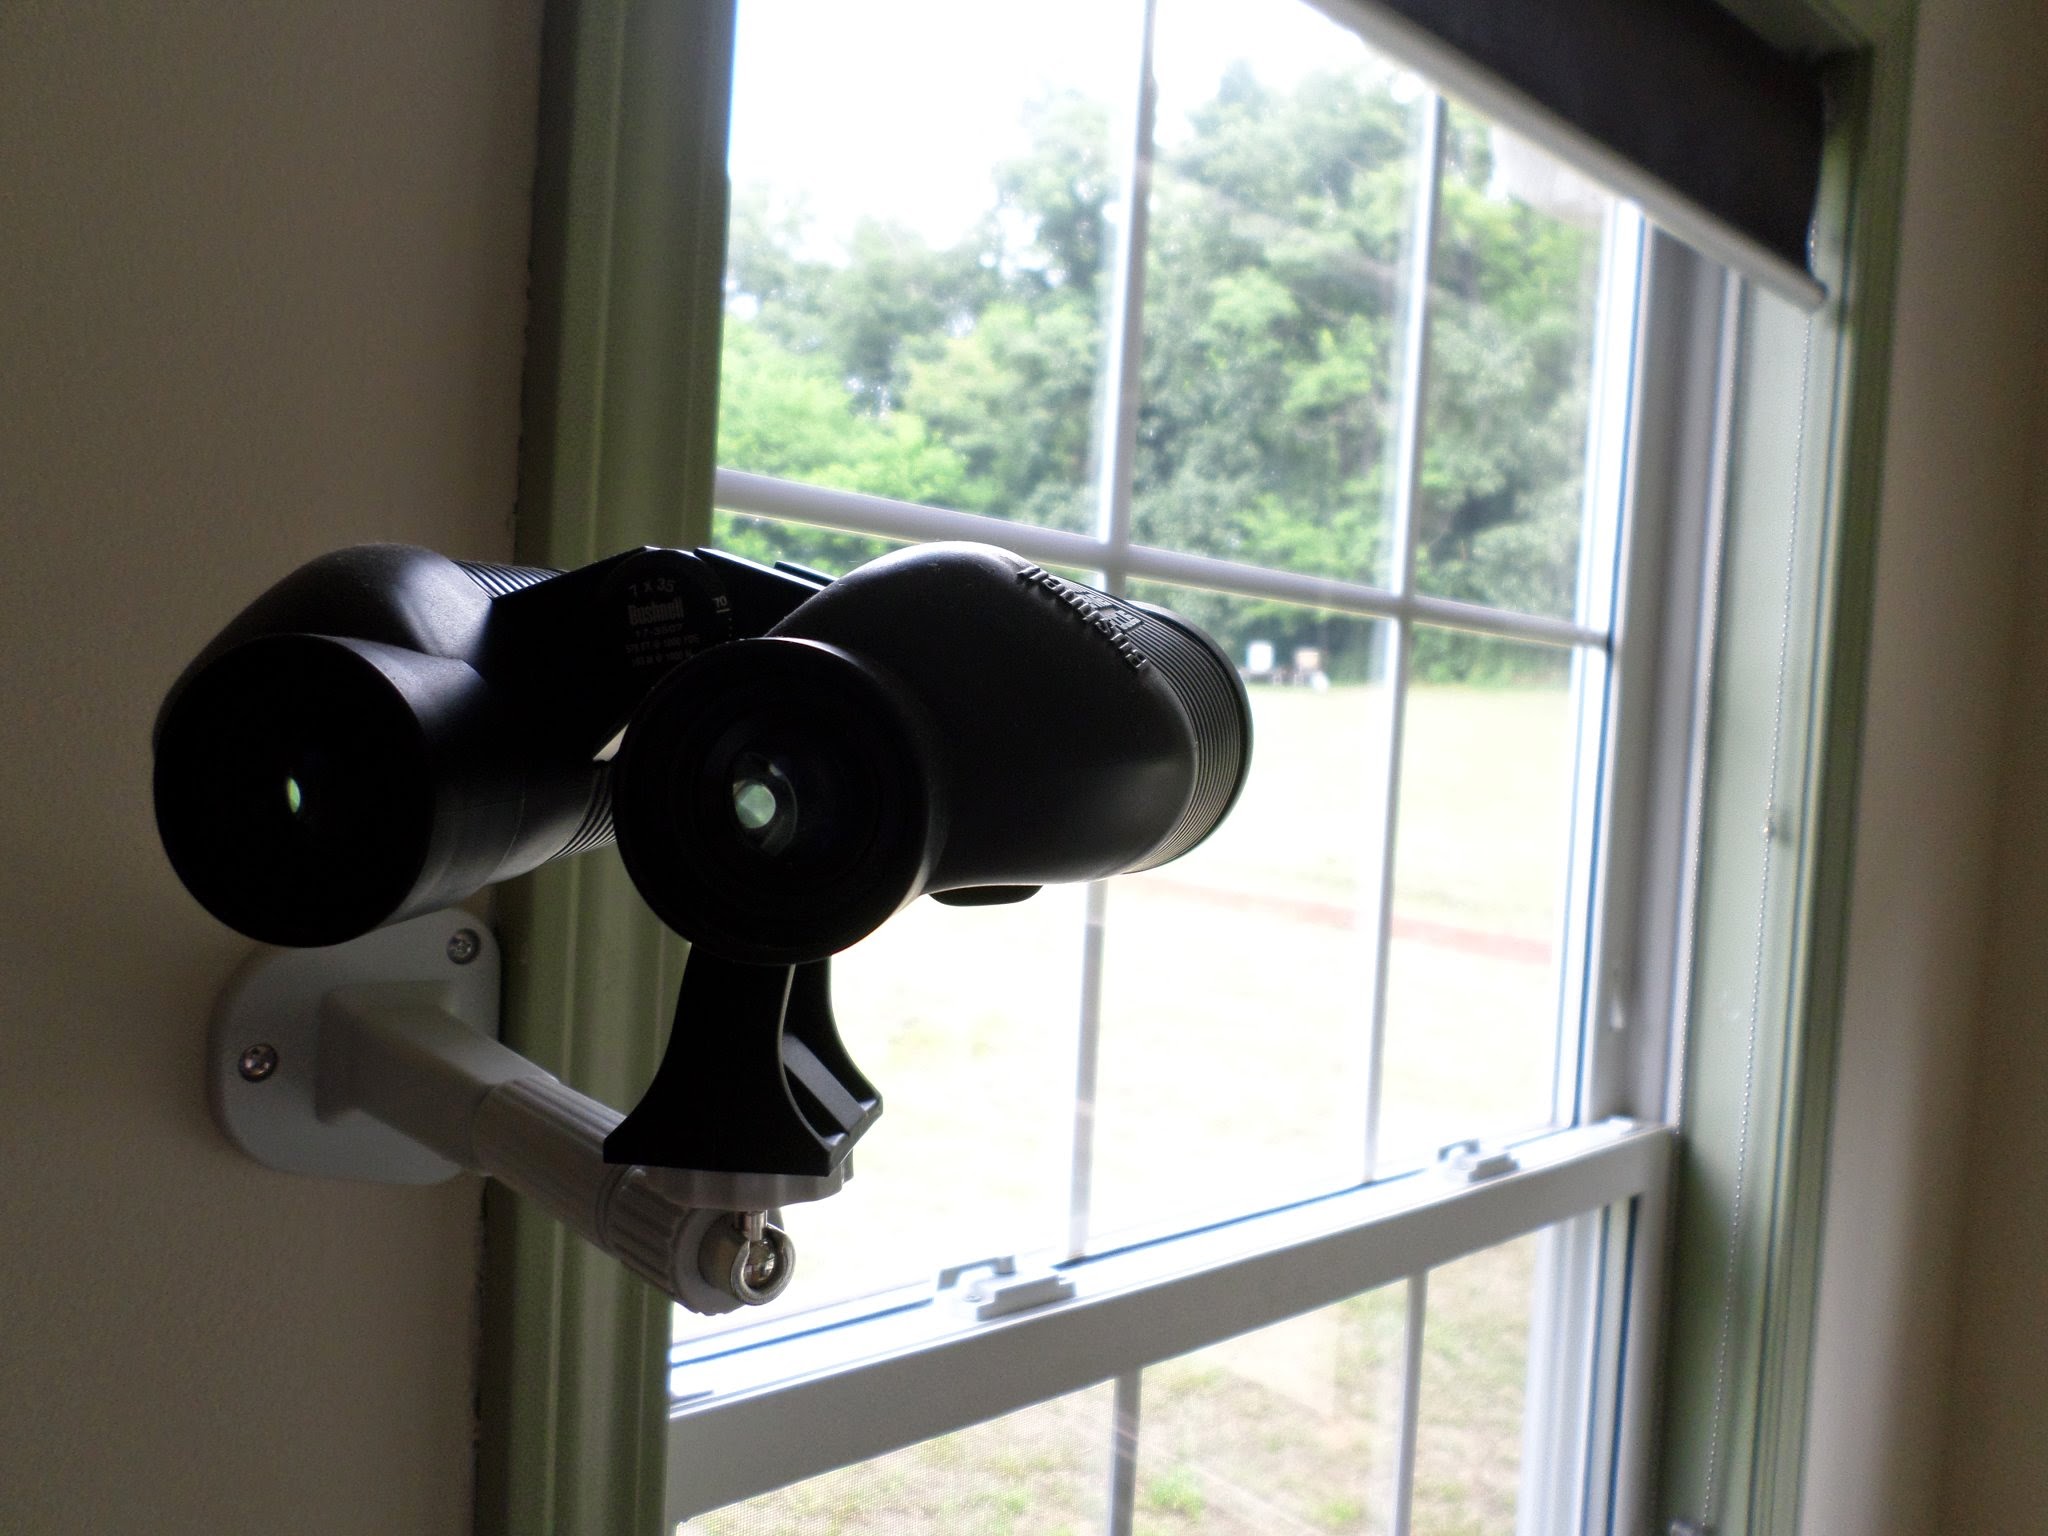
Attached to the white camera bracket arm is an upright black tripod mount made for cameras and binoculars. This tripod mount holds the optics up and off of the arm bracket.
And what do I see on the 50,000 times a day I check on the bees?
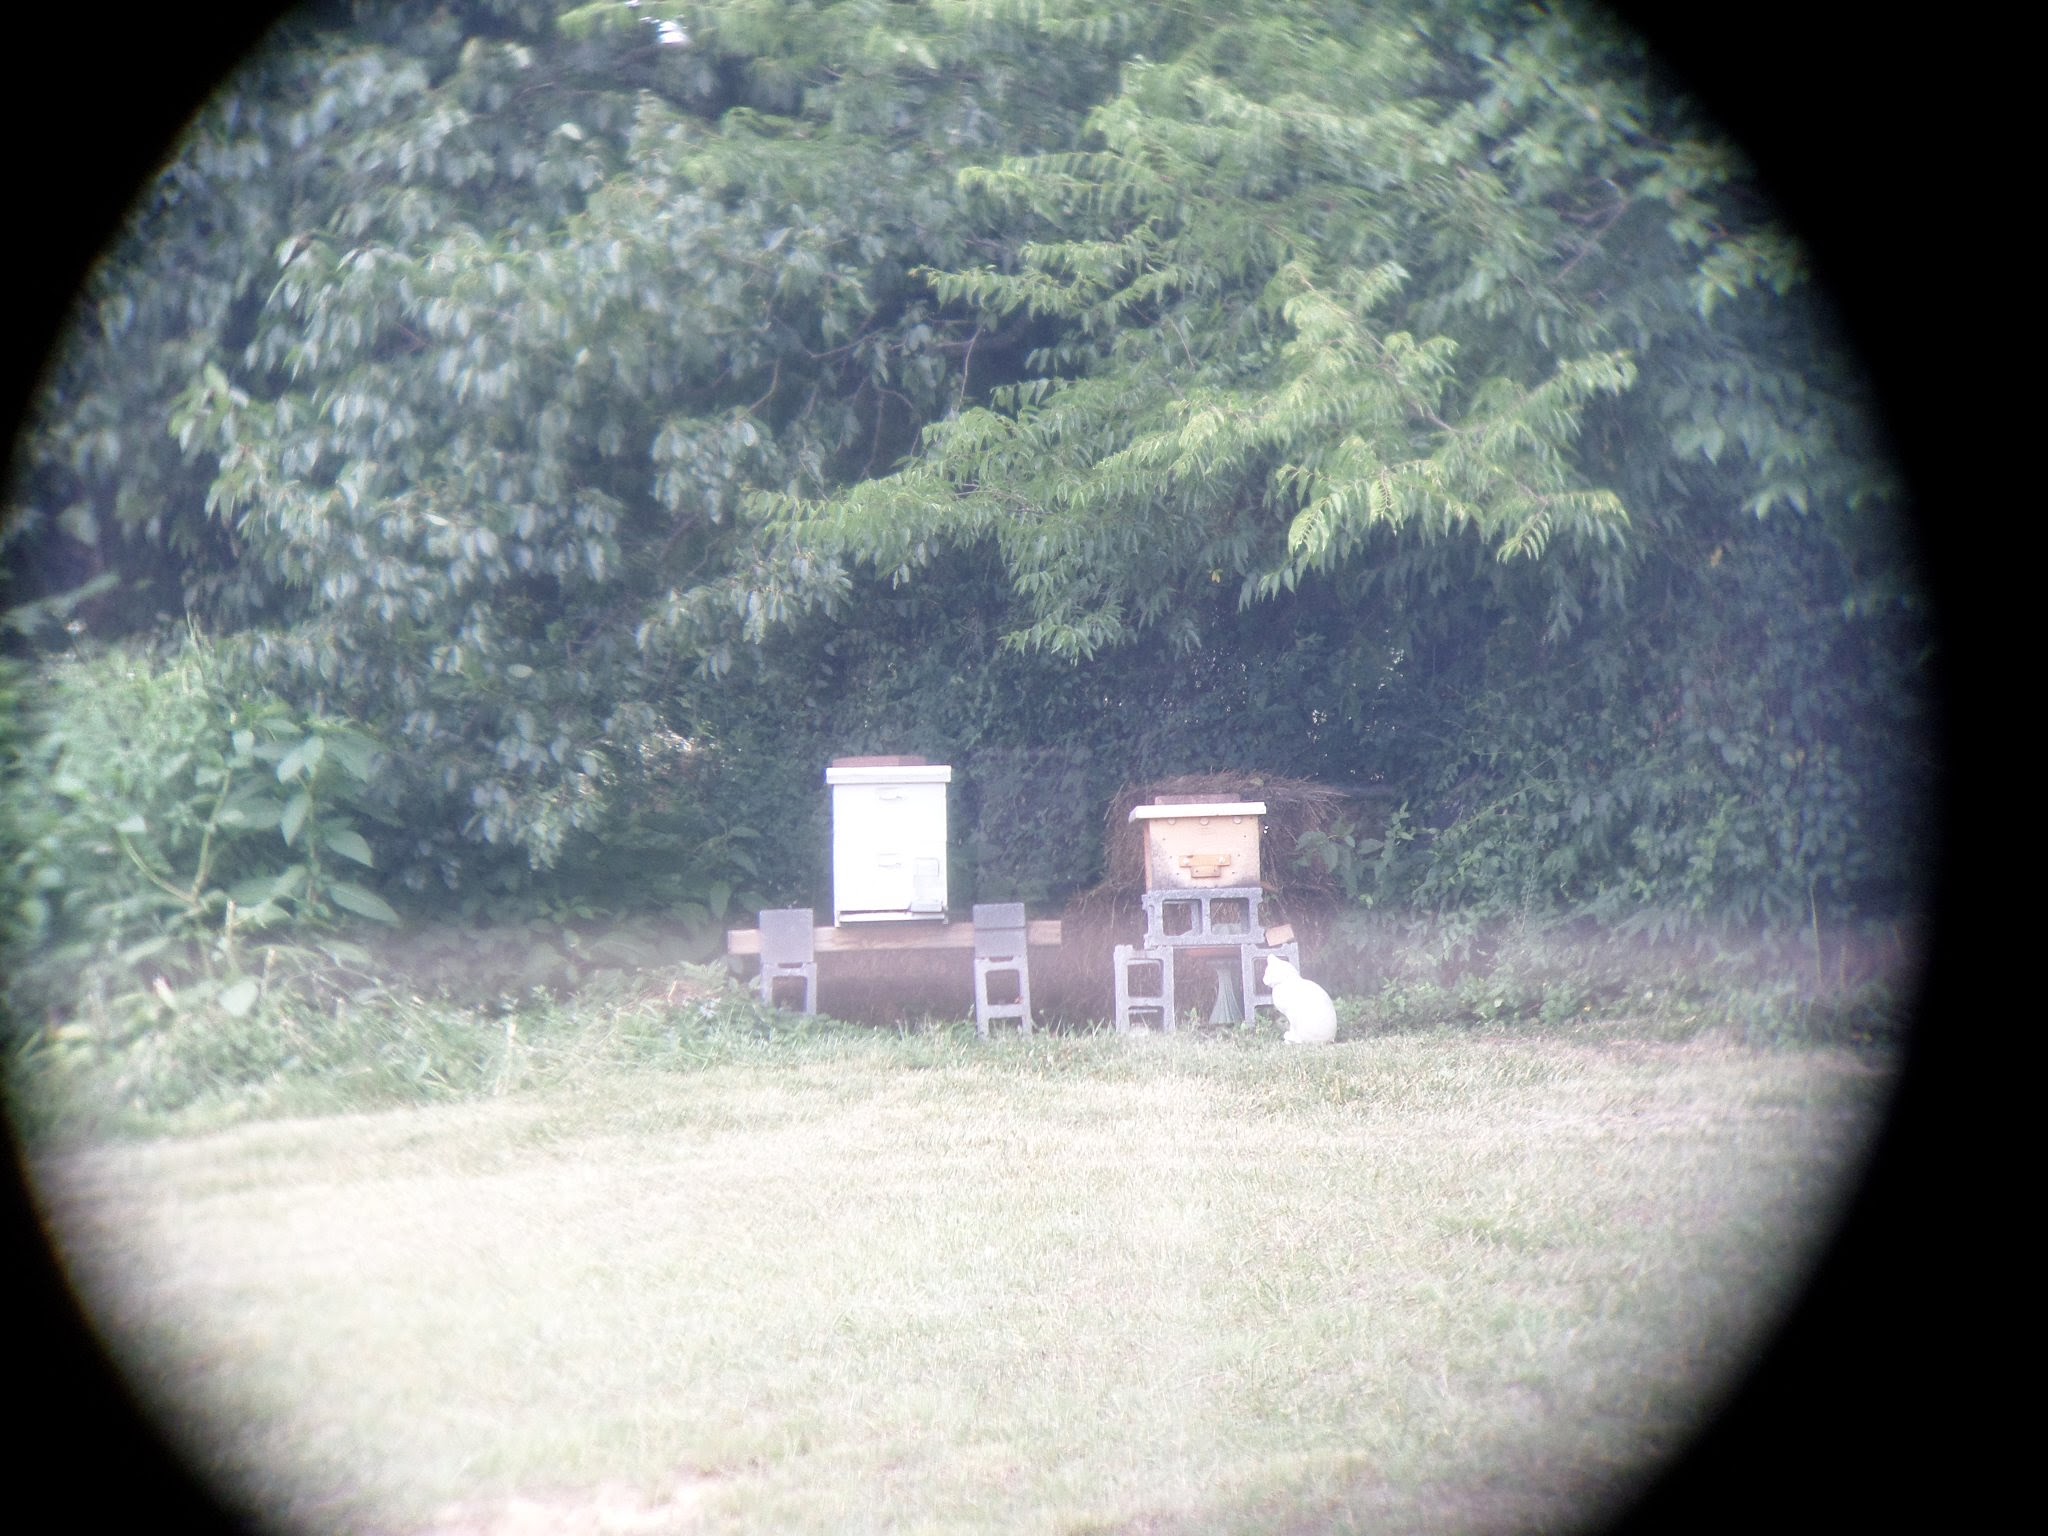
This.
The New Old Watering Hole
What began as a birdbath proved to be a major benefit for bees: a source of fresh water. I attached a clear plastic hose line (I bought it at Lowe’s, cut to fit) from the condensate drain line on my air conditioner and ran it to my bird bath. I attached the hose line to the chain link fence with (what else?) cable ties so that the water from the hose would splash down into the birdbath. The birds, of course, love it. But the bees really flock to it and it is not uncommon to see a dozen at the birdbath in really hot dry weather. The big bonus here is that on the super-hot days when your AC runs all day the birdbath stays filled with fresh clean cool water and everyone — birds, bees, and you — benefits.
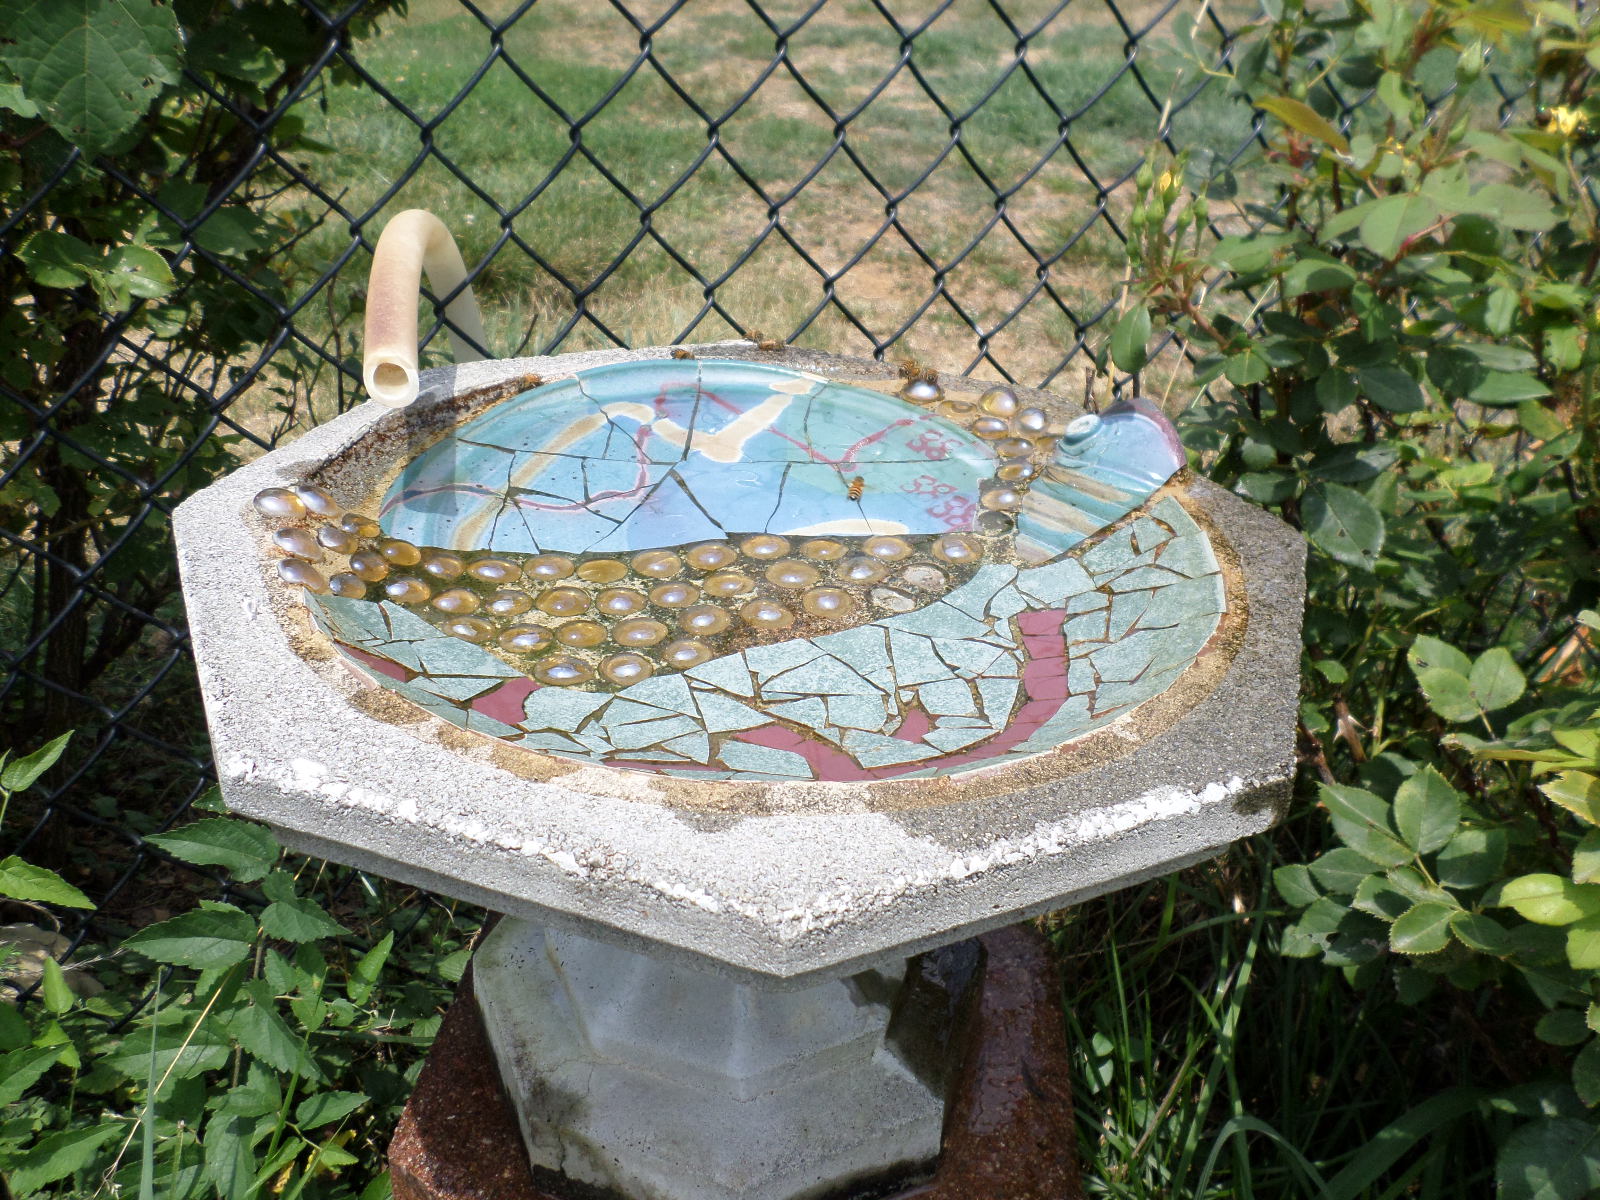
The condensate drain line is hanging over the birdbath (on upper left of photo). This is a shallow bath which helps keep the bees from drowning; I also have it slanted slightly so that the water drains freely. The bees prefer to drink from this “runoff” area.
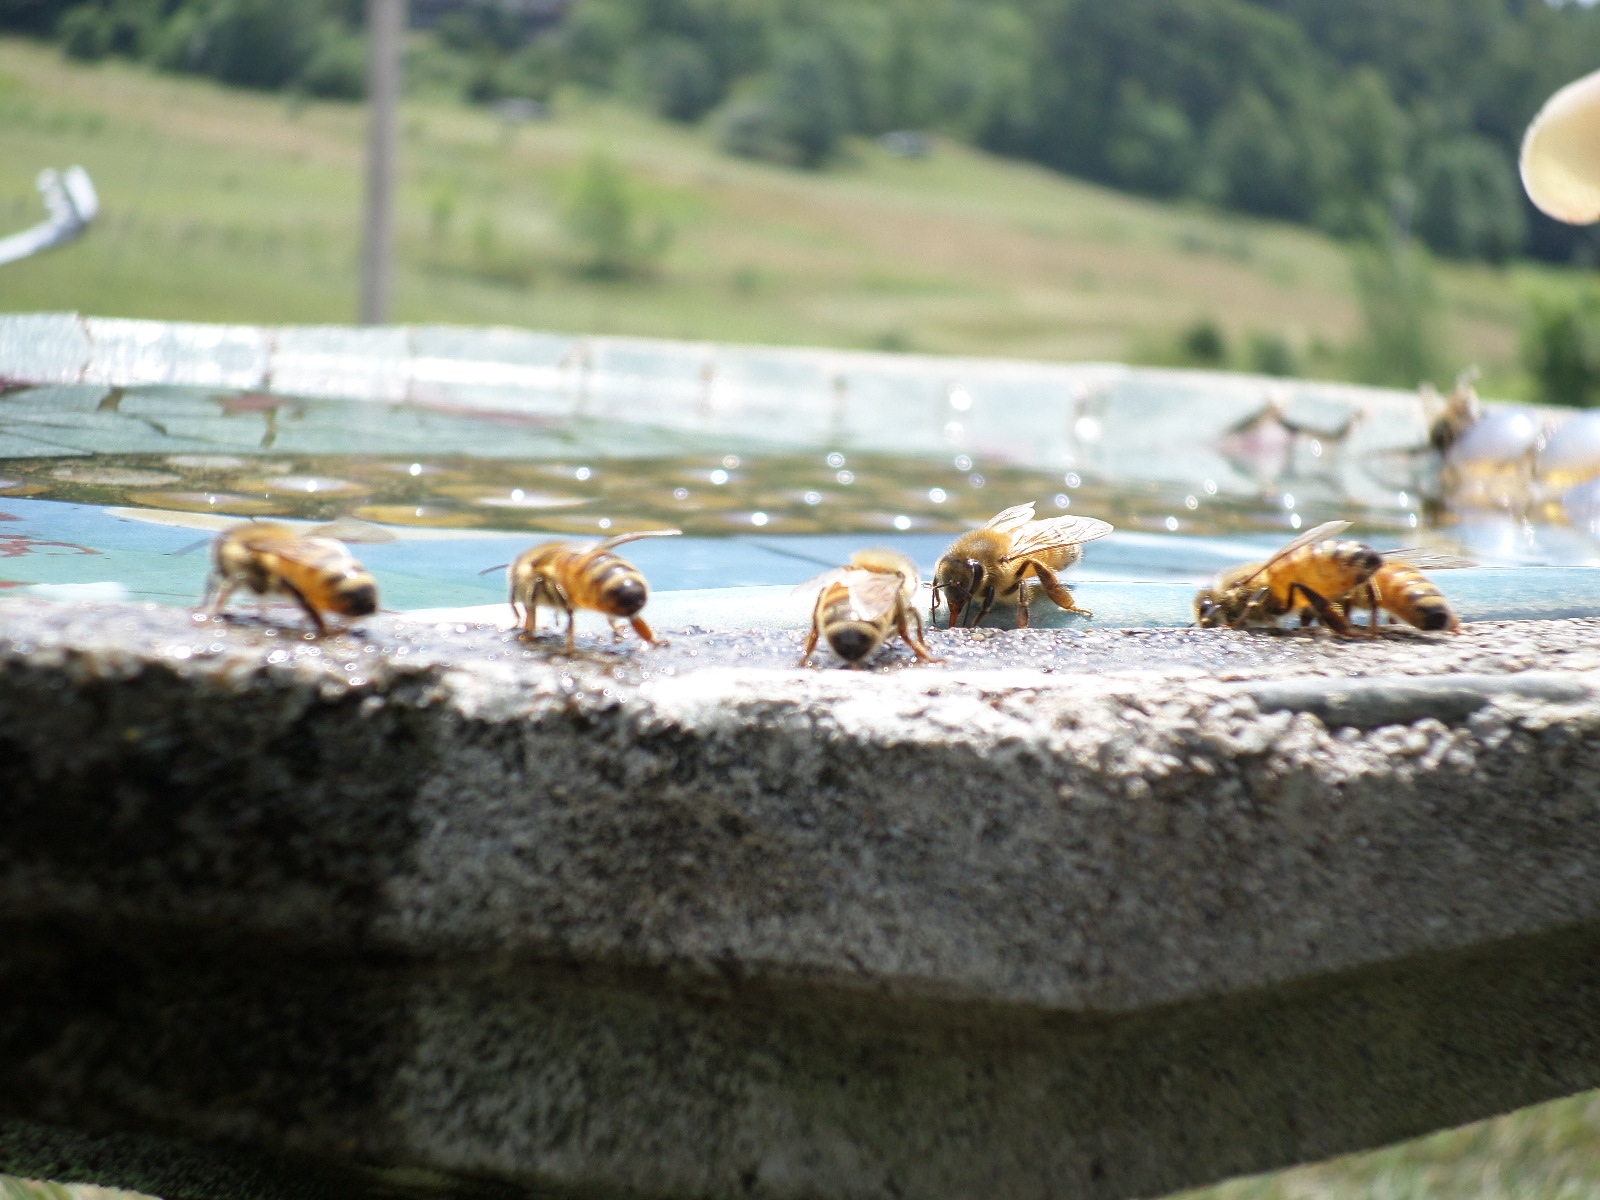
It’s like the public pool on a hot summer day. See the little bee in the background on the right? She is dipping her little tongue down in the water with her wings up (I assume for balance).
Put A Lid On It
This tip is probably only useful for small-scale beekeepers like me who use entrance feeders instead of hive-top feeders. I make up several quart jars of pre-measured sugar but I don’t fill them with water until just before I need them. To keep ants and other unsavory characters out of my bee sugar I put all the jars, measuring cup, and funnel into one of these canning containers called The Jar Box. The lid snaps in place with little locks on either side.
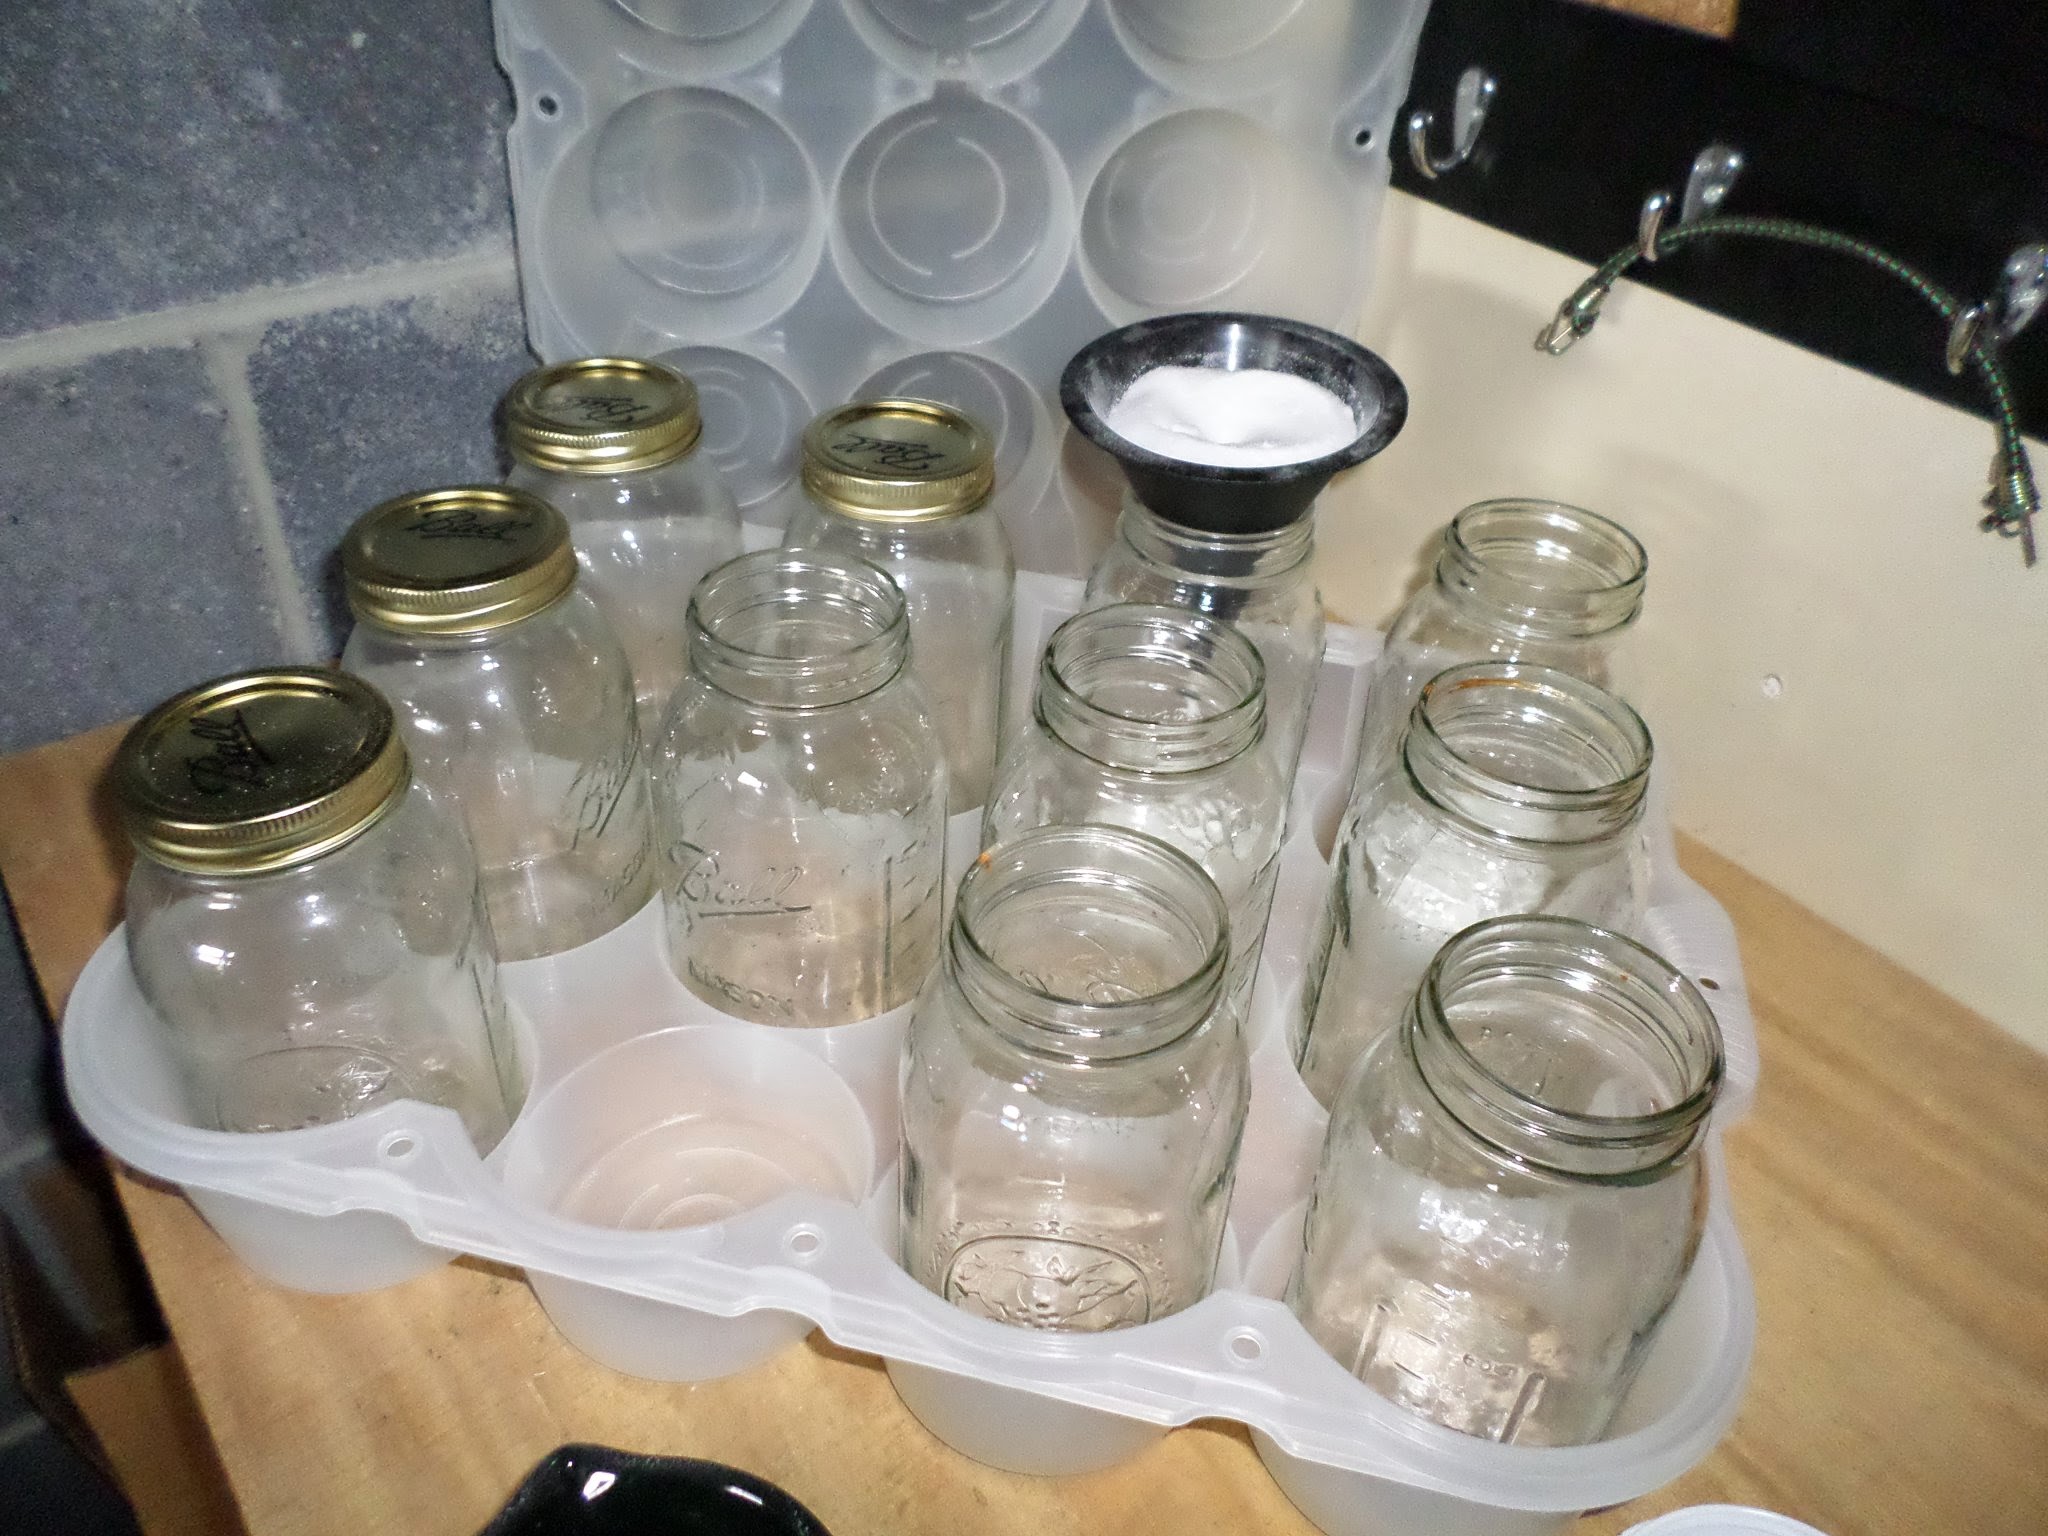
Sugar-filling in process. This Jar Box keeps the sugar contained and prevents spills and the residual stickiness.
A Place For Everything
Beekeepers have tools that make the job of opening hives and caring for bees easier. The trick is to have all of these tools handy at all of your hives as your attention is most likely divided between 1) an active and very hot smoker, and 2) several thousand honeybees. This is where a standard grooming tote comes in.

I got this tote at the farm store as it is intended for storing the tons of grooming supplies needed for just one horse. It is great and should not be limited to barn use. I put my hive tool, brush, smoker fuel, and butane lighter in here. There is more room for an extra pair of gloves, a camera, or a few other tools. This tote helps you hold all the tools in one gloved hand so that you can hold your very hot, lit smoker (pictured to the right of the tote) in the other hand. The tote also sports my collection of awesome beekeeping stickers.

Bonus photo: I have a dedicated corner of the garage for beekeeping supplies, and in this cabinet I keep my tool totes, extra frames and foundation, my cooled (and smelly) smoker, an extra veil, extra feeders, etc. It is good to store wax foundation away from the prying eyes and gnawing teeth of rodents.
“…writers and artists are in the shocking position of having to record the decline of pollinators through our works. Winged is meant to be a record of this moment, a document that artfully honors the relationship, the importance, and the beauty and peril of one of the most vital of all pollinators: the honeybee.”
Little actions have very big consequences.

Morning sun glints off the chickadee box.

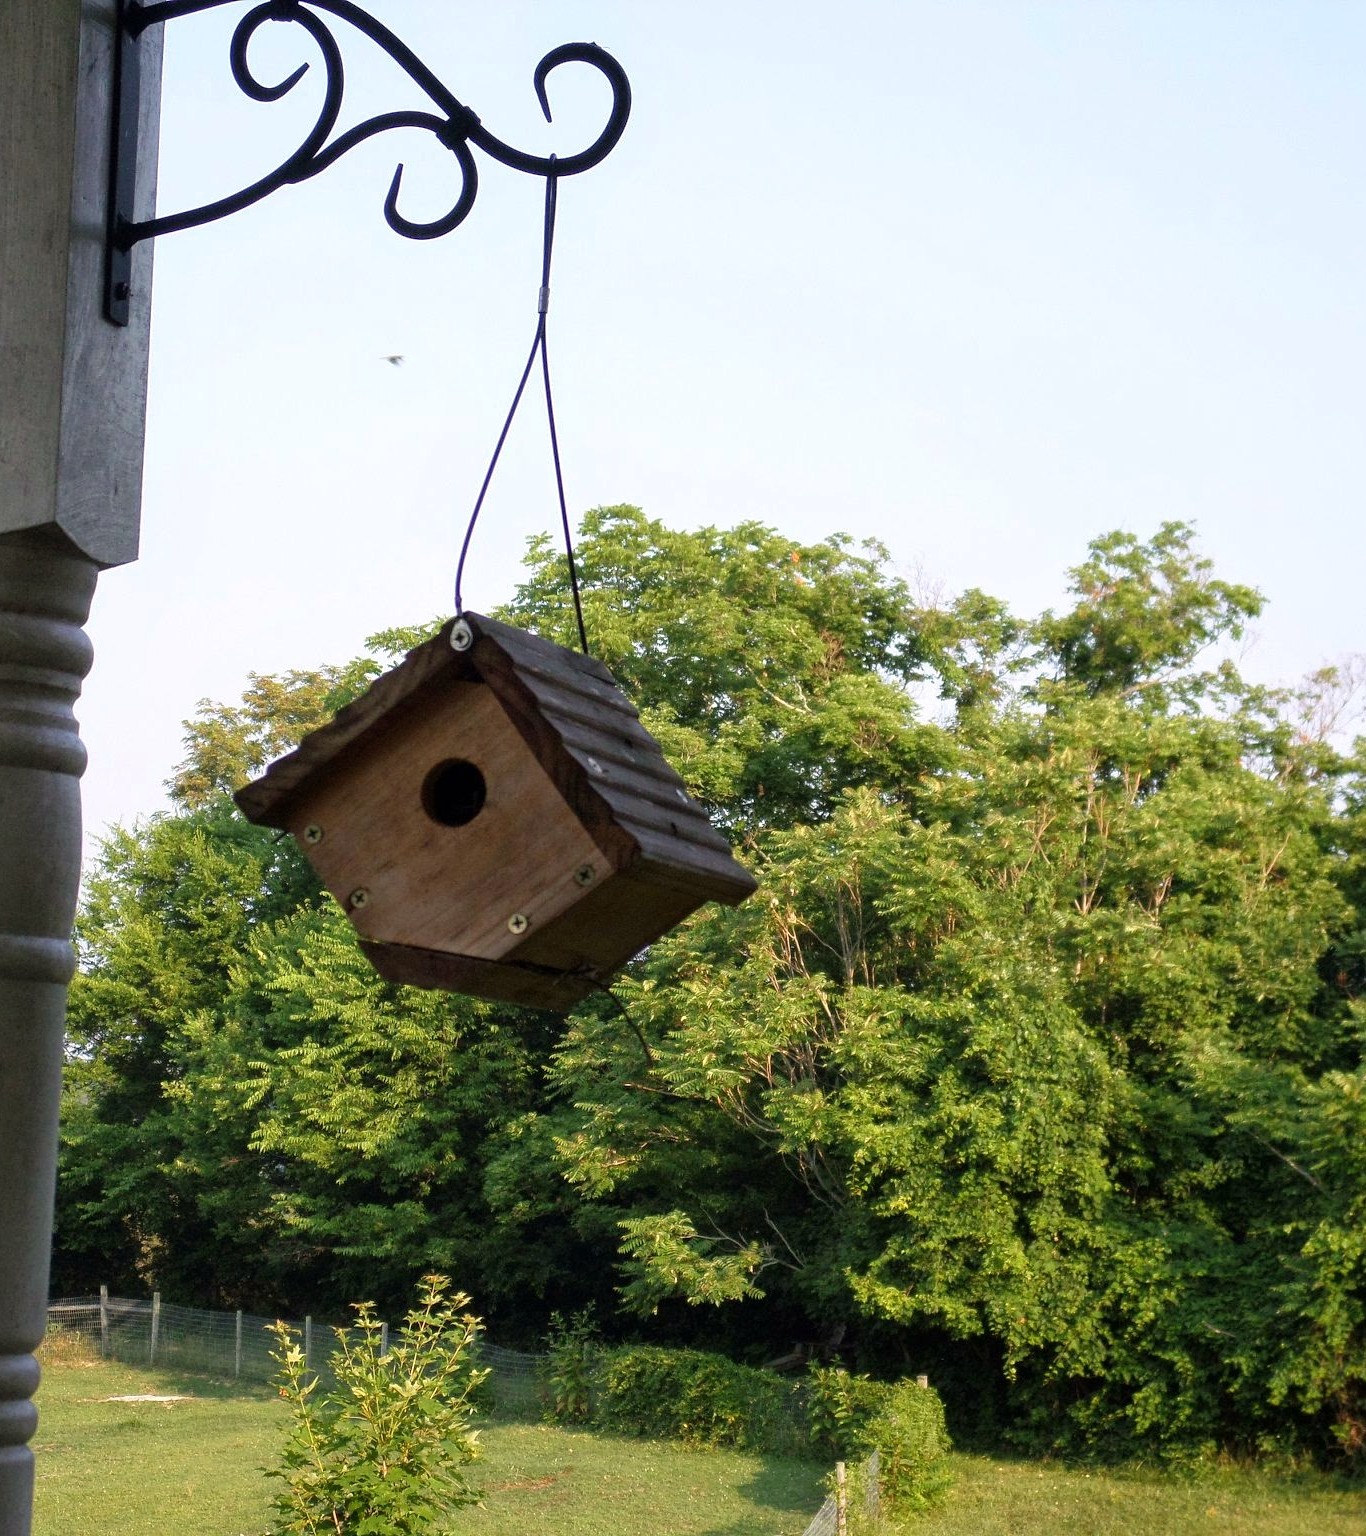
One of my favorite nest boxes is this wren “condo” I bought on etsy. So far a total of zero birds have nested in it. Harumph.
If you were to call me a bird nerd I would beam with pride. I have nest boxes tacked up all over the farm. Here’s the proof:
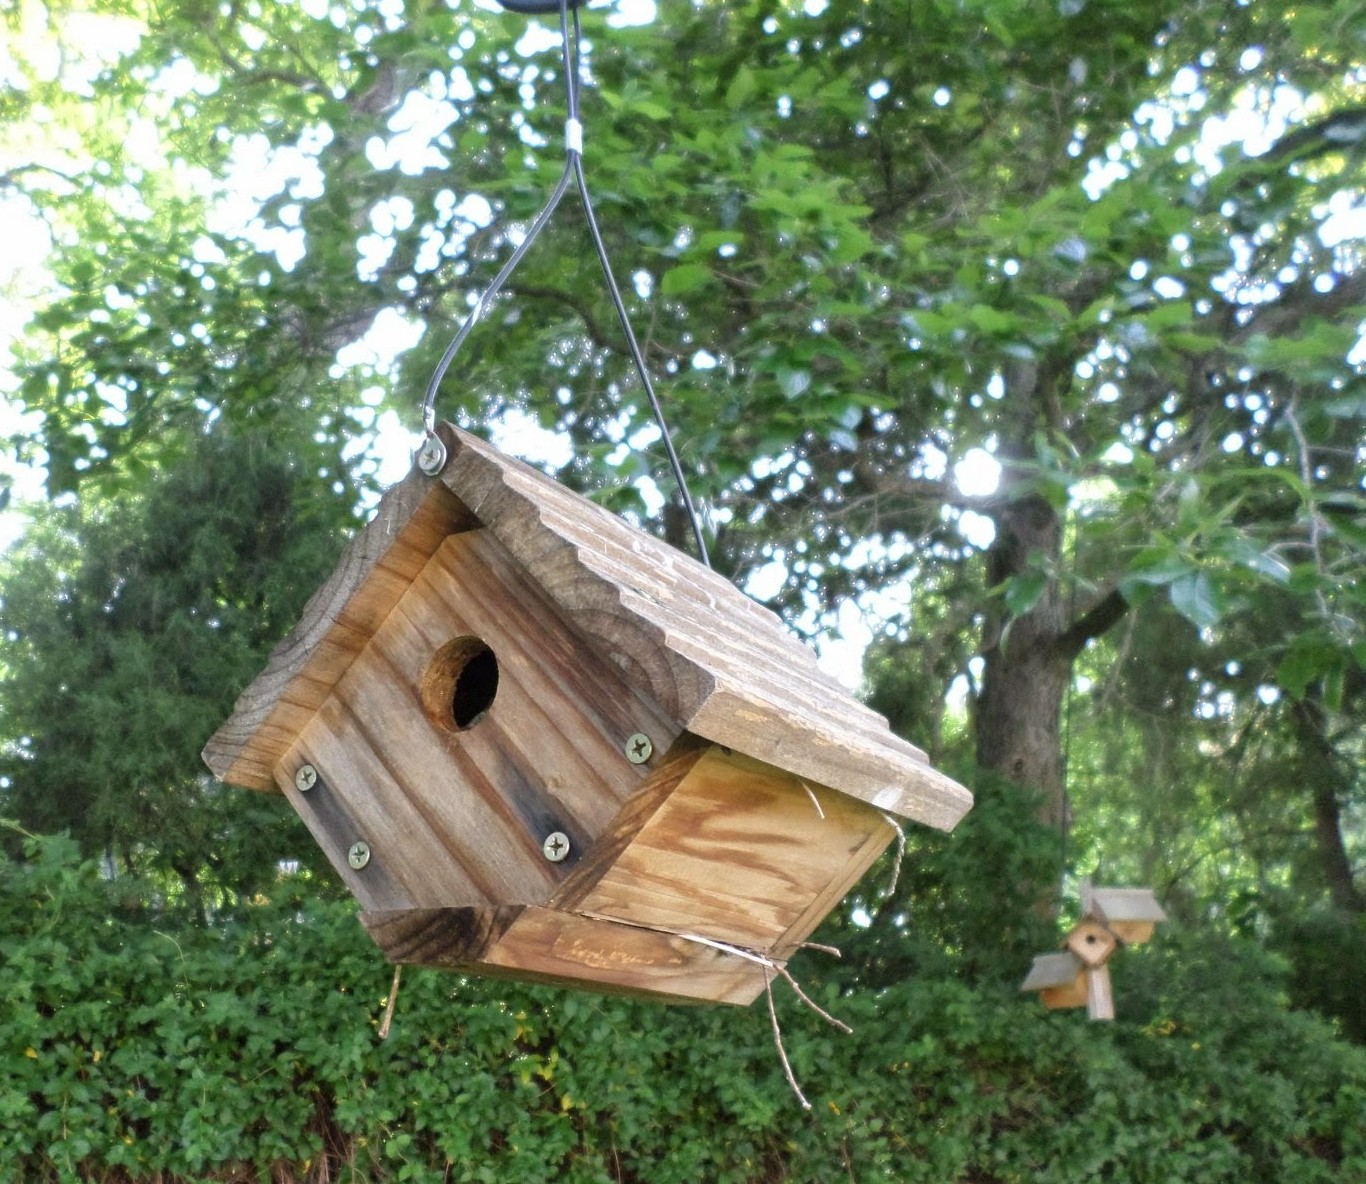
This little wren house was used last spring to raise one brood and has been used as a perch ever since. I love having wrens nest on the porch because I swear it keeps the wasp population down.
Another vacant wren house. (C’mon! Some bird put all those twigs in there.)
And where do the wrens nest since they aren’t in the expensive boxes I provided for them?
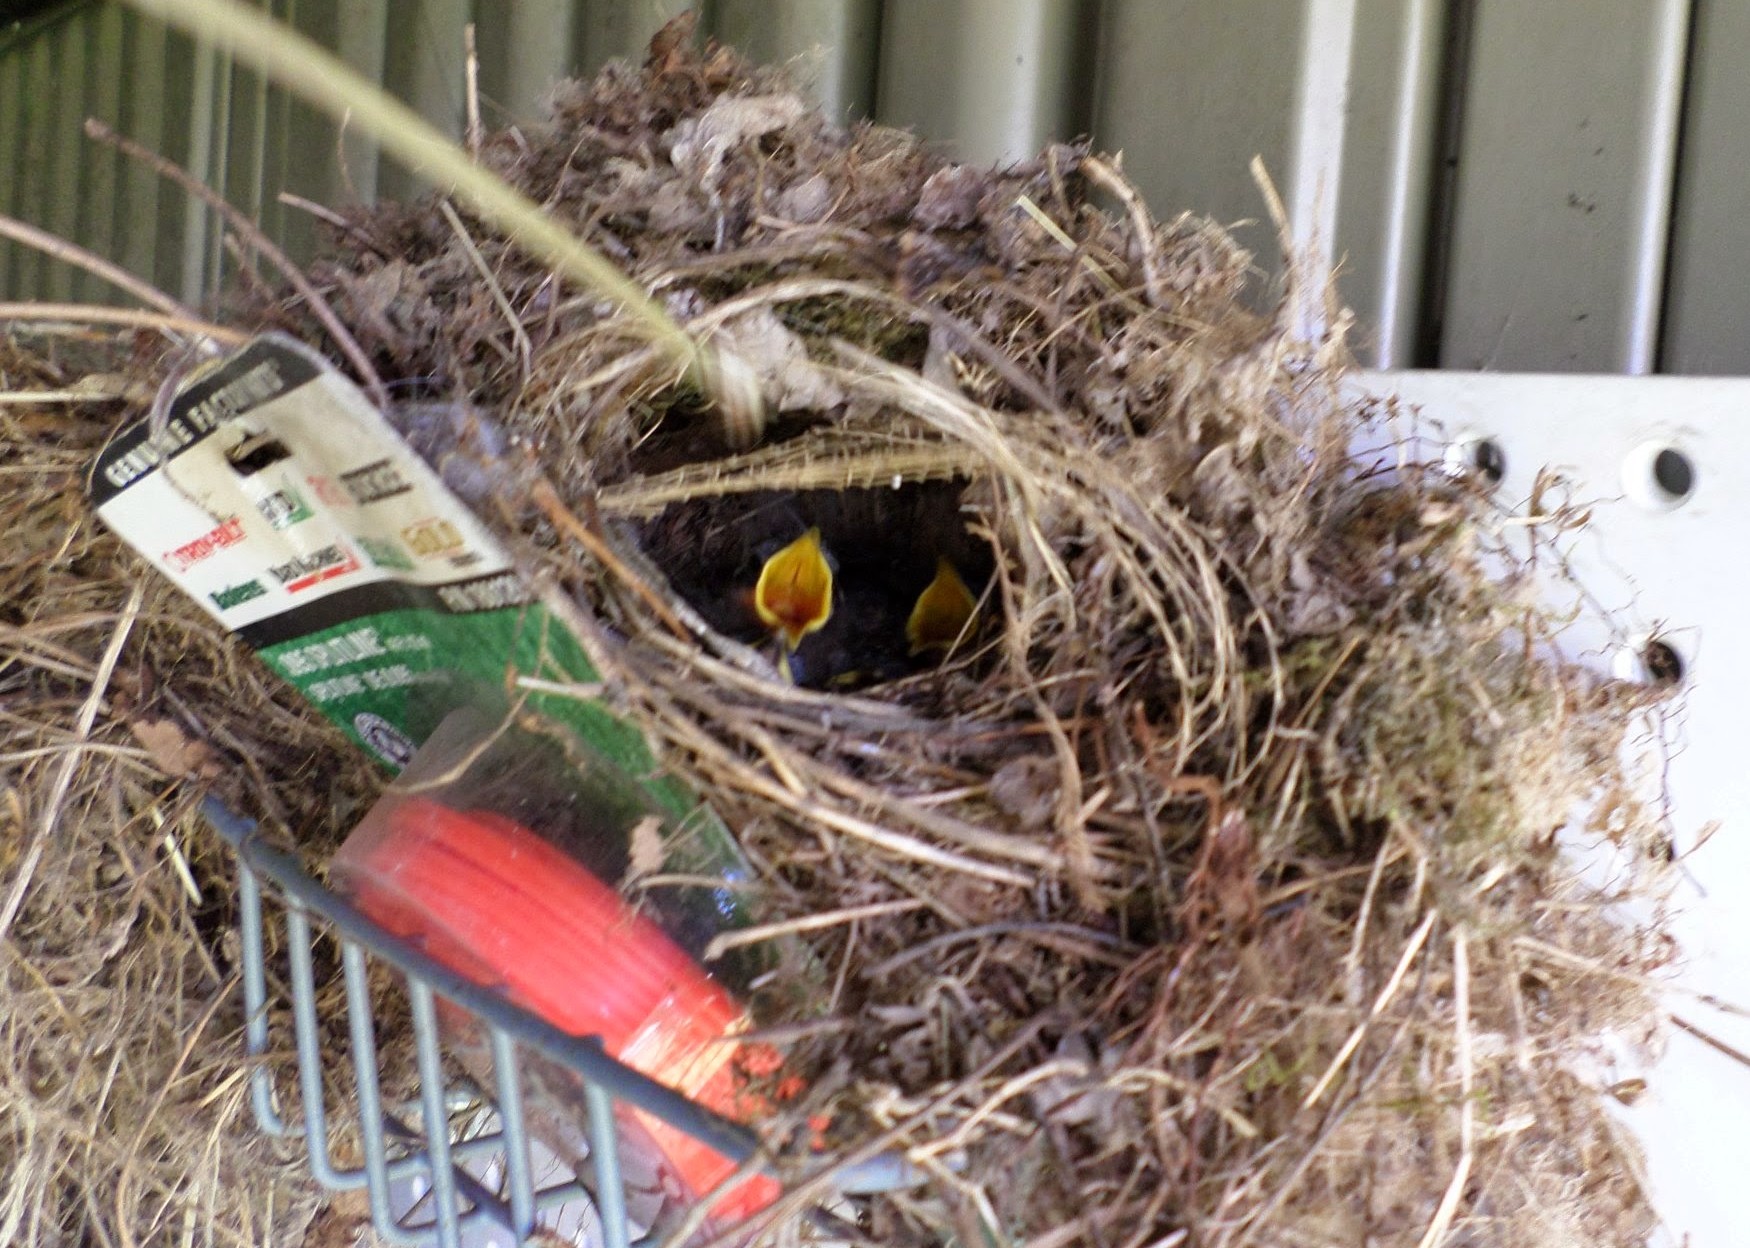
In the tool shed…

…and in an empty cavity feeder that is stored inside the barn…

…and of course in this fern on the front porch.
We have had better luck with other boxes.
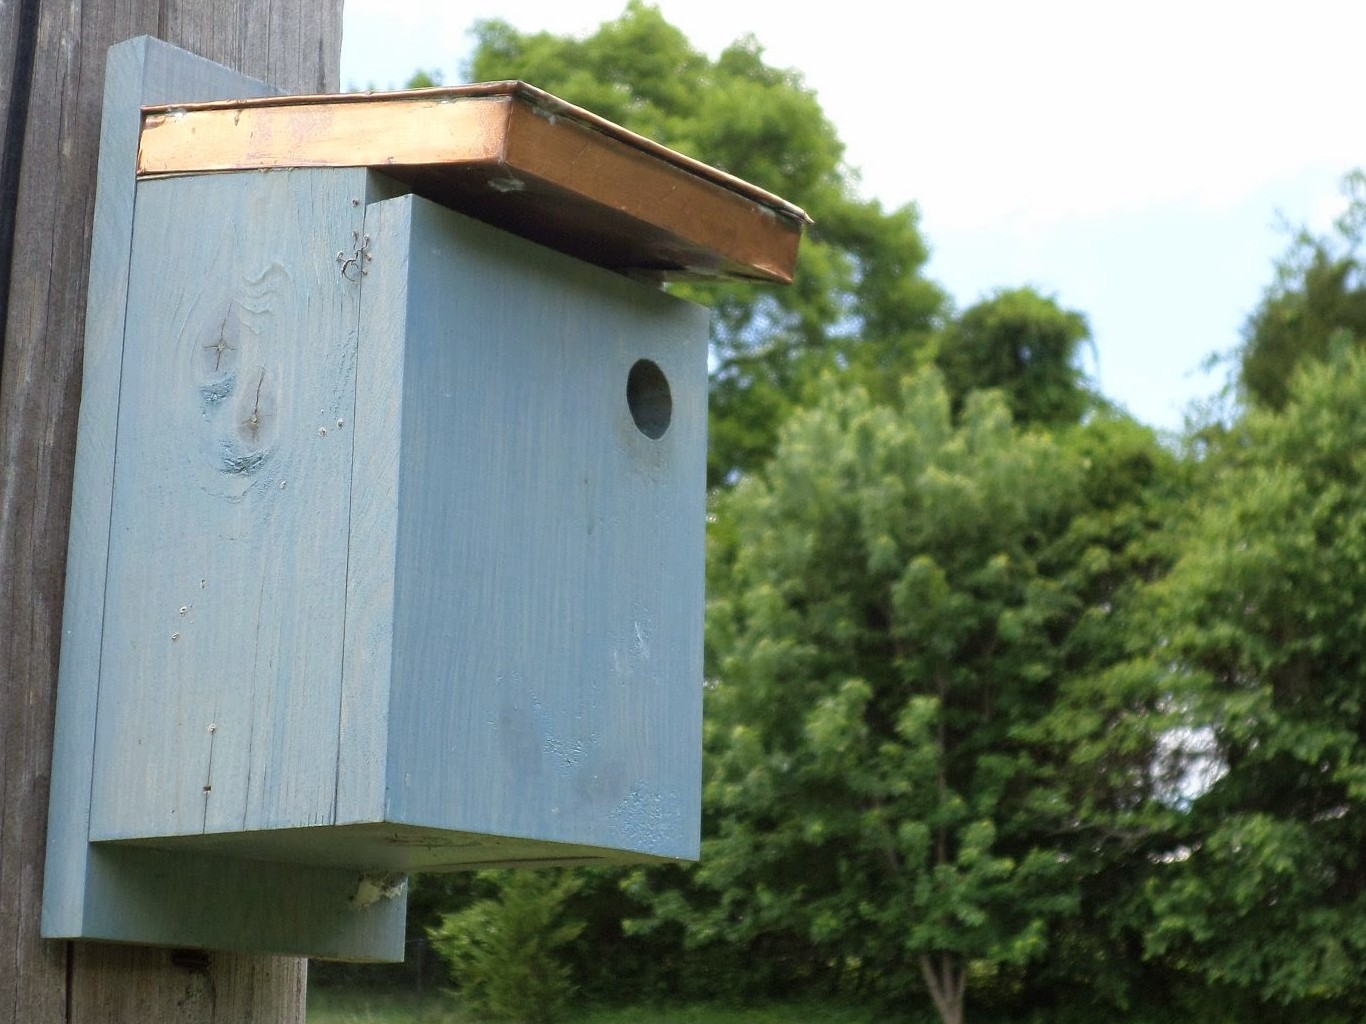
Another etsy find, this box is stained a gorgeous pale blue and has a copper roof. I adore that offset entrance hole. This spring a pair of chickadees raised a brood in this box. Squee!

This is my first-ever Peterson style bluebird house and it is located in the middle of the back yard. I installed this box in February and a nesting pair moved in within weeks. They are raising their second brood now.
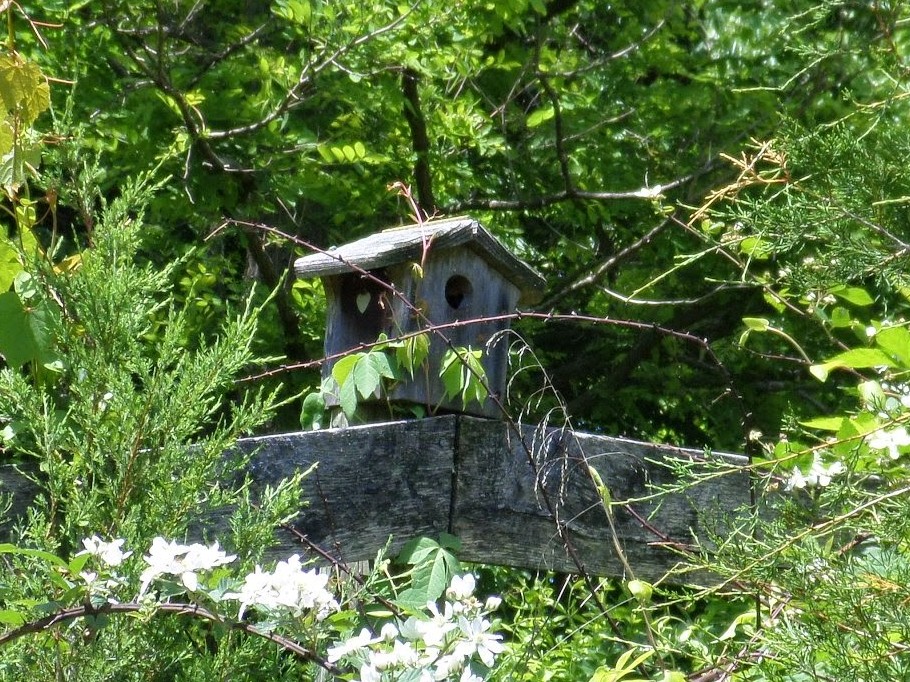
An old old nest box perched atop the fence in the pony pen.

Rejects.
Cornell Lab of Ornithology sets the standard in citizen science programs involving wild birds. Be sure to check out nestwatch.org where you will be welcomed into a huge family of bird nerds.
