Stamped

SAMSUNG CAMERA PICTURES

Stamp Box:  I started this project in 1995 and have been adding Christmas stamps every year since.


Warning:  This project may turn you into a compulsive stamp-saver.

Stamp Box Materials

  • postage stamps, canceled or not
  • glue stick
  • Mod Podge
  • display medium:  cardboard box, wooden box or bowl, notebook cover, old lunchbox…be creative here and use whatever
  • optional:  deckle-edge scissors

Simply cut or tear the stamps from the envelopes (leave a little envelope if it’s a pretty one) and then glue them on your selected item.  When finished, you can apply a few coats of Mod Podge as a sealant.

SAMSUNG CAMERA PICTURES

Once I filled the box lid I started on the sides…


SAMSUNG CAMERA PICTURES

…and then started filling up the insides of the box and the lid.

SAMSUNG CAMERA PICTURES

love that pinkish-red envelope

SAMSUNG CAMERA PICTURES

how cool is this Royal Mail stamp?

SAMSUNG CAMERA PICTURES

one friend added a silver snowflake embellishment


I leave this box open in the foyer at Christmastime and add all the cards that arrive each day.  Before I store the holiday decorations I spend an afternoon updating my stamp box.  I figure I have one or two more years before this box is full and then I’ll do a wooden bowl or box and maybe even incorporate a few pages from some old hymnals onto the new receptacle.

Be sure to send me photos if you do this project!


Advertisement

Stuck

Lacking any true artistic talent I am forced to borrow heavily from others.

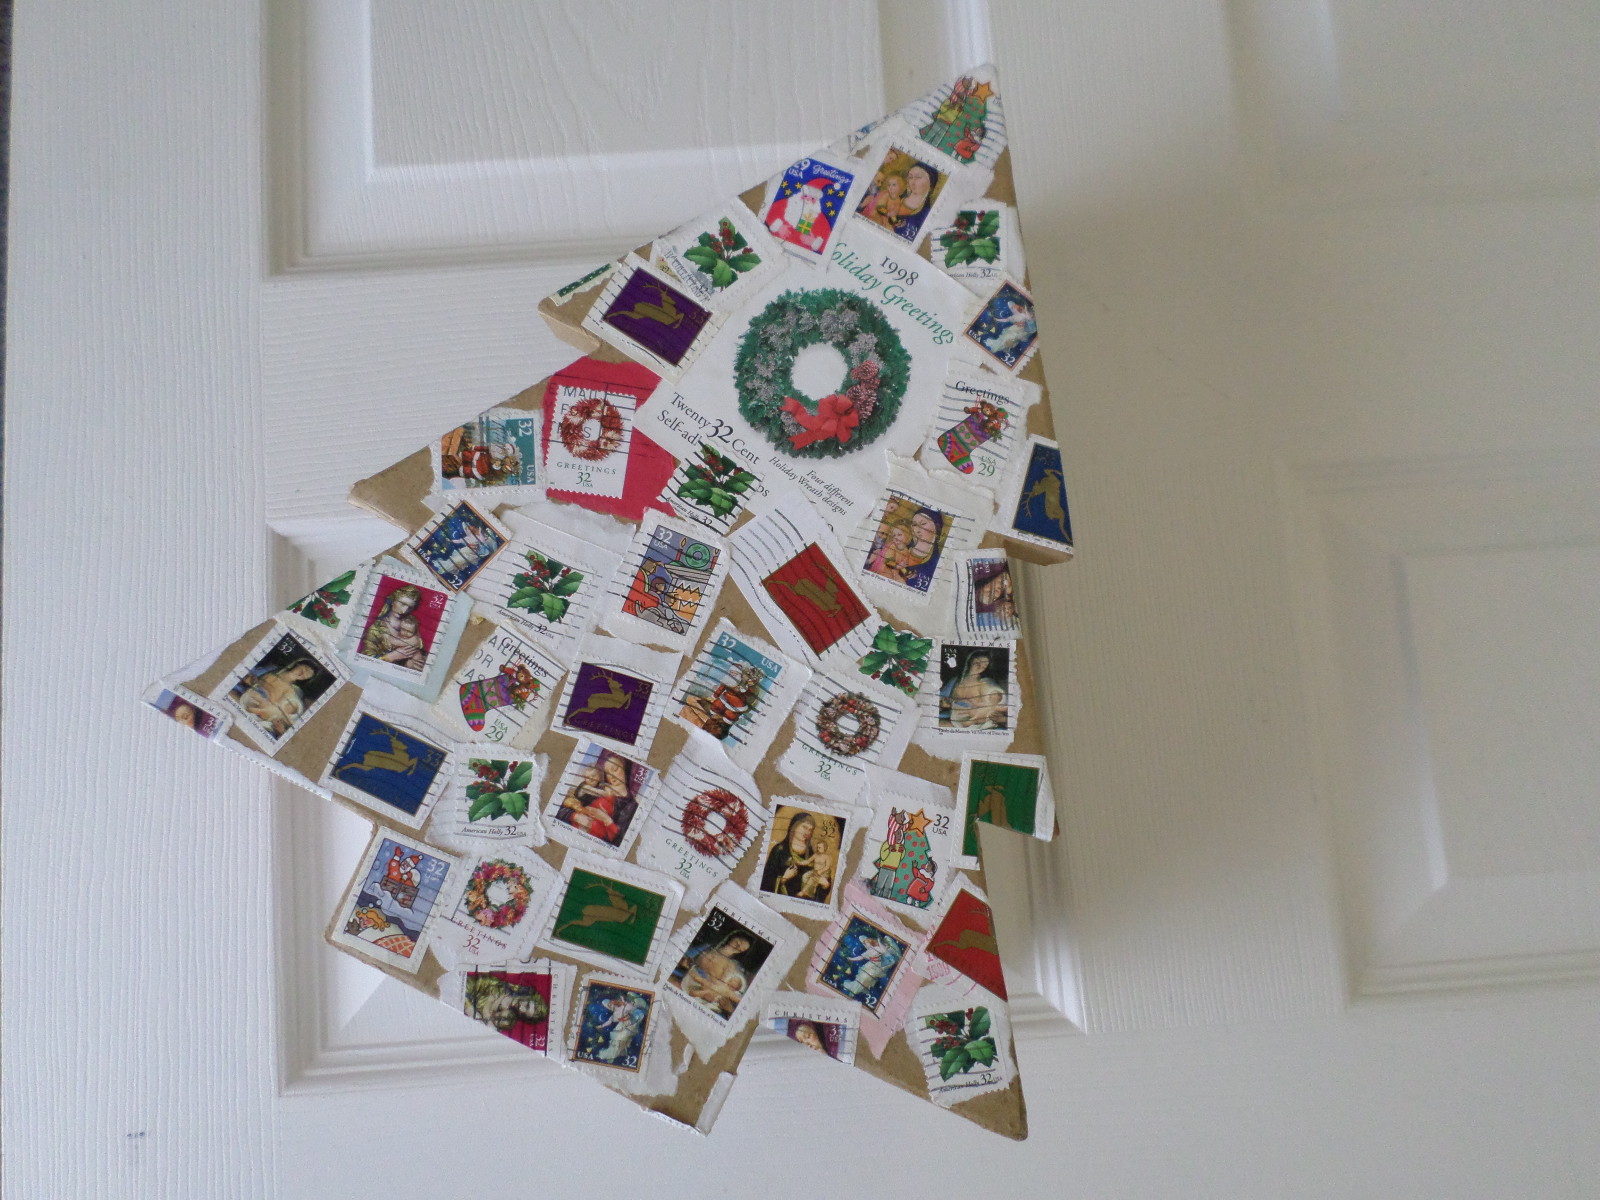
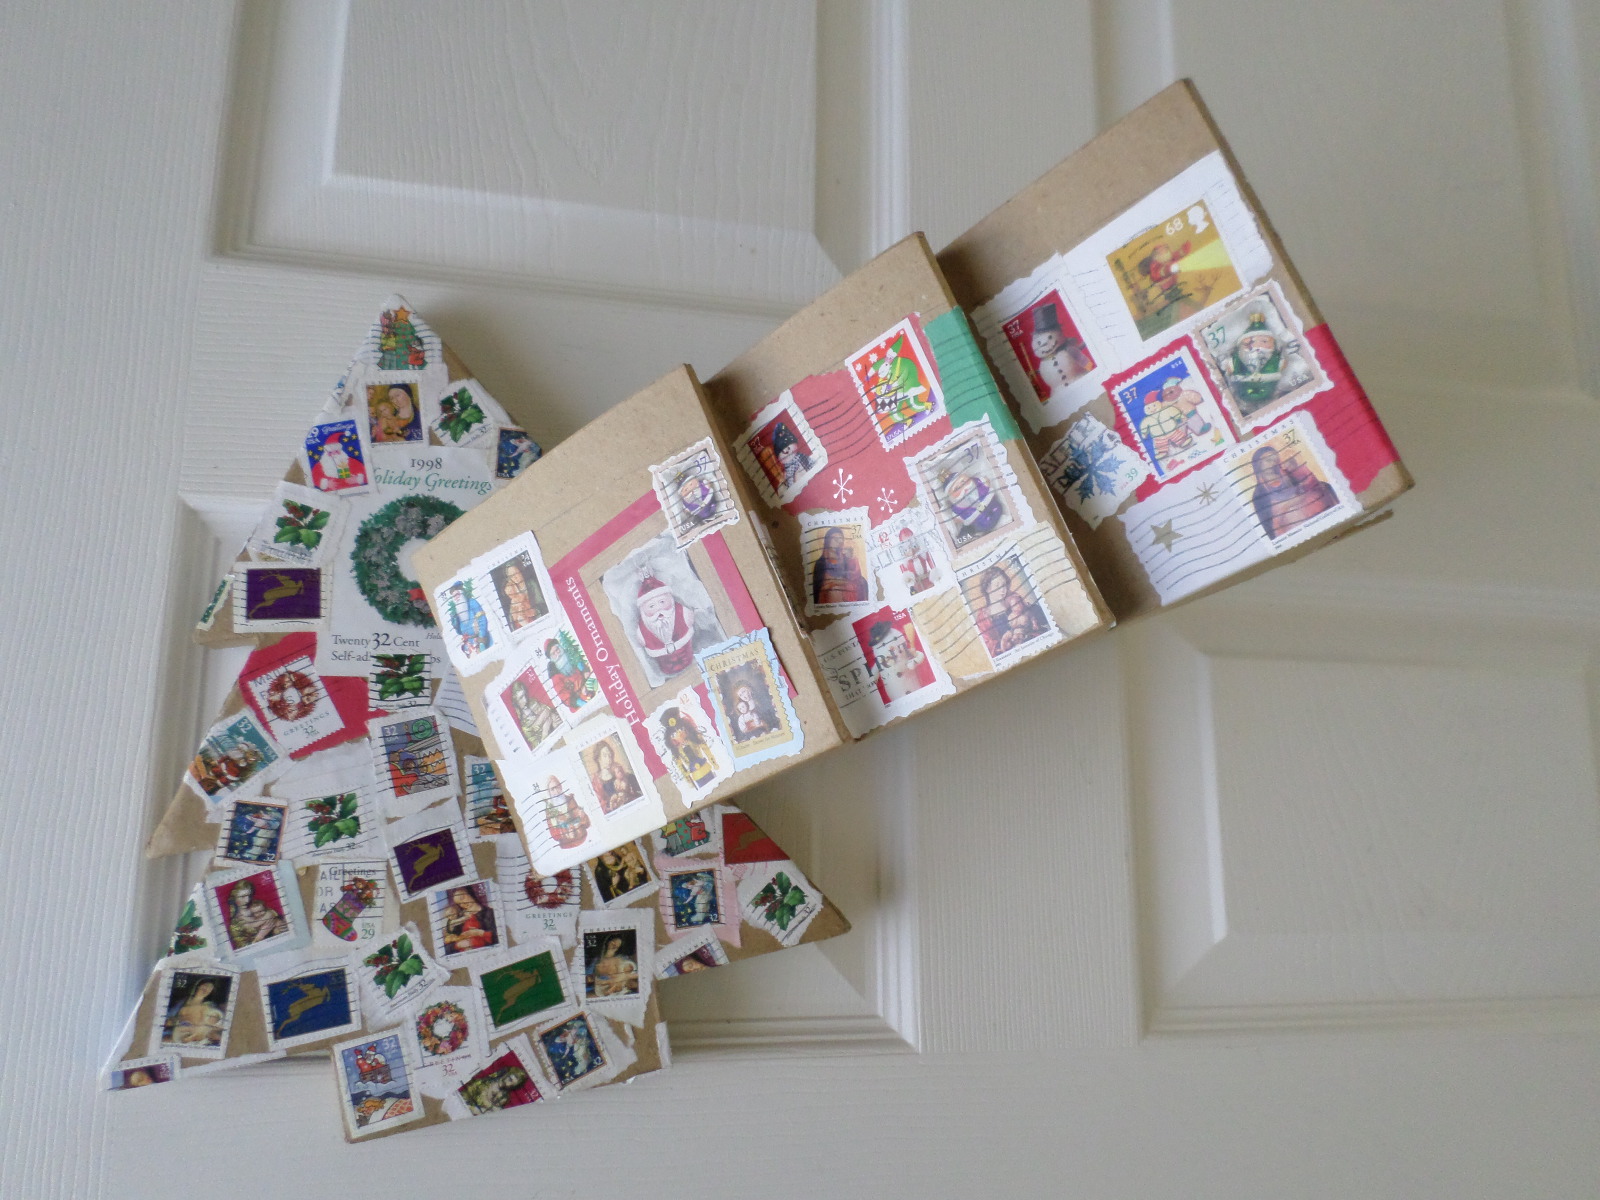
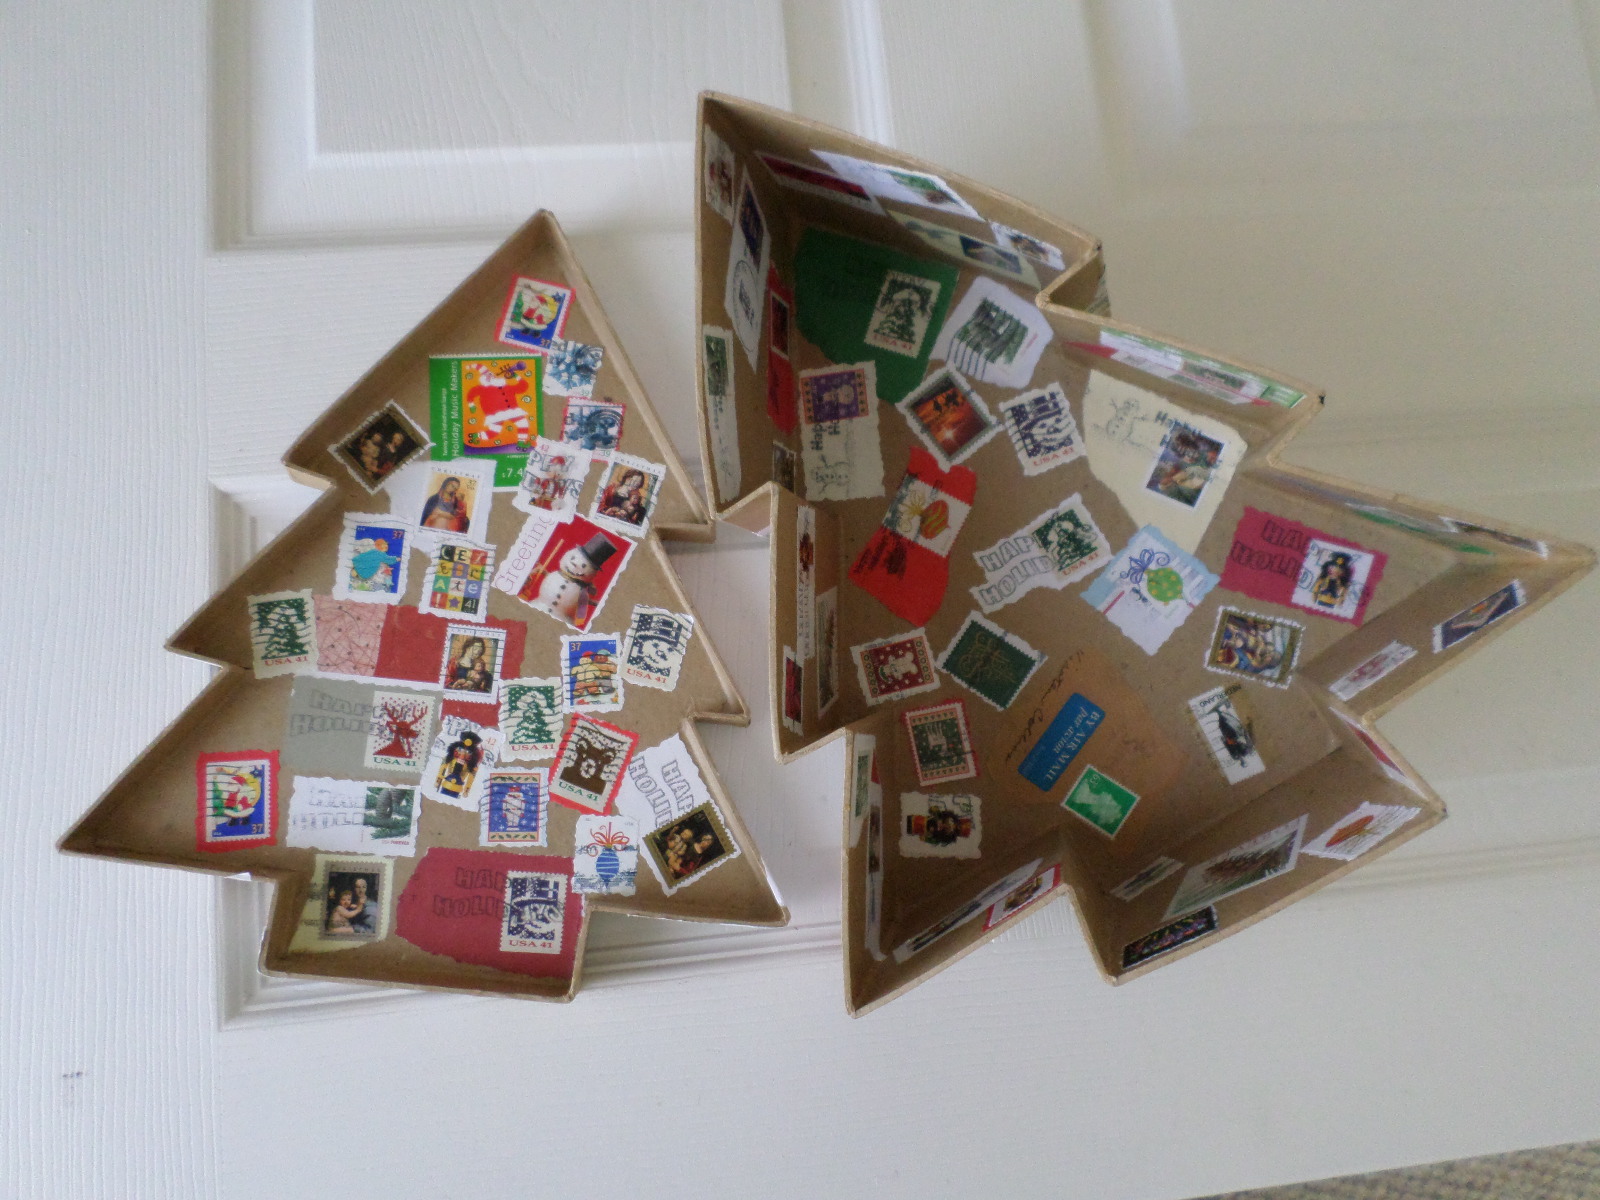
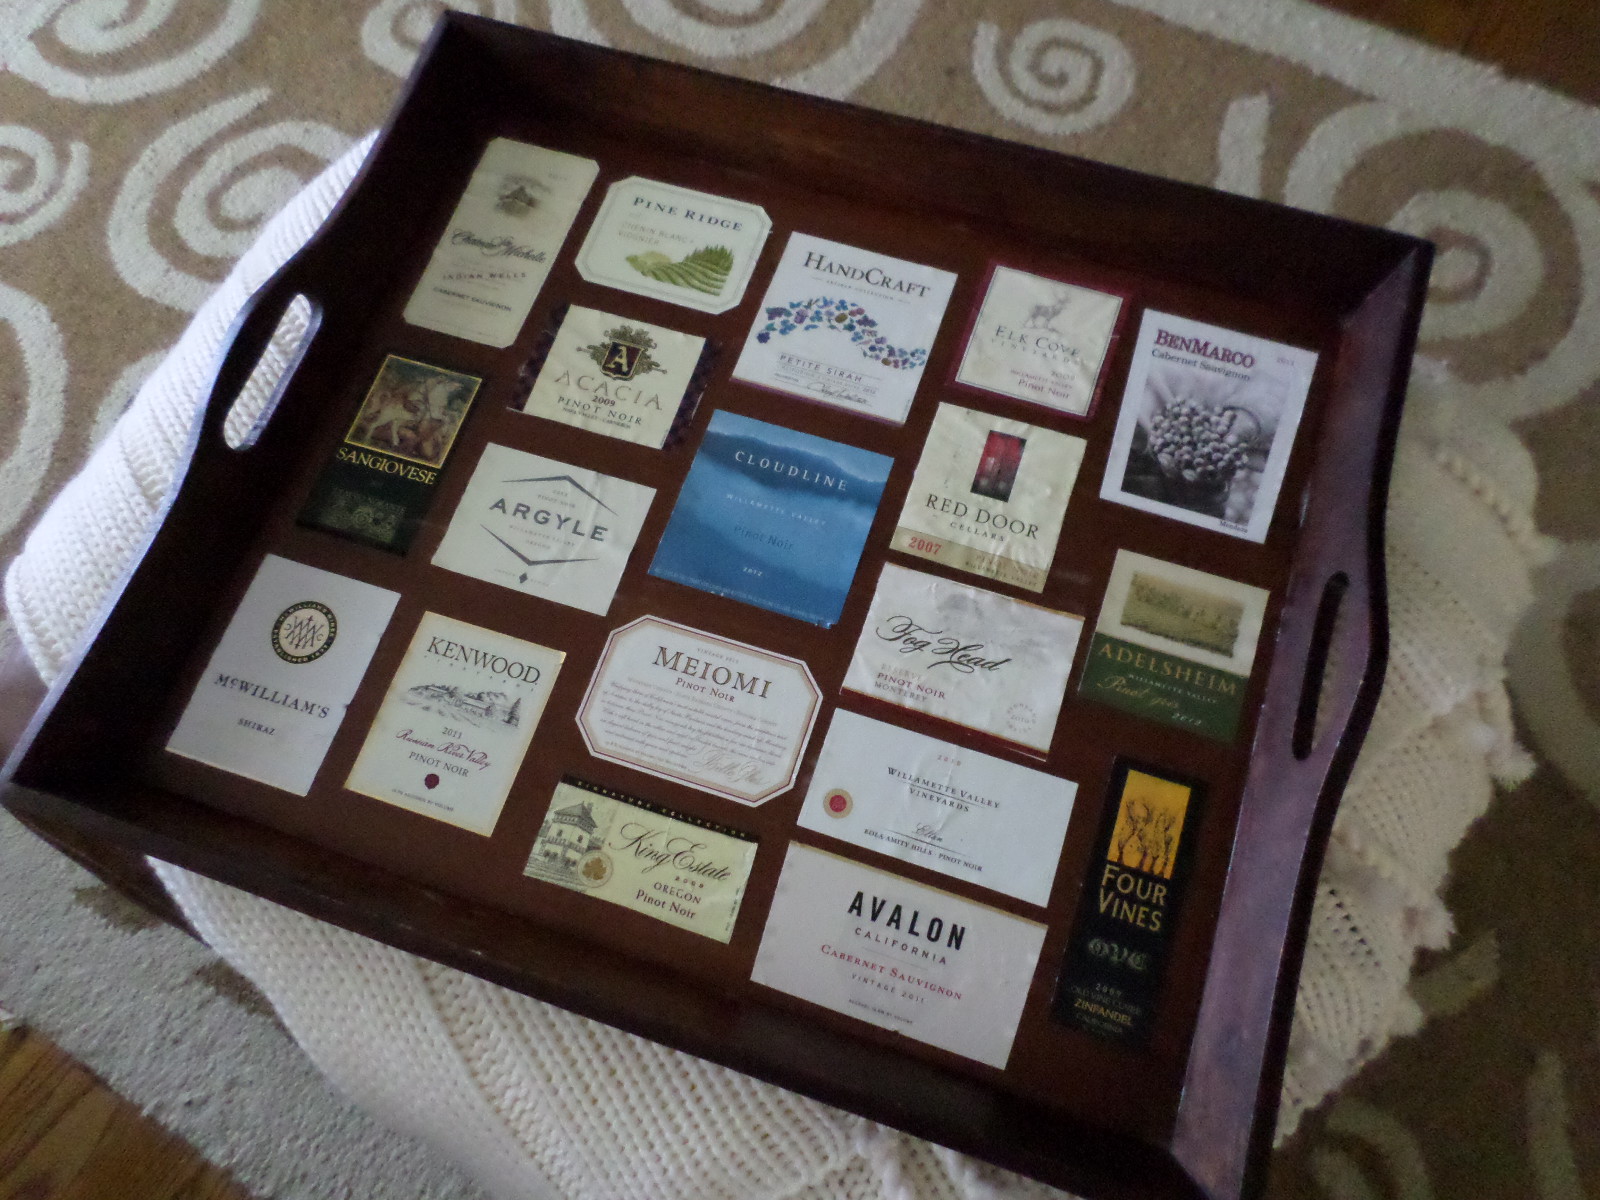
I find myself forever snipping little bits of images here and there and then squirreling them away.  Like everyone I can’t resist a beautiful photo but I also find myself drawn to the artwork on packaging.  Who knew seed catalogs and hard cider bottles could be such a goldmine?  I once framed the cover of an old Garden Botanika catalog.  Don’t get me started on cancelled postage stamps.  Haven’t you ever saved a card simply because you loved the art?

This snippet hoarding began when I first read Julia Cameron’s The Artist’s Way back in the late 90’s.  Again, I’m not an artist but the book is chock full of exercises to awaken one’s slumbering creativity.  Week Seven is my favorite because it is Collage Week.  Julia makes you rip images from a stack of magazines and then make a collage from them.  It is imperative that you not over-think this exercise.  These collages are a blast to make and I find I have never been able to break the habit of saving an image that appeals to me.

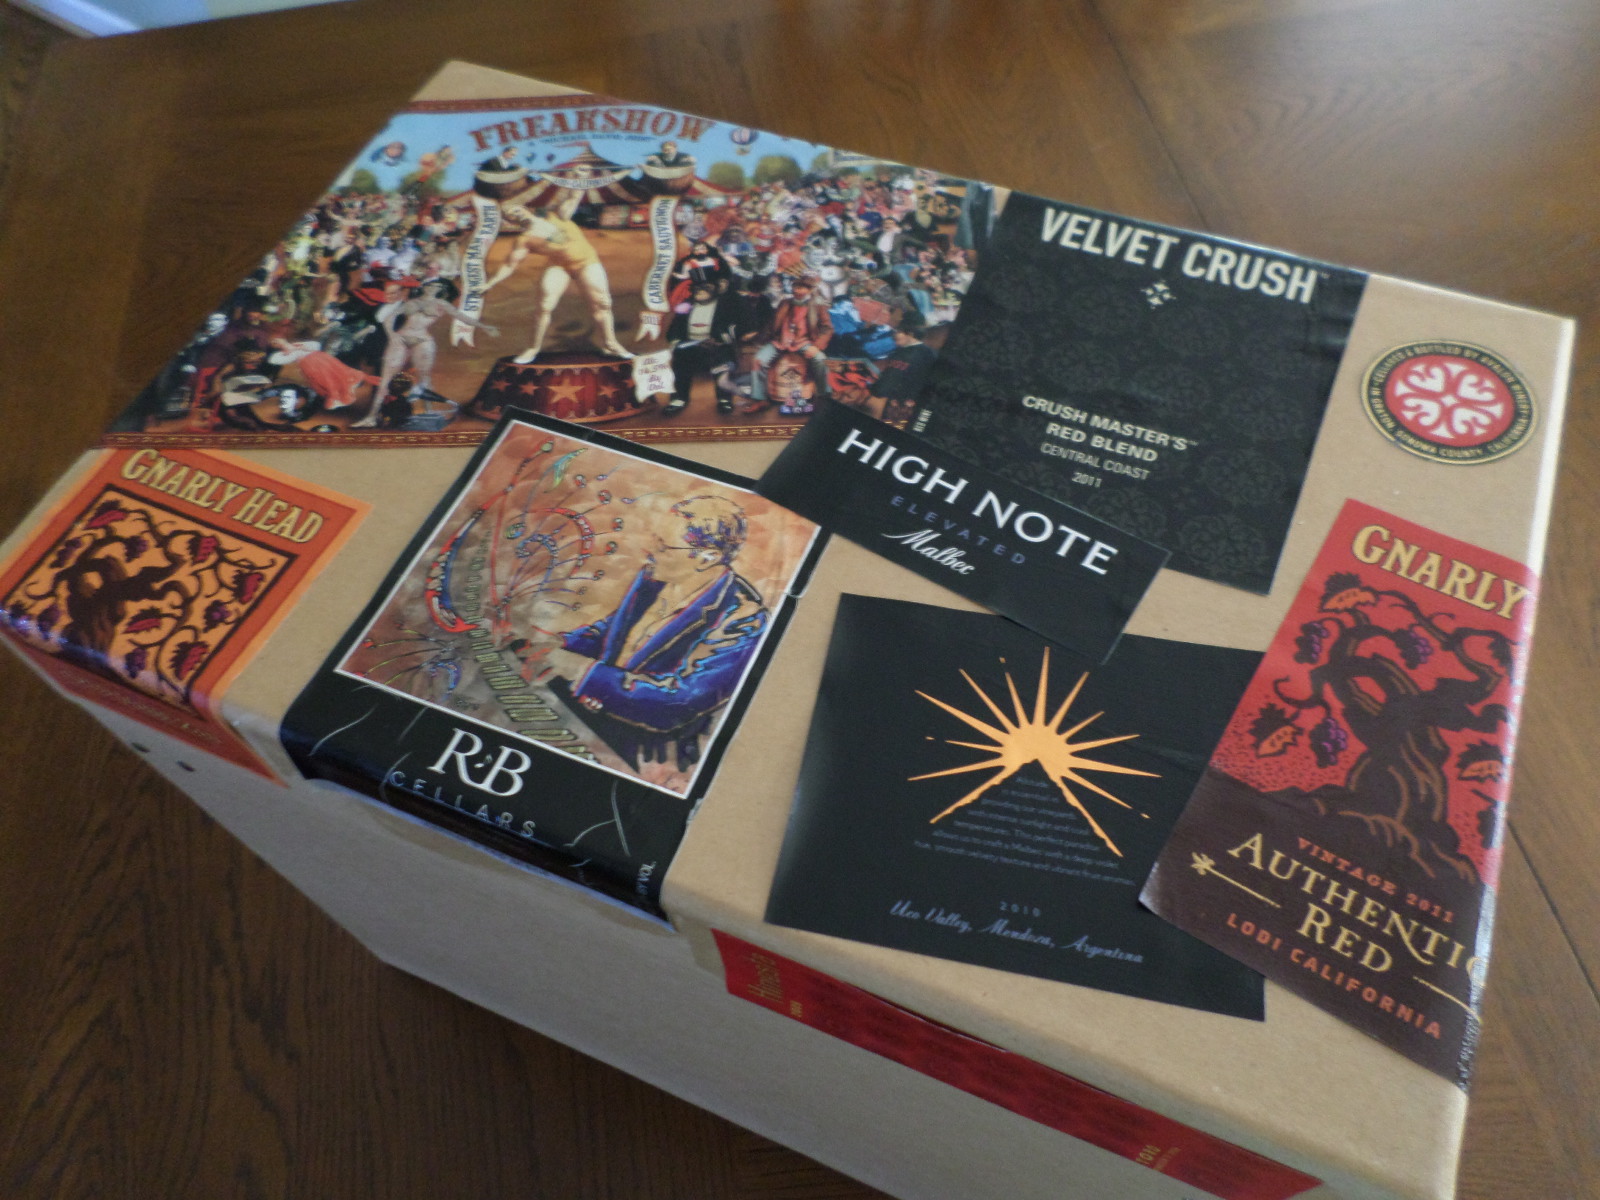
I find I rarely buy magazines any more in this digital age but that makes me wonder if package art has stepped up its game and filled that void in grabbing one’s attention.  (As much as I hate to admit it the St. Pauli Girl people figured out years ago that a little cleavage sells a lot of crappy lager.)  I started buying hard cider a few years ago and I am not kidding about the label art sucking you in; go find a bottle of Oliver Winery’s Bean Blossom hard cider.  These labels don’t necessarily have beautifully rendered apple paintings but all can easily differentiate from each other on the shelf.  My point?  I don’t really have one except to illustrate how an inspiring image can come from anywhere.  You just need to go with that feeling.

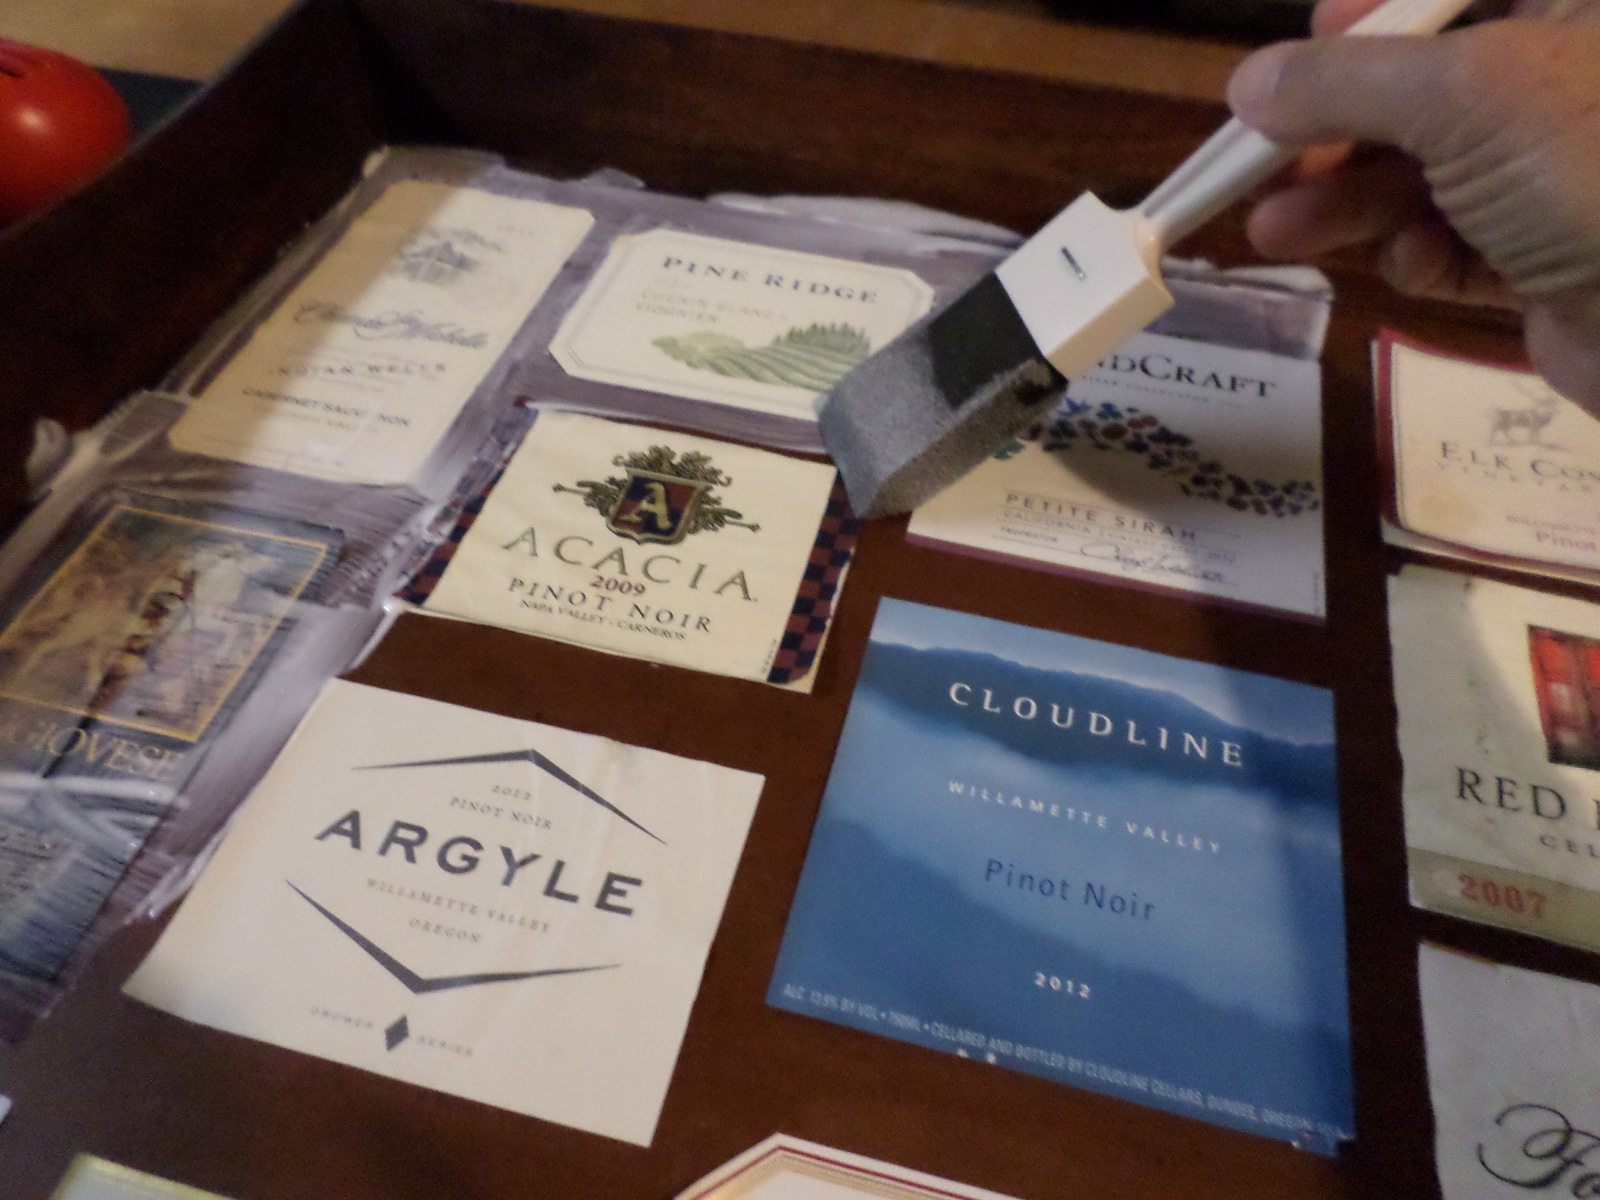
How does one deal with all of this mini-art laying about the house?  With this month’s DIY project:  collages, of course.

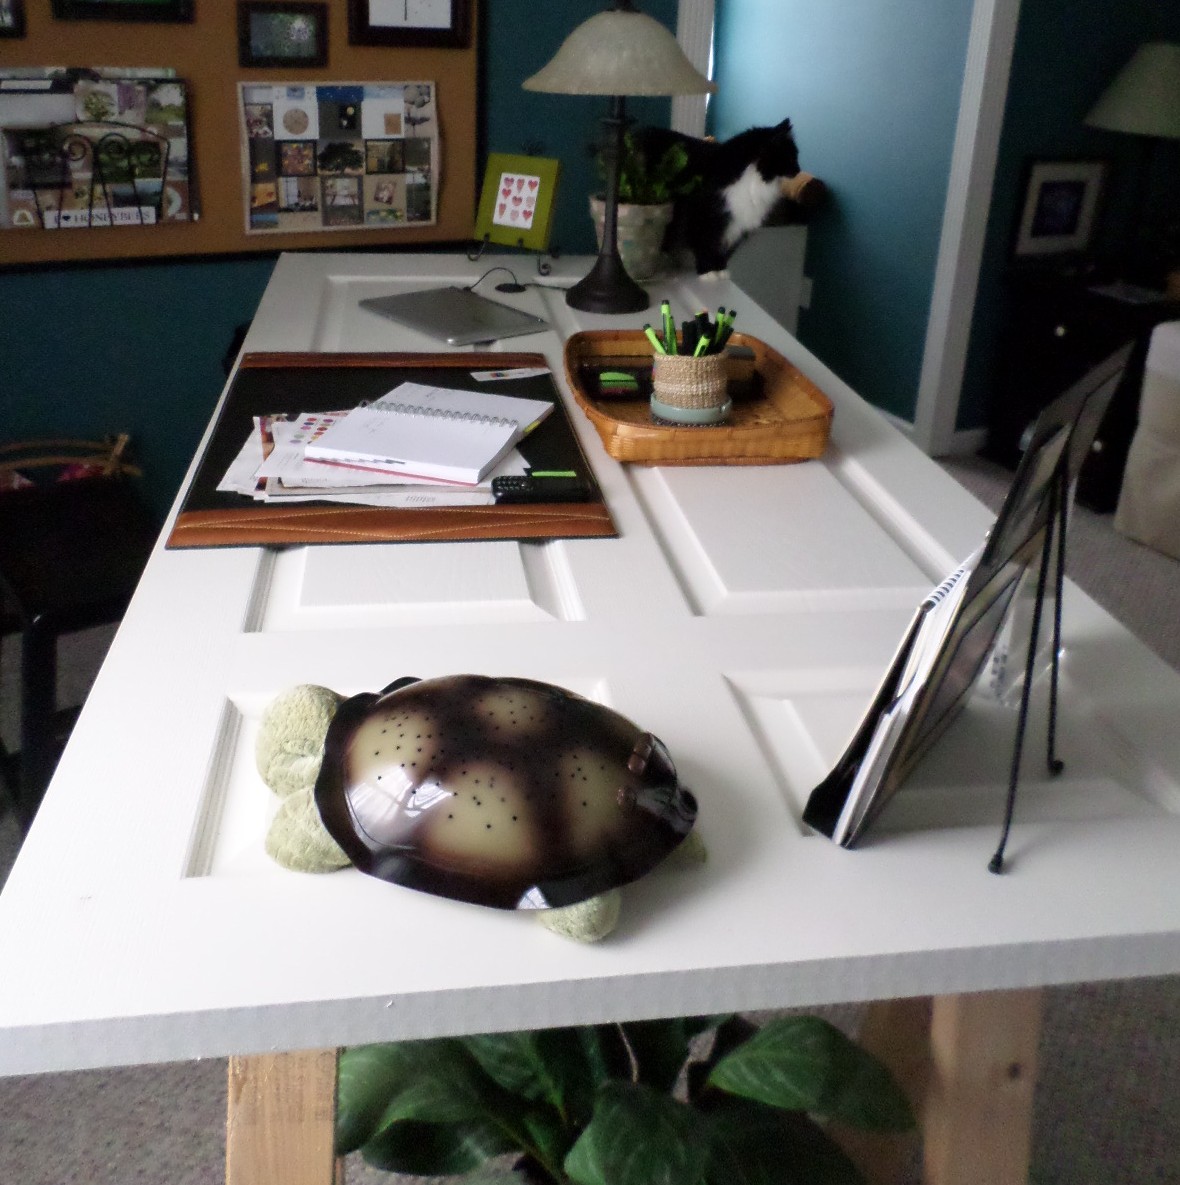
Let’s start with a big one:

SAMSUNG CAMERA PICTURES

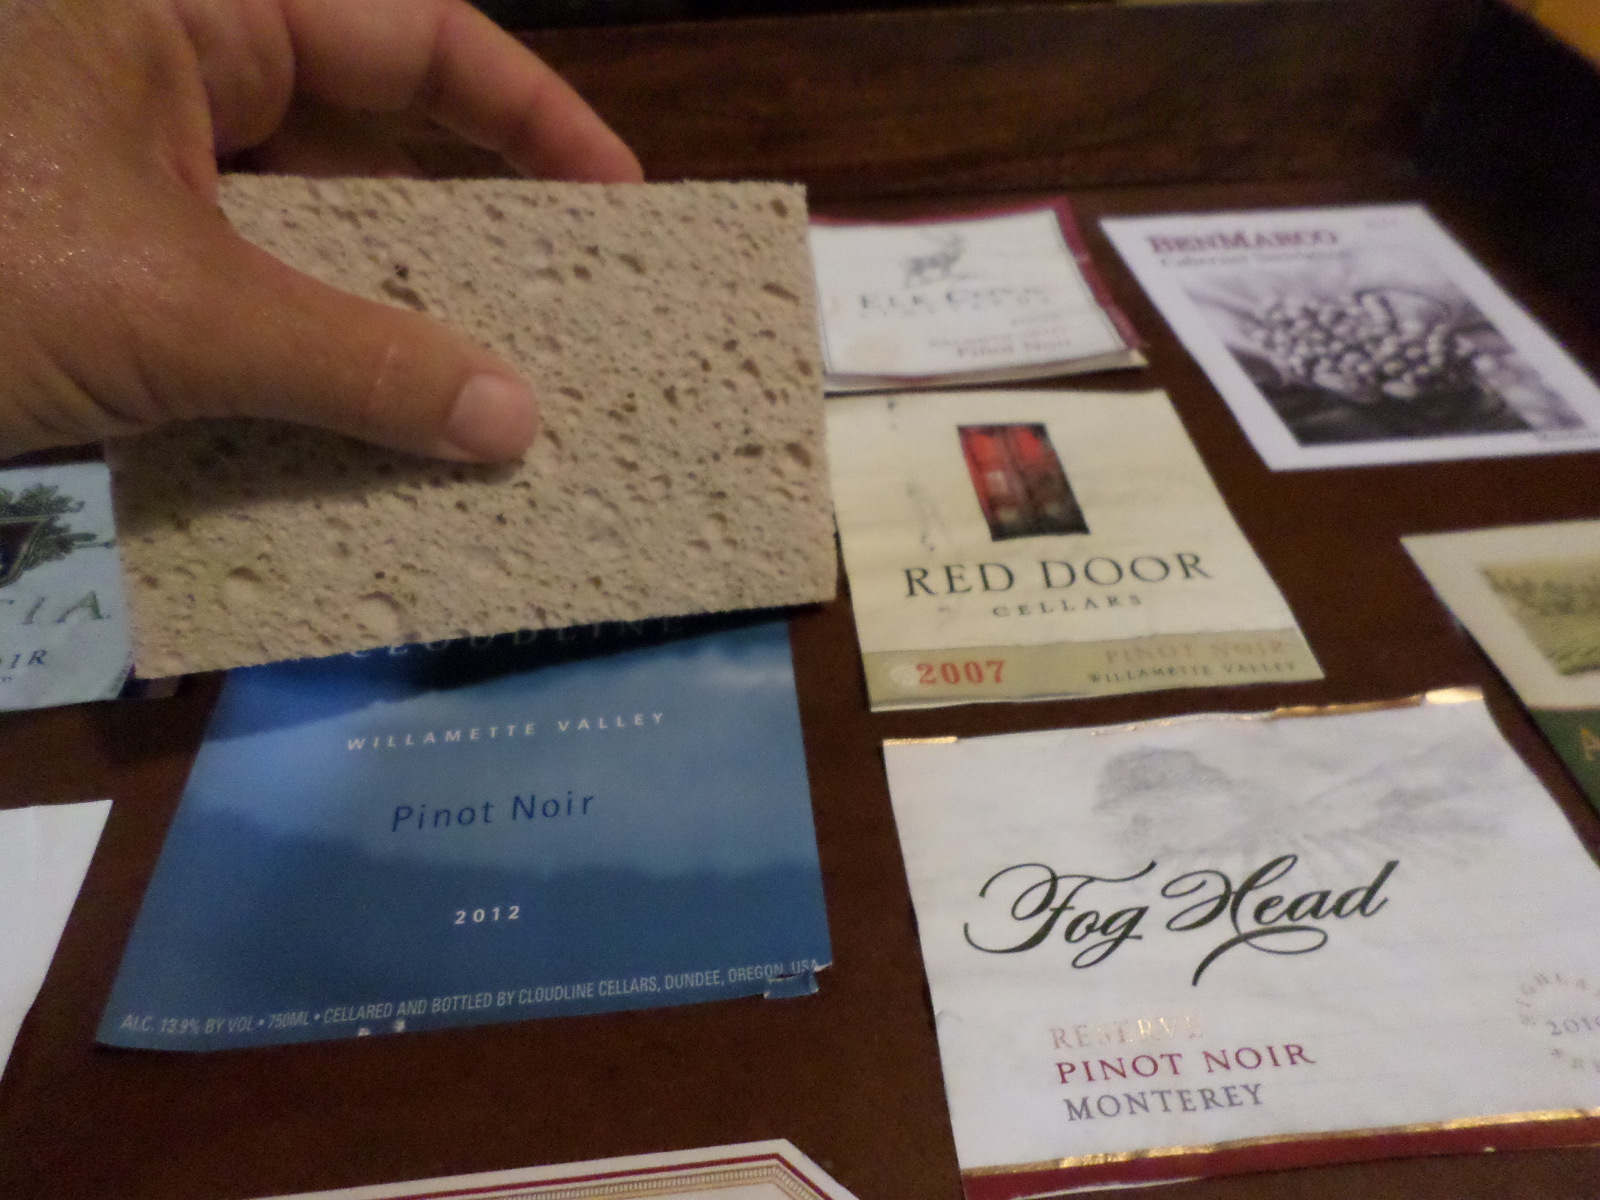
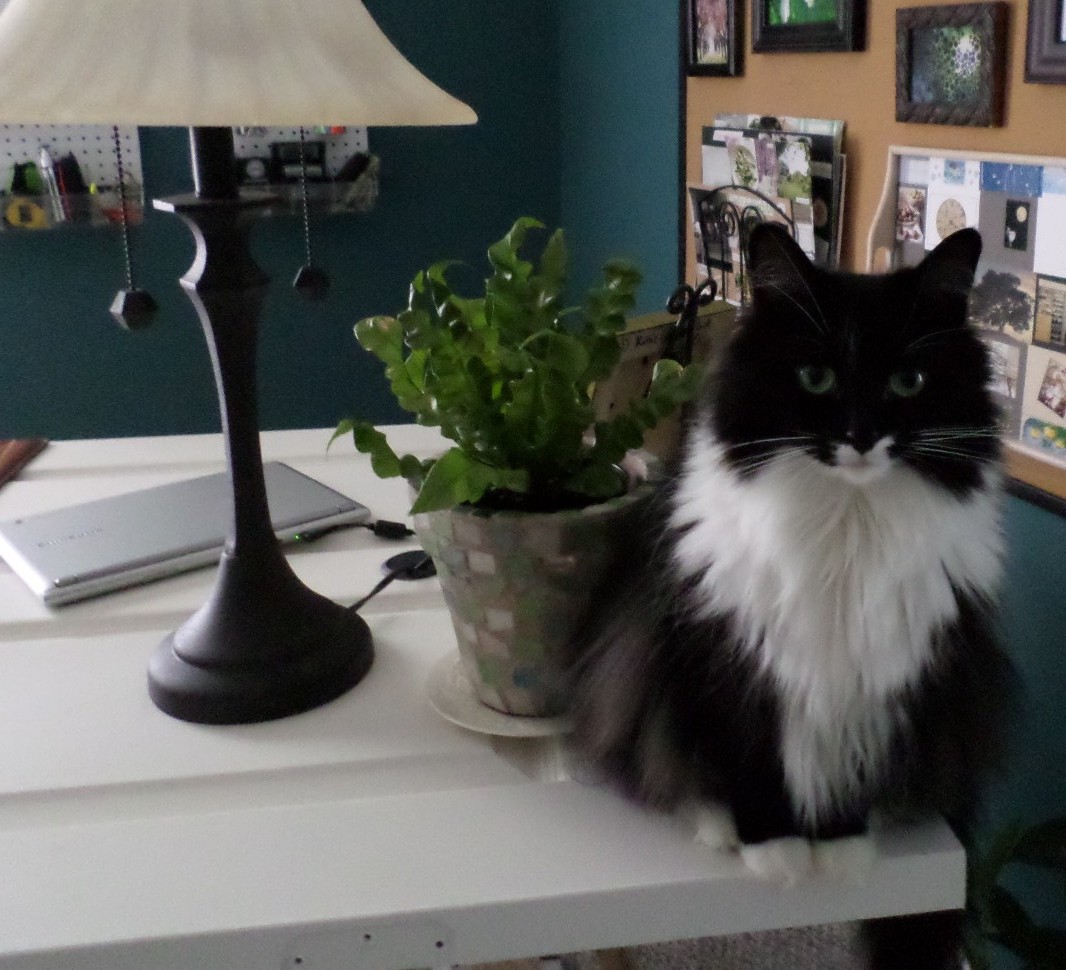
Hung next to my work table for inspiration this oversize cork board groups a bunch of items — a sort of collage of collages. The framed art (a couple of paintings, a couple of photos, a postcard) are hung with long nails driven through the cork and into the wall. The magazine rack on the lower left, also mounted through cork into drywall, holds a collection of small collages I’ve made over the years. The tray on the lower right is a mandala I made about 15 years ago based on some now-forgotten book. There are some other odd pieces here but the cork board keeps them all corralled in one spot.

How about something a little smaller in scale:

SAMSUNG CAMERA PICTURES

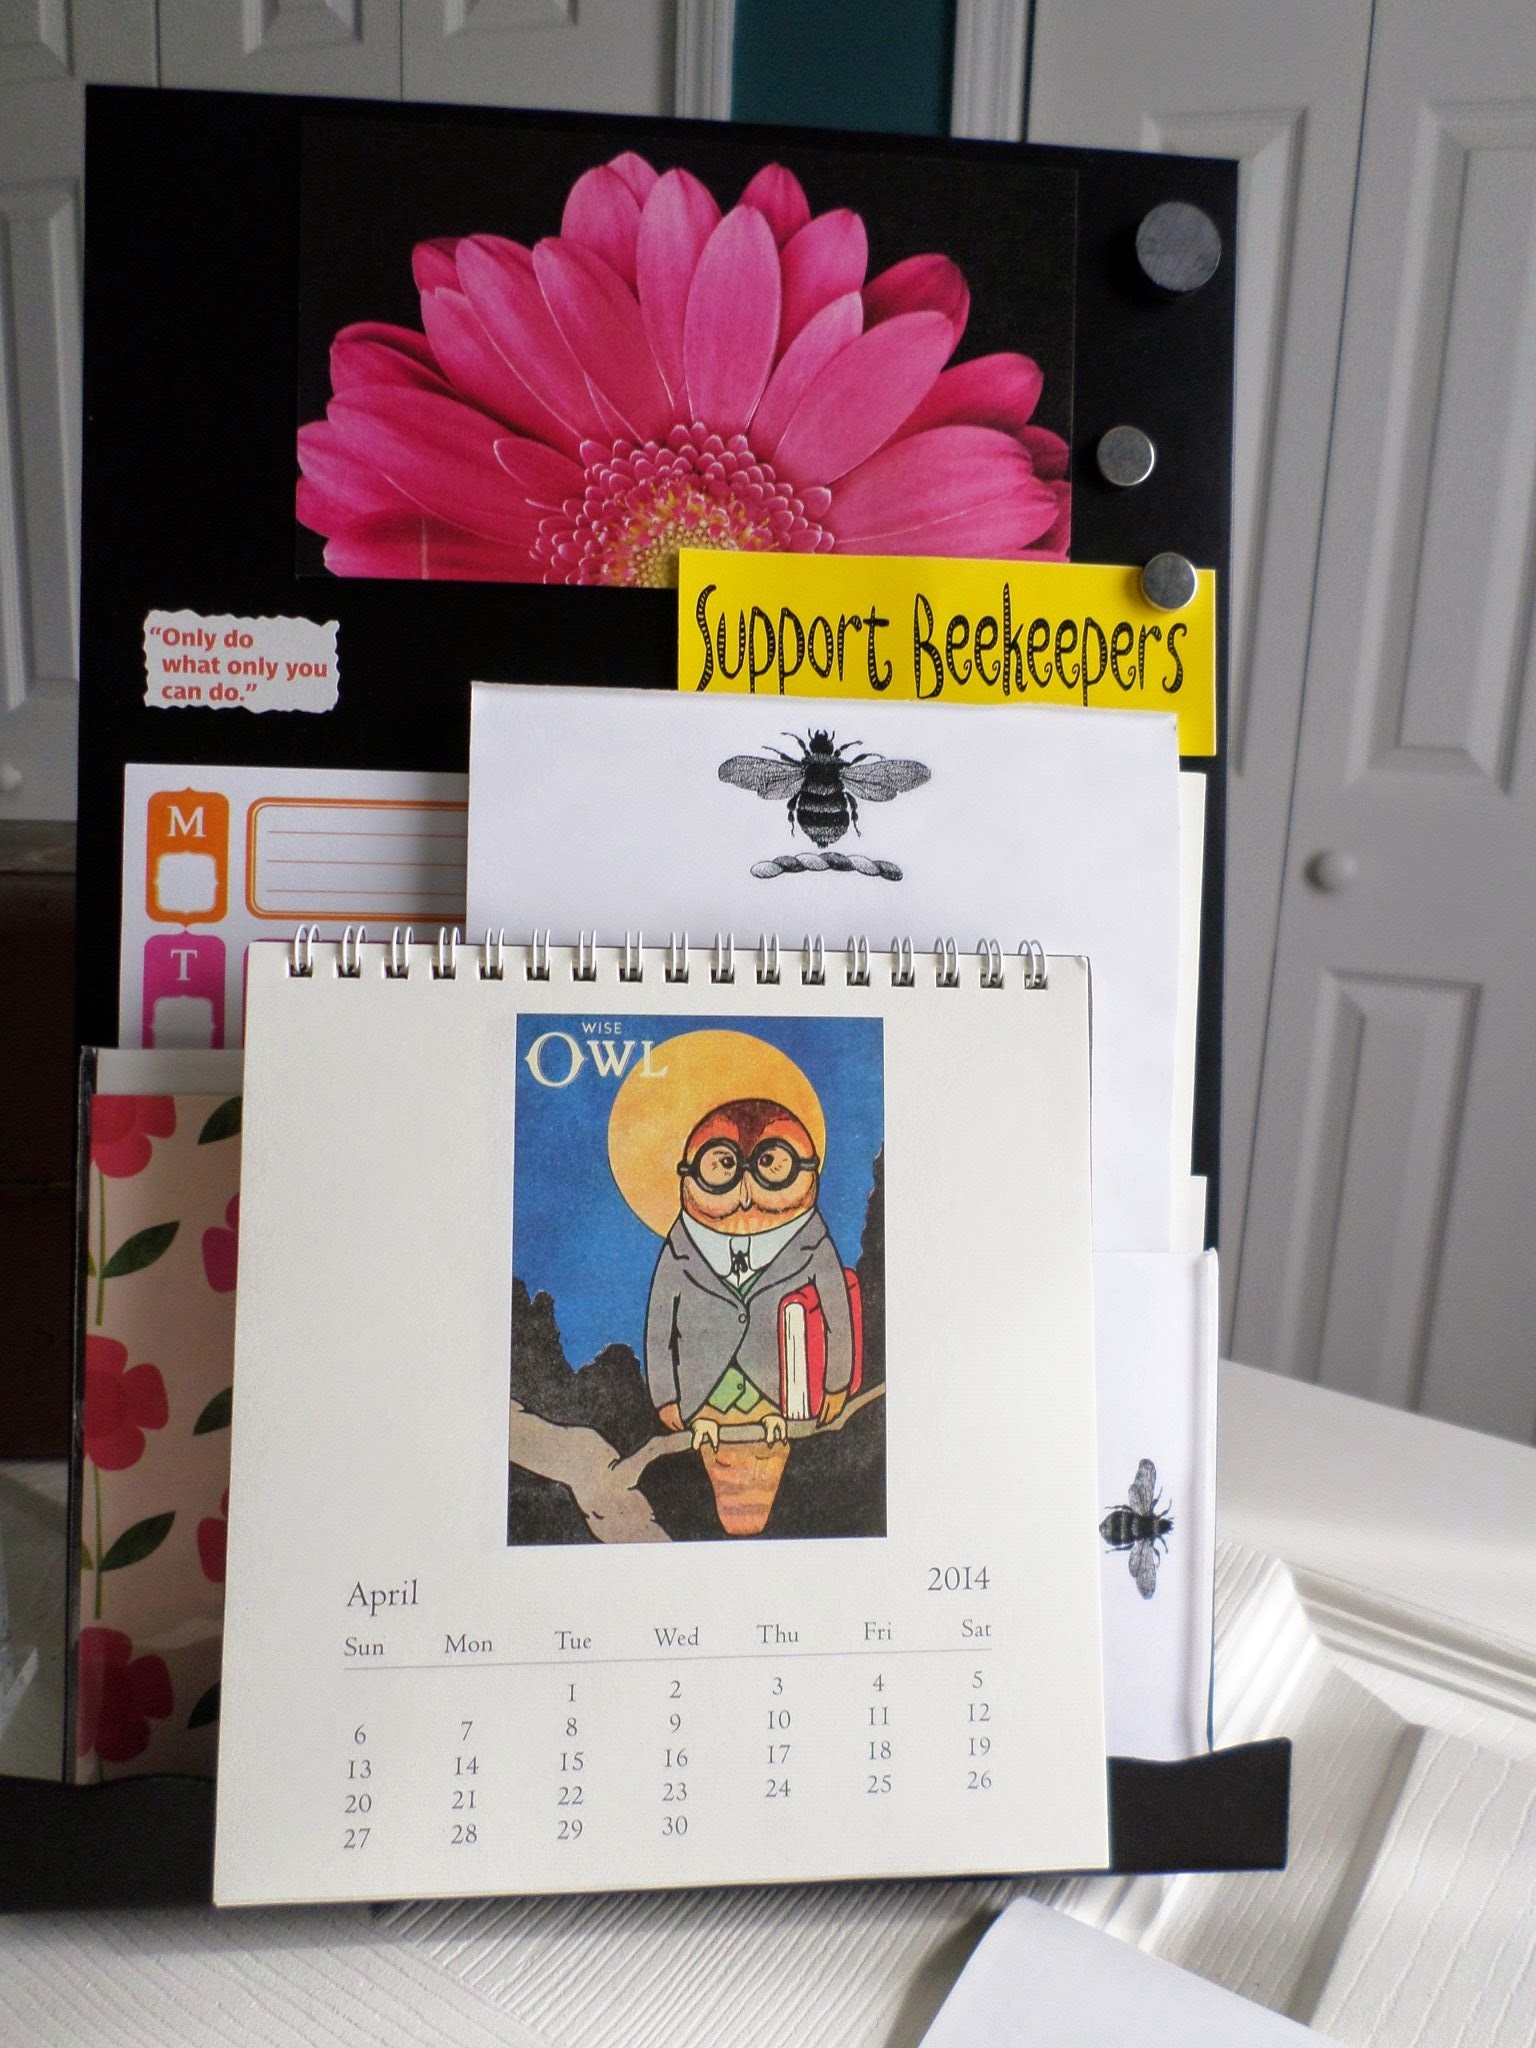
This is a nifty little magnet frame I got at Pier One. It has a dreamy metal back that showcases little pieces: a couple of gift cards, a sweet yin and yang drawing, some buttons, a few things snipped from a magazine. I make my own magnets by taking the paper art and applying it to adhesive magnet stock and then trimming to size.

SAMSUNG CAMERA PICTURES

Another Pier One find, this is a metal desk easel. It has a tray along the bottom that is great for stuffing all manner of paperwork. A few more homemade magnets adorn this collage.

Or perhaps something to adorn your refrigerator door:

SAMSUNG CAMERA PICTURES

This old baking sheet belonged to a friend who was horrified that I wanted it for a display. I love its patina. It clings to my freezer door with super duper magnets on the back and on the front I used a few acrylic magnet frames for magazine photos and a postcard.  During the holidays I put my favorite Christmas cookie recipes in the frames.   It features a few more homemade magnets made out of tins and buttons.   Also, I have a coffee consumption problem.

There are other magnet collages around here, but I think you get the idea.  I love how interchangeable they are since you use magnets instead of glue.  It is easy to do a collage for the seasons or hobbies or dinner menus or, yes, even your fave photos.

SAMSUNG CAMERA PICTURES

My thanks to Garden Botanika.


Labeling

This month’s DIY was inspired by a post by The Armchair Sommelier; if you haven’t read her blog you simply must check it out.

SAMSUNG CAMERA PICTURES

Transformed! A few wine labels, some Mod Podge, and my friend you have yourself a nifty little tray.

Materials:

several dozen wine labels (more on how to remove them later)

1 bottle of Mod Podge (I used matte)

1 inch sponge applicator(s)

1 damp sponge

display medium (mat board, foam core, stretched canvas, wooden tray…you can be very creative here)

This is not a project to do in a hurry.  First of all, there is a lot of wine to drink.  I know that doesn’t sound like much of a challenge (or maybe it does…who knows) but it takes a while to accumulate 25 – 30 labels, so this may be a good time to throw a party.   Also, you will need a method by which to remove the label and then a method in which to store them.

There are two main ways to remove a label from a wine bottle:  the oven method and the soaking method.  I much prefer the oven method as the label comes off in one piece, usually pretty easily, and it holds it’s shape better upon reapplication.  The soaking method makes the label soft and prone to tearing.  Even with Mod Podge a soft tissue-y label is a pain.

DSCN4716

Since the labels are a little sticky when they come off the bottle place them on waxed paper to keep them neat while you store them.

I recommend pressing your labels between a couple of books as you accumulate them as this will make them a little easier to work with when it is time to begin gluing.

SAMSUNG CAMERA PICTURES

Step 1: Arrange the labels on the medium and adhere with a little Mod Podge. Use a damp sponge to wipe off any globs of Mod Podge as they can look cloudy when dry.

SAMSUNG CAMERA PICTURES

Step 2: After sufficient drying time, begin to coat the entire surface with Mod Podge. I know you’ve heard it a kajillion times but several light coats are better than a few heavy gloppy ones.

SAMSUNG CAMERA PICTURES

Step 3: It takes several coats of Mod Podge to really get a nice smooth adhesion. Give yourself a few days to accomplish this and allow enough drying time between applications.


SAMSUNG CAMERA PICTURES

Bonus: I had several black and red labels left over that I used to apply to the lid of a file storage box. Not my best arrangement ever, but they do look kind of neat (that Freakshow label is awesome).

SAMSUNG CAMERA PICTURES

I used my beloved Willamette Valley Pinot Noir labels in the center of the tray, and then favorites along the outside to fill it in. I don’t really love Four Vines OCV Zinfandel but my gosh how great does that label look in the lower right corner? Since I’m using my tray on top of an ottoman, I cut a piece of clear acrylic (from Lowe’s) and put it over the labels and presto! Instant coffee table.


Cheers!

The Doors

This month’s DIY lays the foundation for all future tinkering…

I may have mentioned that we bought a drafty new farmhouse about 15 years ago.  It was built by the owner, a man who was, sadly, a bit challenged at the skill of installing interior doors.  Even before we moved the furniture in we had permanently removed several doors as they were awkwardly placed and some were downright dangerous as they opened into traffic areas.  A few doors were never replaced and their openings turned into casements, whereas a couple of others were replaced with bi-fold doors.

SAMSUNG CAMERA PICTURES

So what can you do with a pile of extra doors? This.

Materials (total cost approximately $30)

2  ten foot 2″ x 4″ boards for the sawhorse legs

1   six foot 2″ x 6″ board for the table base that sits atop the sawhorse legs

2   sets of metal sawhorse brackets (4 brackets total)

1   50 count package of 6 x 3/4 flat phillips wood screws

1   interior door (the one I used is 36″ wide and 80″ long) with all hardware removed


SAMSUNG CAMERA PICTURES

Each of the eight table legs are 27″ long and are cut from the 2″ x 4″s. They are then inserted into the metal sawhorse brackets and screwed into place.

SAMSUNG CAMERA PICTURES

The support boards were cut from one 2″ x 6″ pine board. Since my door is 36″ wide, I cut two 34″ support boards. They too can be screwed into place.  The door lays across these.


SAMSUNG CAMERA PICTURES

The door lays on top of the sawhorses. Mine is not anchored into place although I often think it would be a good idea to do so.  To the right side of the table you can see a white cable underneath it that snakes toward the wall outlet; this is a cable control gizmo I bought later to keep the power cords neat.  It cost about $15.


SAMSUNG CAMERA PICTURES

I drilled a 2″ hole at one end of the table and inserted a grommet; the lamp and laptop cords are threaded through the grommet and cabled together to the wall outlet.  No detail escapes kitty attention.

Ye Olde Farmhouse Networke

I chose this month’s DIY project because it has netted the most re-pins on Pinterest (25 people can’t be wrong).

Gone are the days when you only had to keep track of your cell phone charger.  That little drawer next to the stove that used to be perfect for stashing a couple of chargers was overwhelmed long ago when you added iPods, e-readers, and tablets to your arsenal.  I’m guessing your house is no different than mine in that the kitchen is now also charging central.  My little kitchen was quickly overwhelmed when we added a wireless router to the mix.  Thus, FarmNet was born.

I bought a bathroom cabinet that had glass doors and mounted it over the phone jack (I could not get the jack off the wall (!!!) and so I cut a hole in the back of the cabinet and mounted it over the jack; this became the perfect home for my ancient analog phone).  The wireless router with its attractive green cable sits next to the phone.  I drilled a grommet hole in the bottom of the cabinet and snaked a power outlet cord through it to the electrical socket and secured the outlet strip with hook and loop tape .  I added a half dozen cup hooks to the bottom side of the shelf and hung the various chargers.

farmnet exposed

Since this photo was taken we’ve added at least another 6 cup hooks and chargers. When will this madness stop?

I think the project probably cost around $85 – $95 for the materials (cabinet, outlet strip, grommet cover, cup hooks, and short black phone cord).  It took about an hour to get everything installed.

farmhouse network

Ta-Da!! During the winter holidays I hang a little red berry wreath from the cabinet knob. Festive.